
|
Server Installation |
Scroll |
Please make sure that your system complies with the system requirements and follow the instructions carefully.
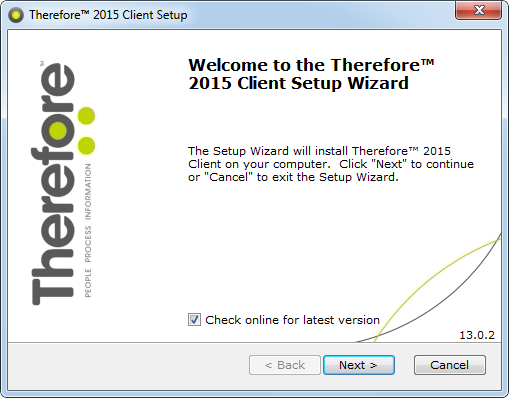
1.Start the Therefore™ Connector for SAP® NetWeaver® Setup and the welcome screen will open. Click Next.
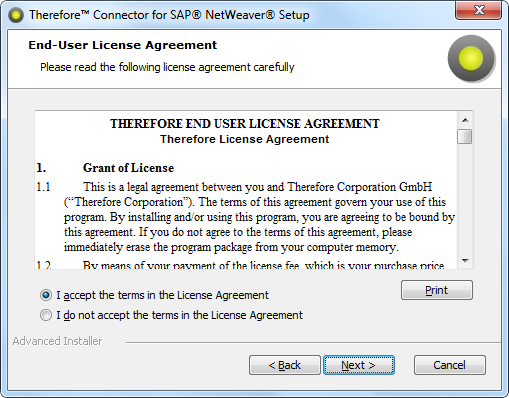
2.Select your region, click Next, then accept the license agreement and click Next again.
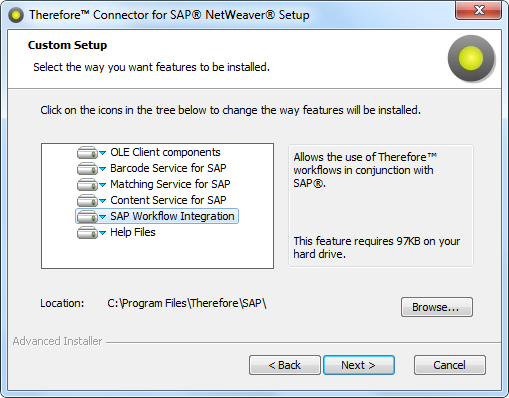
3.The Custom Setup dialog will open. Select the required components and click Next when done.
Feature |
Description |
OLE Client Components |
Installs the OLE Client components for the SAP GUI. |
Barcode Service for SAP |
Installs the barcode interchange service. This feature needs to be installed only if SAP barcode scenarios will be used for incoming documents. |
Matching Service for SAP |
Installs a Windows service for index data matching between SAP and Therefore™. This component needs to be installed only if SAP index data will need to be matched to Therefore™ categories. |
Content Service for SAP |
Installs the Therefore™ Content Service to provide a communication channel between SAP and Therefore™. |
SAP Workflow Integration |
Allows the use of Therefore™ workflows in conjunction with SAP. |
Help files |
Help files will be installed. |
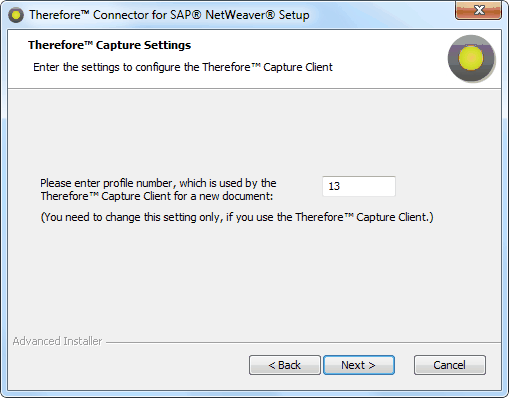
4.The Capture Client Settings dialog will open. Enter a Therefore™ Profile number to be used for barcode interchange with SAP NetWeaver®. You can set this profile number later, even after the setup procedure has finished. This setting must only be set if Barcode Service and barcode interchange for incoming documents in SAP NetWeaver® will be used. These settings can be changed in the windows registry keys after installation. Click Next when done.
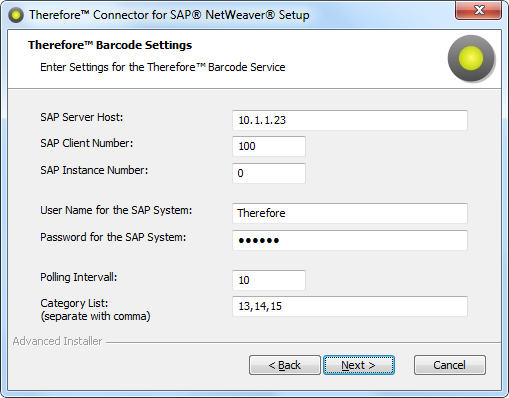
5.The Barcode Settings dialog will open. See the descriptions below for details on these settings. These settings can be changed in the windows registry keys after installation. Click Next when done.
Setting |
Description |
SAP Server Host |
IP address of SAP NetWeaver® Server Host. Please keep in mind that the SAP systems for test, quality insurance and production might be on different hosts and the settings might have to be changed later. |
SAP Client Number |
Client number for the SAP Netweaver® system used. (Company code ex. 100) |
SAP Instance Number |
Instance number for the SAP Netweaver® system used. |
User Name for the SAP System |
User Name used by the barcode service for SAP NetWeaver® connection. (system user with no GUI connect rights) |
Password for the SAP System |
Password for system user. |
Polling Interval |
Polling interval for barcode interchange activities in minutes. |
Category List |
List of Therefore™ categories used for barcode interchange. These categories must have the additional index data fields for barcode interchange. Please separate with comma, ex. 13,14,15,... |
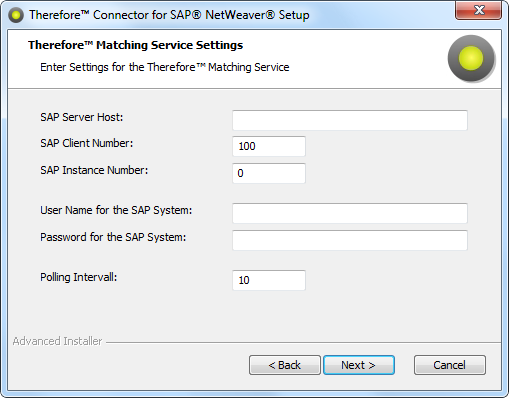
6.The Matching Settings dialog will open. See the descriptions for the previous dialog for details. These settings can be changed in the windows registry keys after installation.Click Next when done.
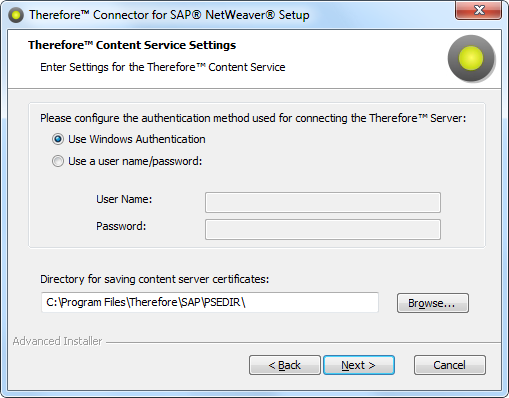
7.The Content Server Settings dialog will open. An authentication method must be specified for connecting to the Therefore™ Server. Either use Windows authentication (the doimain or local server account running the Content Server) or specify another domain account for connecting. Please keep in mind that this user needs to have proper category rights in Therefore™ to be able to store and retrieve Therefore™ documents. In addition, after the creation of a SAP NetWeaver® content repository a certificate must be sent to enable the communication between SAP NetWeaver® and Therefore™. The certificate will be stored in this directory. These settings can be changed in the windows registry keys after installation. Click Next when done.
|
Therefore™ Online: When connecting to a Therefore™ Online tenant, Windows Authentication cannot be used. You must enter the username and password for the Therefore™ user that should be used to manage documents in Therefore™ from SAP. This user must have Read, Write, and Delete permissions on the categories being used with the connector.
|
8.The Therefore™ connector is now ready to install; select the Install button to start the installation.

