|
Configure a new profile |
Scroll |
 How do I create a new profile?
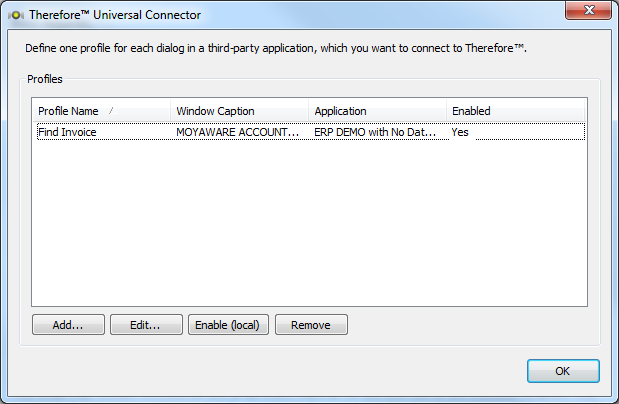
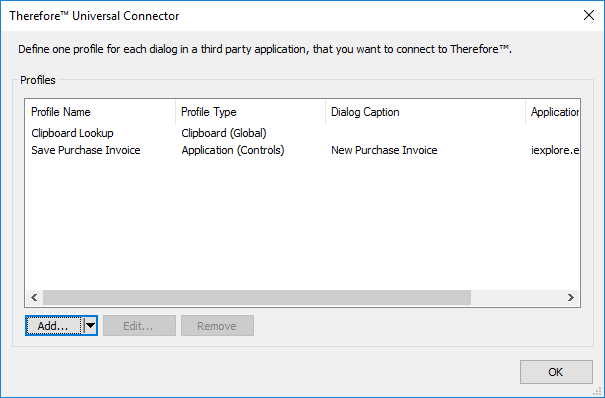
1.A separate profile needs to be created for each dialog in a 3rd party application from which we would like to trigger a connection. Click Add... to create a new profile.
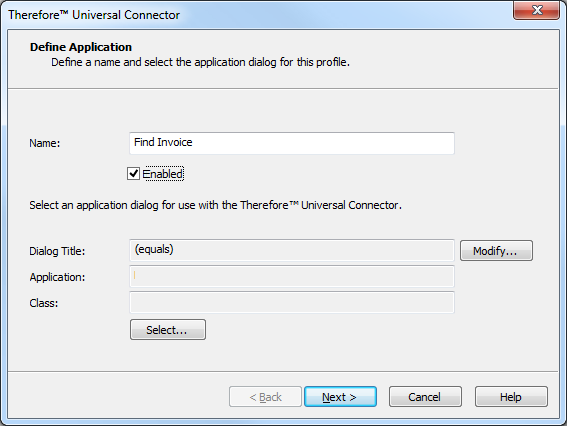
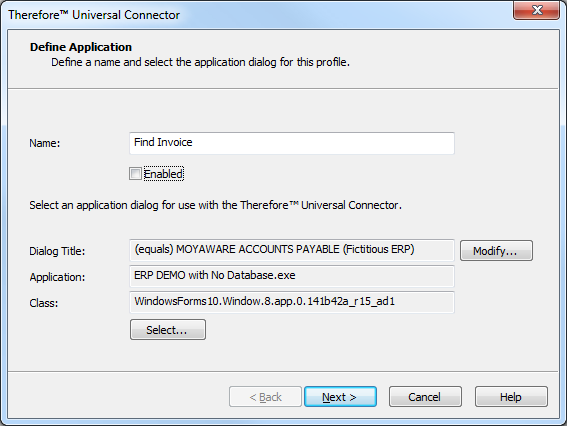
2.Give this profile an intuitive name. Click Select... to open the Finder Tool object.
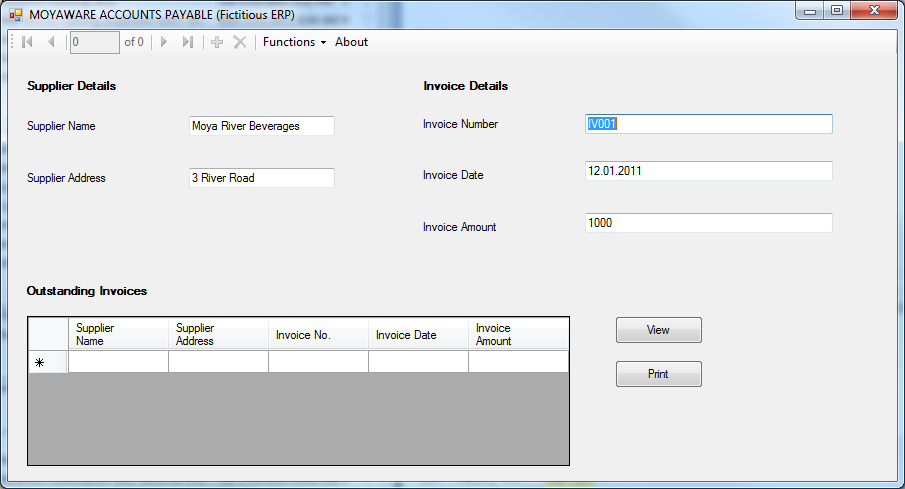
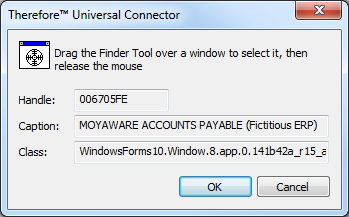
3.The Finder Tool dialog will open. Next open the 3rd-party application and go to the dialog or web page where you would like to trigger the connection from.
4.Now drag the  icon over the dialog. Click OK when done.
5.The Finder Tool will close and the Dialog Title, Application and Class will be automatically filled in. If the Dialog Title is a variable click Modify... and then change the mode to "starts with" "ends with" or "contains" and specify a text string that will not change. Click Next.
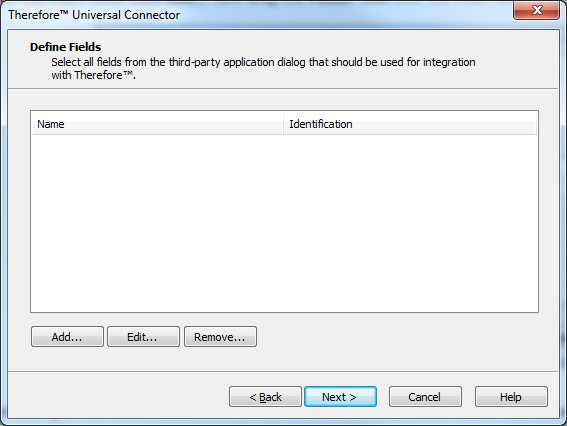
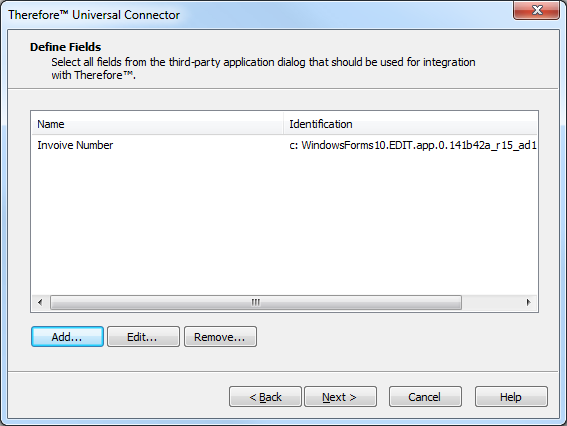
6.The next step is to define the index fields. Click Add... Now drag the Finder Tool over the index field in the third-party application. Click OK when done
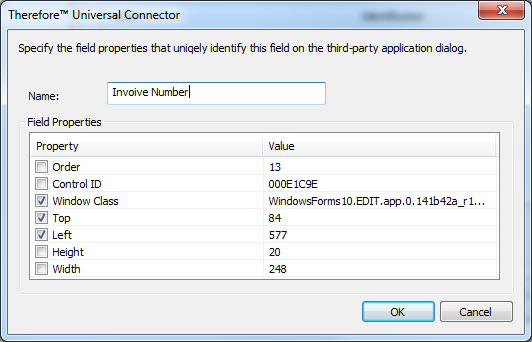
7.Now give the field a Name. Next we need to defined how the field should be located. The table below can be used as a reference. Click OK when finished.
3rd Party Application |
Control ID is unique |
Control ID not unique, field position does NOT change relative to top left corner when dialog is re-sized |
Control ID not unique, field position DOES change relative to top left corner when dialog is re-sized |
Installed |
Control ID |
Windows Class; Top; Left |
Windows Class; Caption & dependent fields |
Web |
Control ID |
Windows Class; Top; Left |
Windows Class; Caption & dependent fields |
8.The field will now be listed as shown below. Add other fields as required.
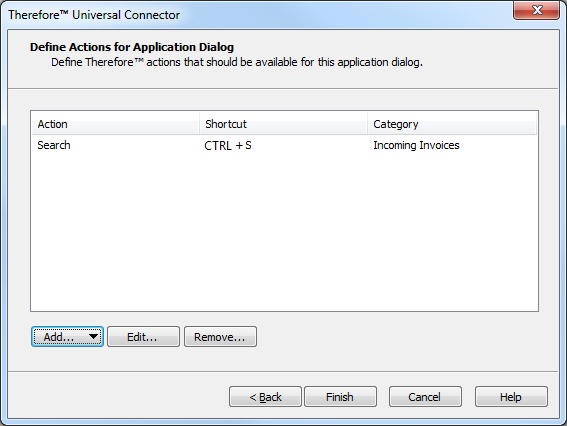
9.Next, define the actions that should be triggered from the 3rd Party dialog. Choices are: Search, Full-text Search, Cross Category Search, Scan, Scan in Viewer and Save. This menu also allows you to change the selected action, by selecting an action, and choosing edit. In our case, we would like to find a document in Therefore™ based on the index data in the 3rd party dialog. Choose Add and then select Search from the drop-down box.
10.The Therefore™ Action Settings dialog will open. Define a shortcut key which will trigger the search dialog. Choose the Therefore™ category where the documents are saved. For the Search action it is also possible to select a saved search, for example, to have a pre-defined hit-list layout.
|
Check that the hot-key combination is not already in use. |


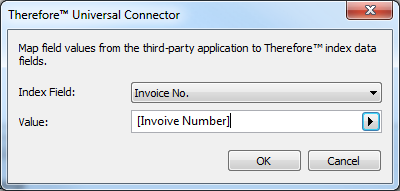
11.To map a common index field, click Add... then select the Index Field in the Therefore™ category that matches the field in the 3rd party application dialog. And then, select the matching value from the list of fields that you defined for the 3rd party application dialog. Click OK once done.
12.This will return you to the Define Actions dialog. Click Finish once all actions have been defined.

13.The new profile will now be listed. Now all users who have the Universal Connector locally installed (via the Therefore™ Client setup) will be able to use this profile.