
|
Configuring Tree Views |
Scroll |
In addition to the Save to Therefore™ feature, Therefore™ can also integrate into Windows Explorer by presenting the document repository as a tree view. Administrators define how the index data values should be mapped into a tree structure and then users can navigate through the tree view. For example a user can open the ‘Finance’ folder then the ‘Invoice’ category, then ‘2010’ and the ‘March’ folder, finally they can click on the customer name and see all documents of a certain customer in March 2010.
How do I configure Tree Views?
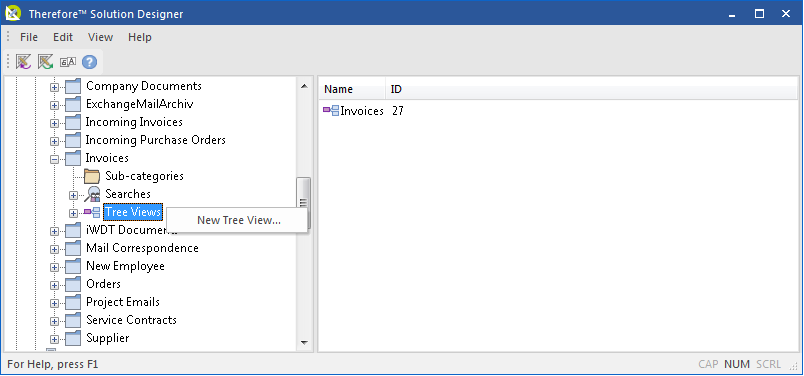
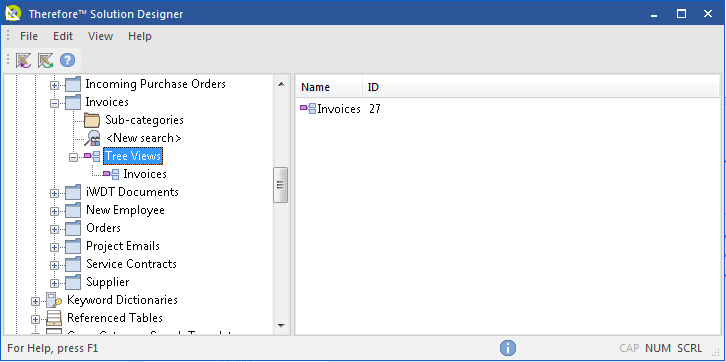
1.Expand the category for which you would like to create the view. Right click on the Tree Views object and choose New Tree View...
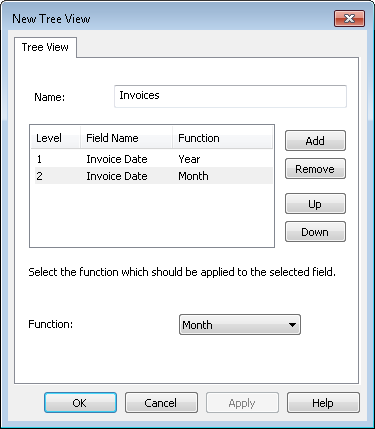
2.A New View dialog will open. Give the Tree View a name. Next we can define levels based on index field values that will be visible as folders in Windows Explorer. In our case we will define 'Year' as our first level. Click Add and choose the Invoice Date index field. Then in the Function drop-down box choose Year.

3.For our second level we would like to specify the 'Month'. This we do in the same way as before except now we choose the Month function instead of Year.
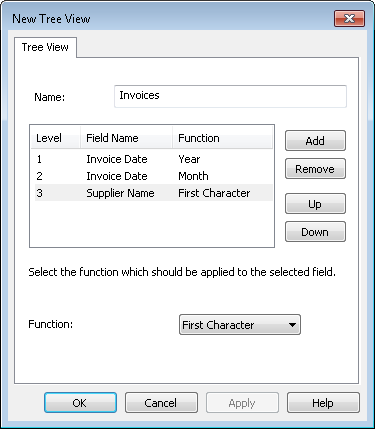
4.For our third level we would like to specify the starting letters of supplier names. So, click Add and then choose Supplier Name as the index field. Then under Function choose First Character.
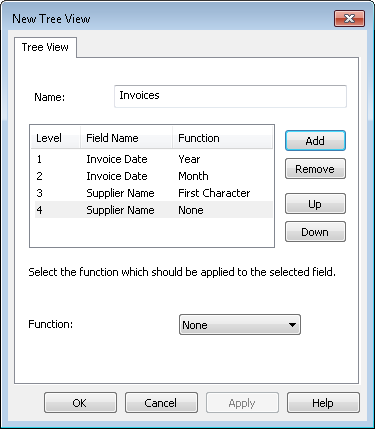
5.Finally for level 4 we would like to see the Supplier Name. The procedure is the same as for level three except we don't need to specify a Function.
6.The created Tree View will now be visible under the category object.
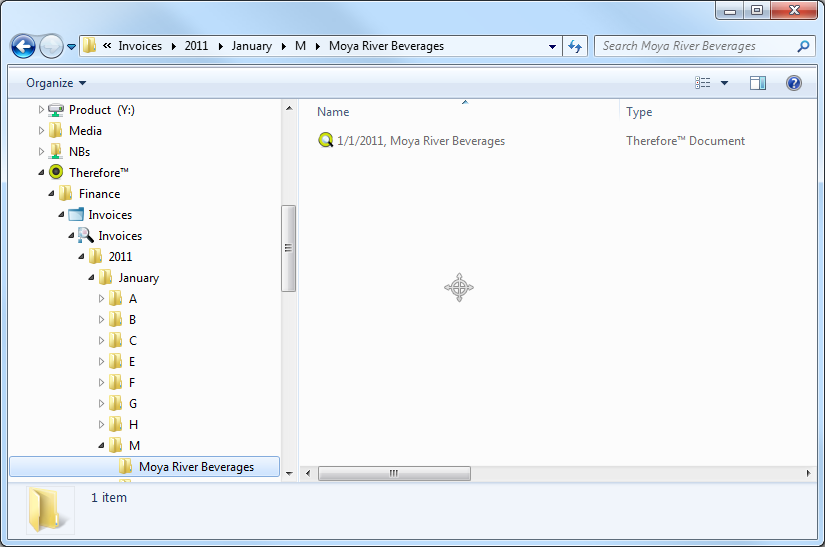
7.To use this View, open Windows Explorer and under Computer click on the Therefore folder. Then navigate through Finance (Therefore™ folder) to Invoice (Therefore™ category). Now choose the year (First Level defined in step 2) then the month (2nd level defined) and then the customer letter (3rd level) and finally customer name (4th level defined).
|
In the North America region tree views are restricted to one per category. |

