|
Mailbox Monitoring |
Scroll |
The Therefore™ Content Connector can "watch" mailboxes and then automatically save emails and/or attachments to Therefore™. In conjunction with an e-mail indexing profile, index data can also be automatically extracted from the e-mail properties or even out of the e-mail body.
How do I set up mailbox monitoring?
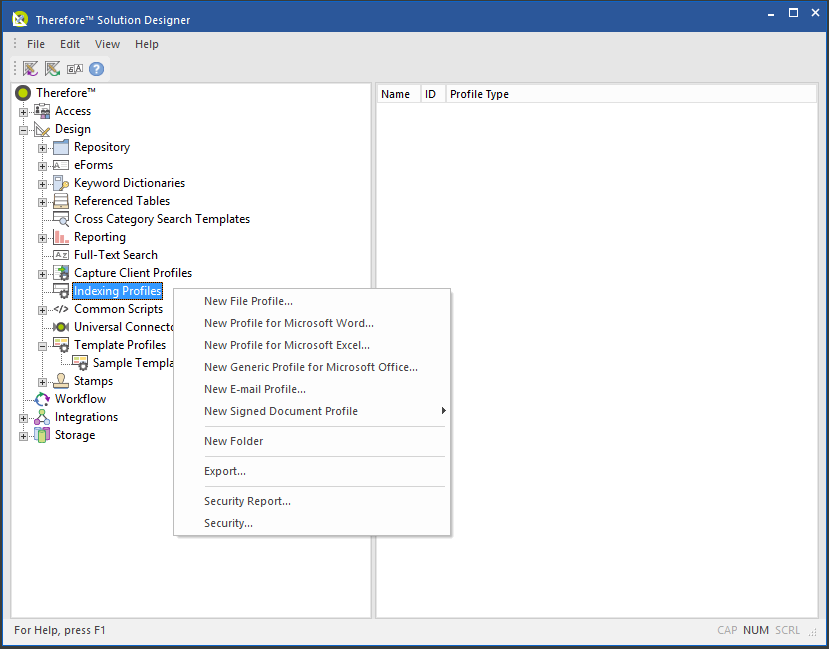
1.Right-click on Indexing Profiles and select New E-mail Profile.
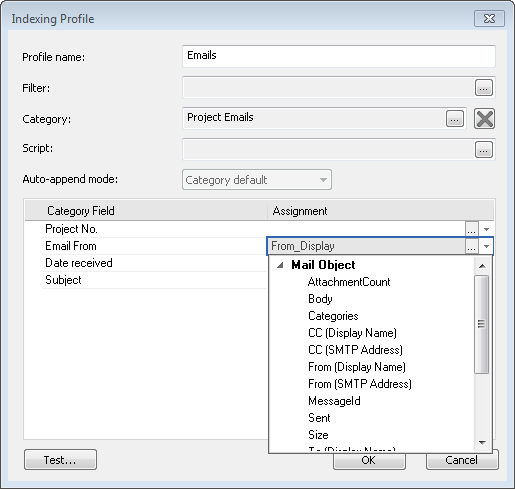
2.Provide an intuitive name. You can add a filter, for example to exclude certain e-mails. Now select the Category where the documents should be saved. If auto-append has been configured in the category properties, then the Auto-append mode can be specified as different to the category default. Now the category's fields can be matched up. A number of standard e-mail fields are available in the drop-down list, but assignment and error handling using scripting is also possible.
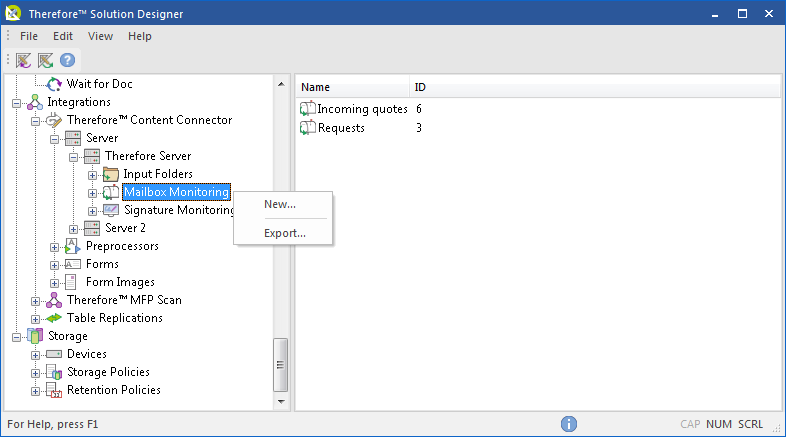
3.Next we need to define the mailbox monitoring profile that the Therefore™ Content Connector should use to watch and then process e-mails using the indexing profile that we have created. Under Therefore™ Content Connector node right-click on Mailbox Monitoring and then select New...
4.Now we need to define which mailbox should be monitored. Give the profile a name and then choose the mailbox type. Enter the email address of the account that should be monitored. The user name and password must be entered and the URL for the Microsoft Exchange Web Services must be specified. For IMAP4 mailboxes, the server name, port number, and security settings must be defined. If a certain folder should be monitored, then this should be entered. Next jobs can be added, removed and the order can be moved up and down. The system will use the first matching job in the list. If Delete after successful processing is not checked, then a mailbox folder needs to be created (in the user's mailbox) and specified. All processed e-mails will be moved to this folder. A maibox folder also needs to be created (in the user's mailbox) for handling emails that cannot be saved.

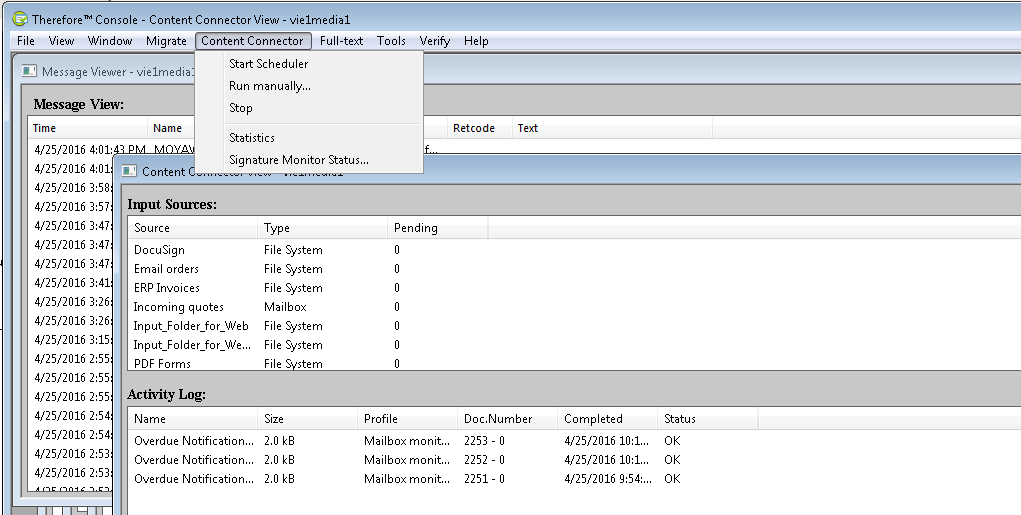
5.Now the Therefore™ Content Connector will automatically process e-mails based on the configured polling interval and schedule settings. To check that everything is working open the Therefore™ Console. Under Content Connector click Stop and then Start Scheduler. The new mailbox profile should be listed. You can now wait until the e-mails are automatically processed or click Run manually. The activity log will show what has been processed. If all successful, open the test document(s) using Therefore™ Navigator as a final check.