|
Installation des clients |
Scroll |
Before you begin installing a Therefore™ Client, please make sure that your system complies with the system requirements. Note: no client installation is required for Therefore™ Personal Edition.
Pour consulter des informations concernant le passage à la version la plus récente des clients Therefore™, reportez-vous à Mise à niveau des clients Therefore™.
 How do I install the Therefore™ Client?
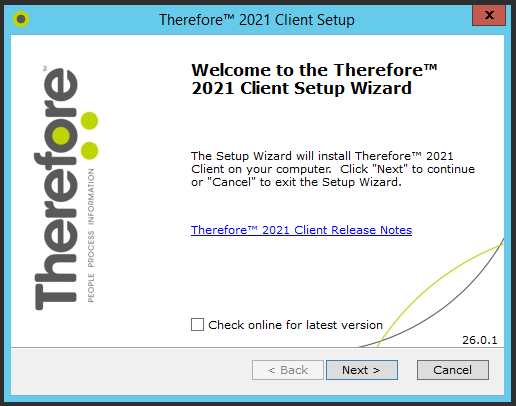
1.Run the Client setup. The welcome screen will open. If the check-box Check online for latest version is checked then the setup will check if you are installing the latest version. Select Next.
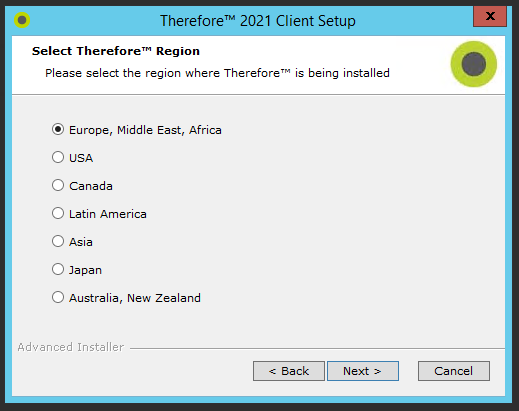
2.Select your region and click Next.
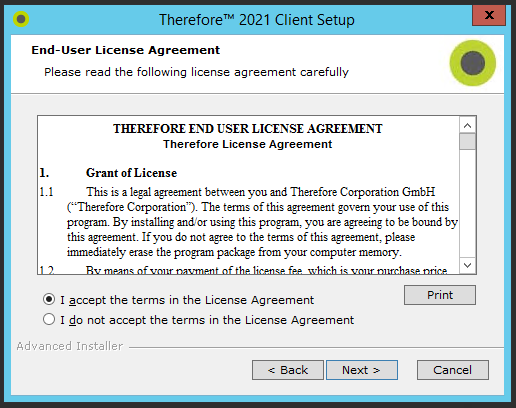
3.After accepting the terms of the license agreement, select Next.
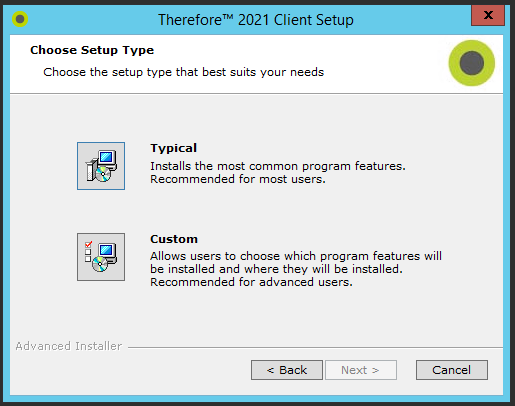
4.Choose either Typical or Custom install. A Typical installation installs the most common features. A Custom installation allows you to add or remove specific features. If Typical installation is chosen, proceed directly to Step 7.
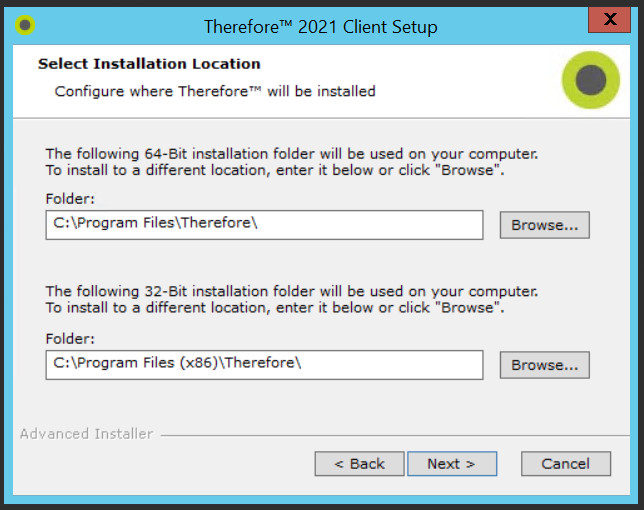
5.If required, you can change the default installation folder.
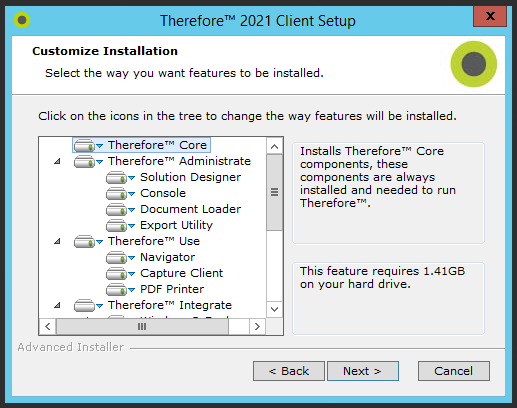
6.Click on the arrow next to each feature required and select Will be installed on local hard drive. Scroll down the list to see all available features. Once done, click Next to continue.
|
•Therefore™ Core must be installed and cannot be deselected. •Program languages can installed by expanding the Languages object and selecting those required. |

7.Next you can specify the type of connection. Select DCOM and/or XML Web Service and the enter the name or IP address of the Therefore™ Server that client applications will connect to. For multi-tenant/hosted systems you need to specify the Tenant Name. Click Next when done.
|
•Therefore™ Online: Clients connecting to a Therefore™ Online system must connect using Therefore™ XML Web Service. Check the box Connect to Therefore™ XML Web Service and enter the server address. Then enter the Tenant name in the box below. Contact your system administrator to find out your server address and tenant name. |

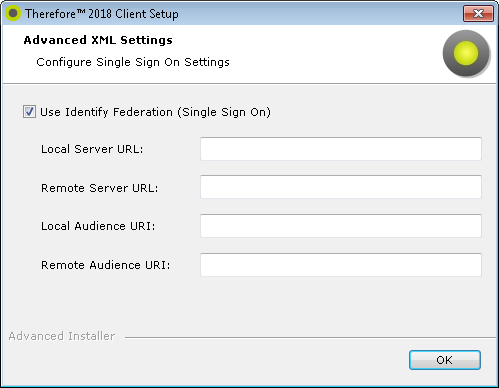
Si les paramètres de l’onglet Avancé sont sélectionnés, les utilisateurs associés à un service ADFS (Active Directory Federation Service) peuvent entrer leurs informations d’identification pour l’authentification unique.
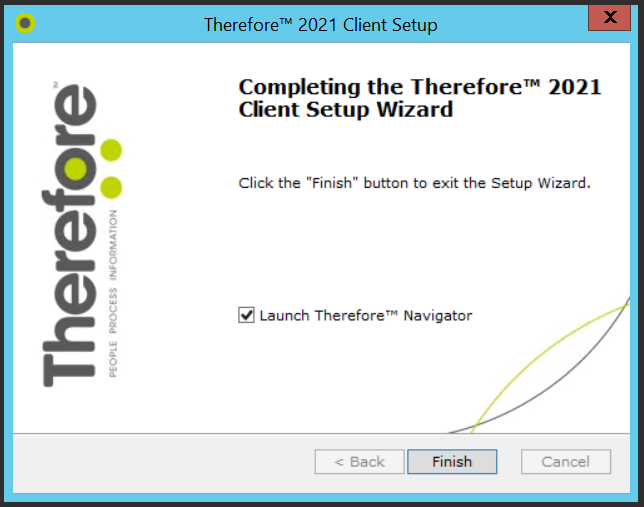
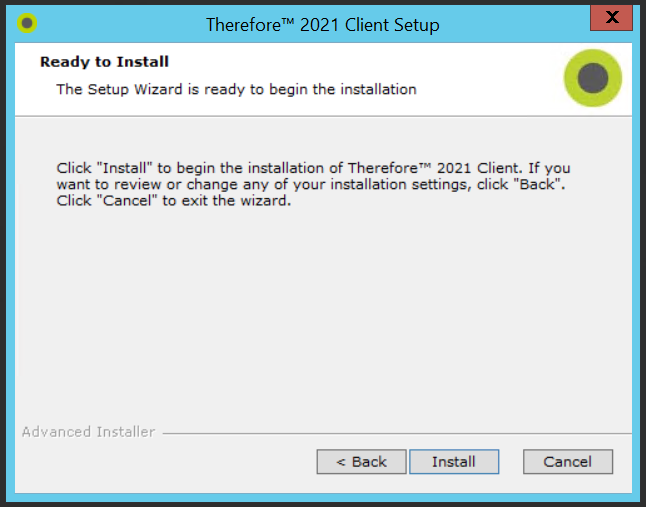
8. The Client applications are ready to install. Select the Install button to start the installation.
9. By default, after the installation is complete, and you click Finish, the Therefore™ Navigator will be launched. You can also un-check this option.