 How do I create a new role in Therefore™?
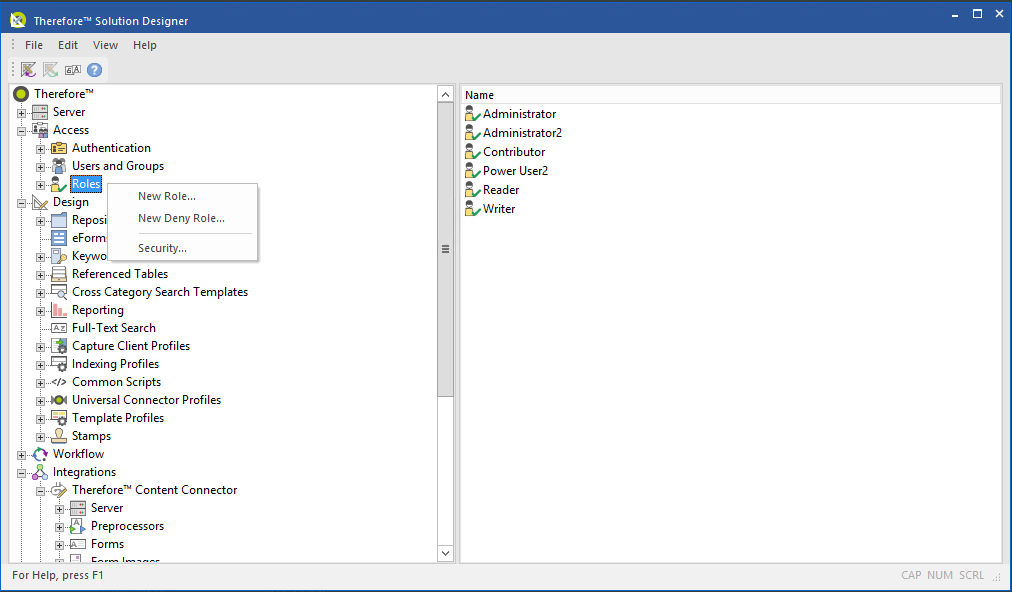
1.Open the Access node the Therefore™ Solution Designer and right-click on the Roles node.
2.Select New Role from the context menu.
3.In the Role Definition dialog, populate the fields with the information required for the new role and set the permissions from the list of check-boxes.

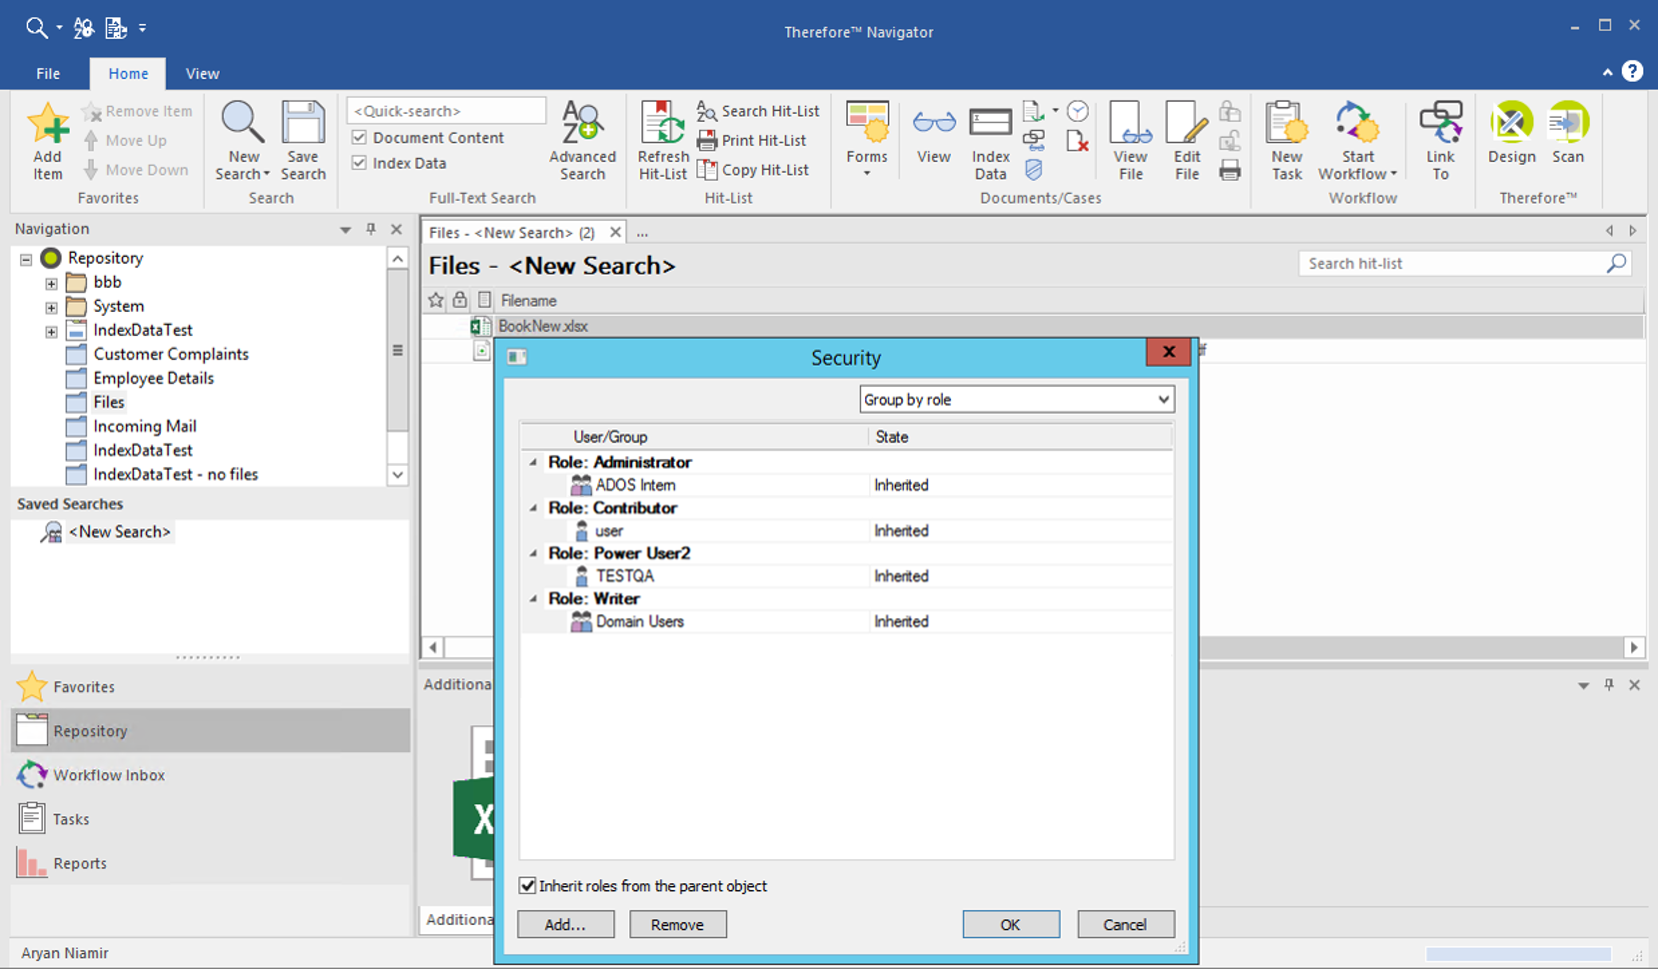
4.In the Therefore™ Navigator, right click on a file to view its security settings.

|
Note: These can also be checked on an object in the Therefore™ Solution Designer.
|
5.Roles can then be assigned by clicking the Add button on a selected user/group.
|
Note: Settings for Role Based Access Control will need to be configured in the Therefore™ Advanced Settings under the Security tab before it can be used. In the drop-down menu next to the 'Security Mode' option, select 'Role Based'.

|
|

