 How do I save the Workflow history to a dedicated category?
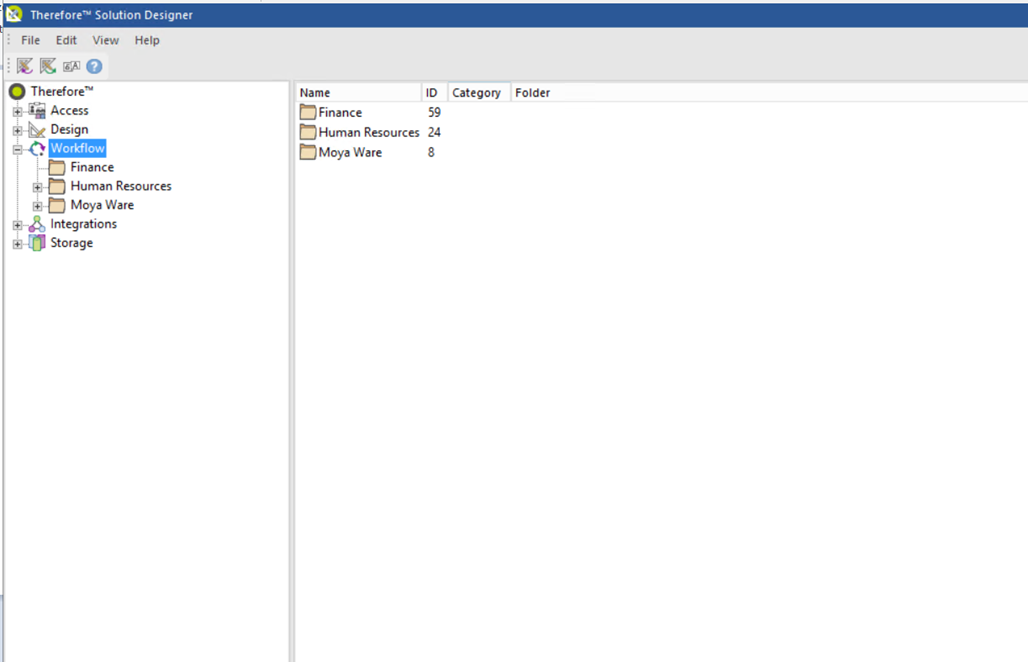
1.Open the Therefore™ Solution Designer
2. Click to select either "Workflow" or one of its subordinate folders.
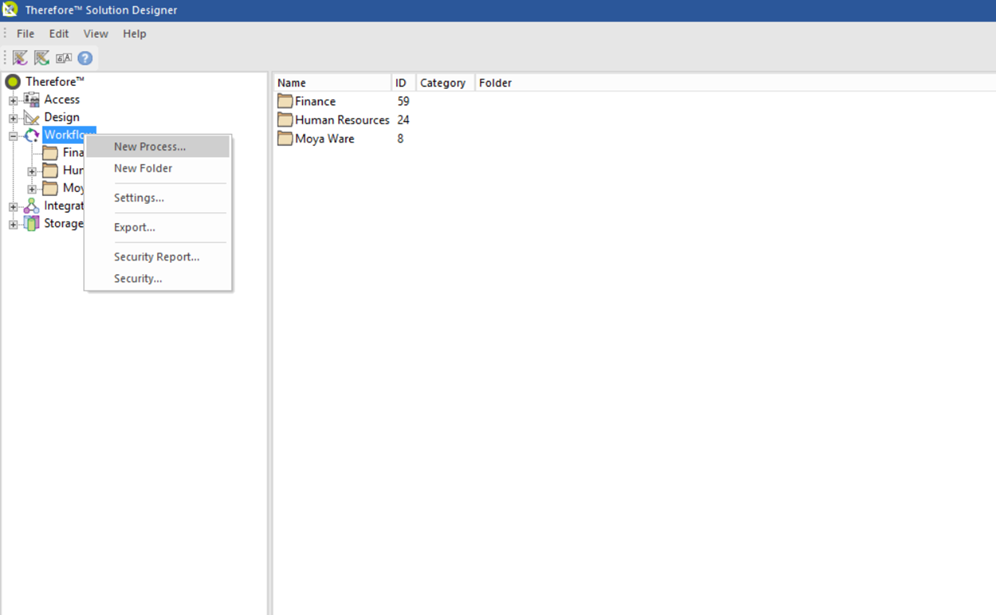
3. Right-click to open a menu. Click ‘New Process...’.
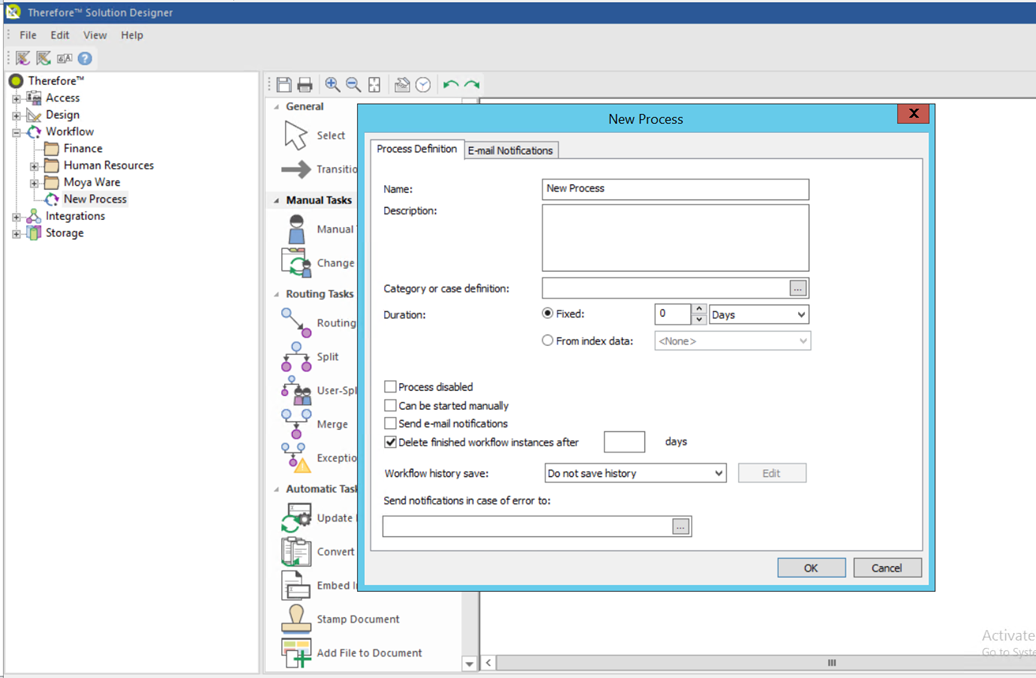
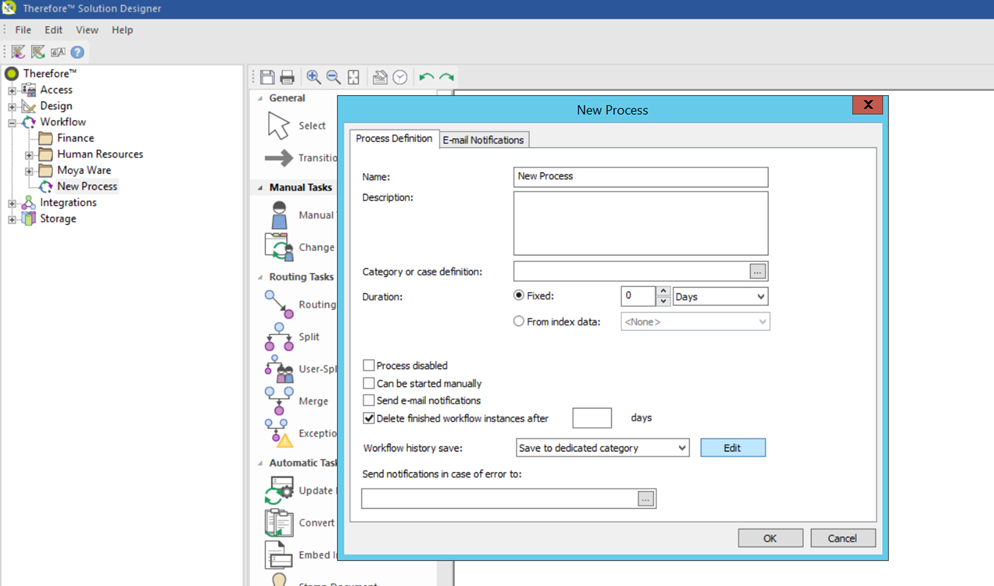
4. Enter the relevant data regarding the new process. Check the box labeled 'Delete finished workflow instances after...days' to unlock the various options under 'Workflow history save:'.
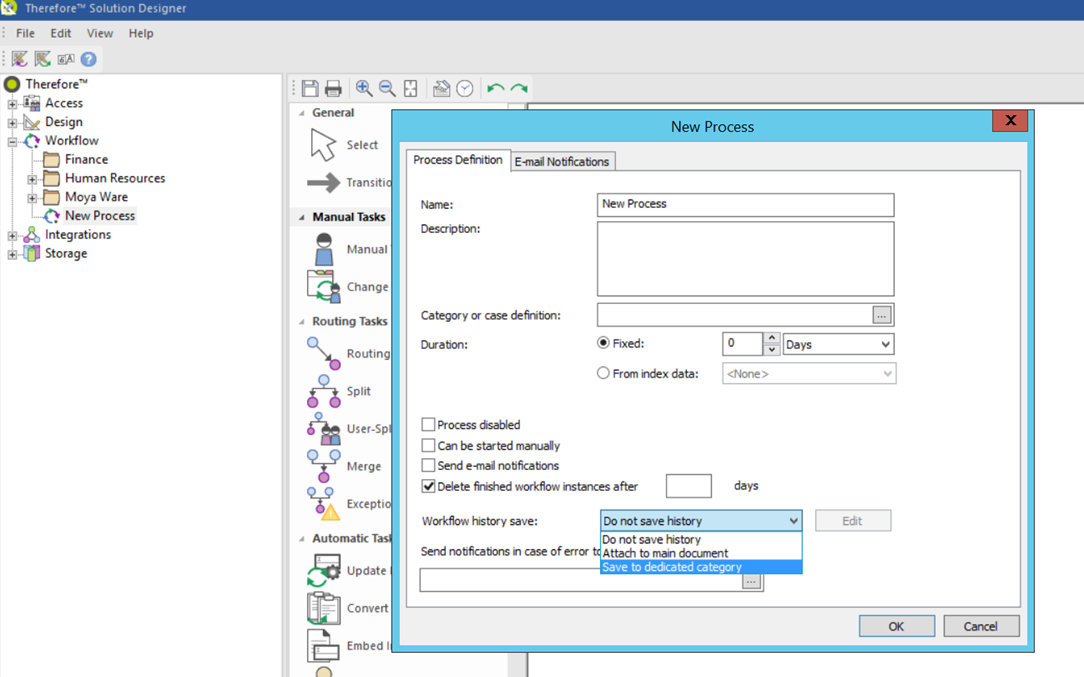
5. Select 'Save to dedicated category' from the drop-down menu.
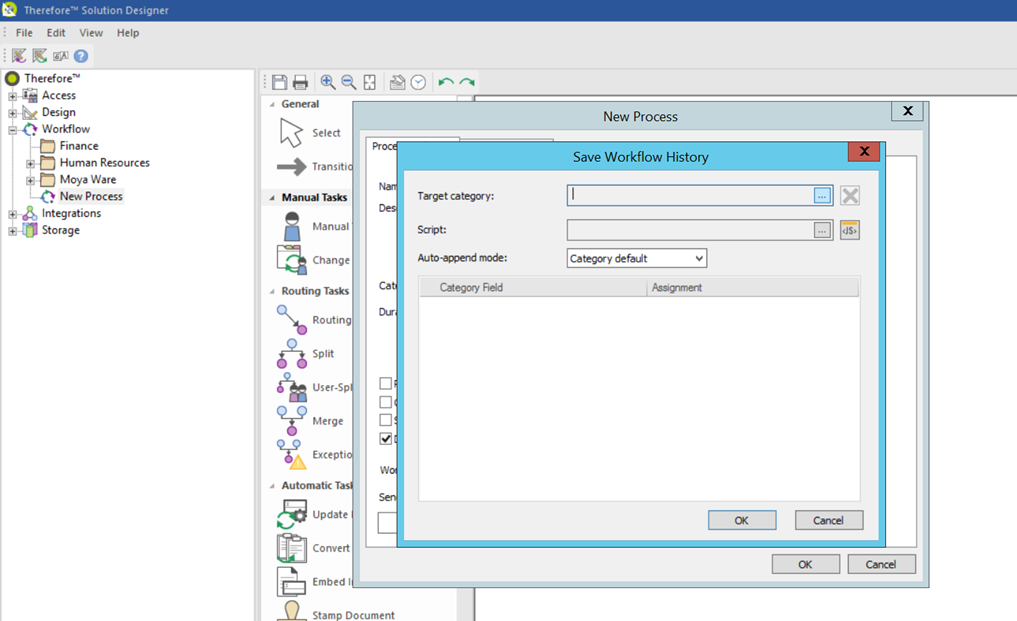
6. Click the button labeled 'Edit' to specify the target category.
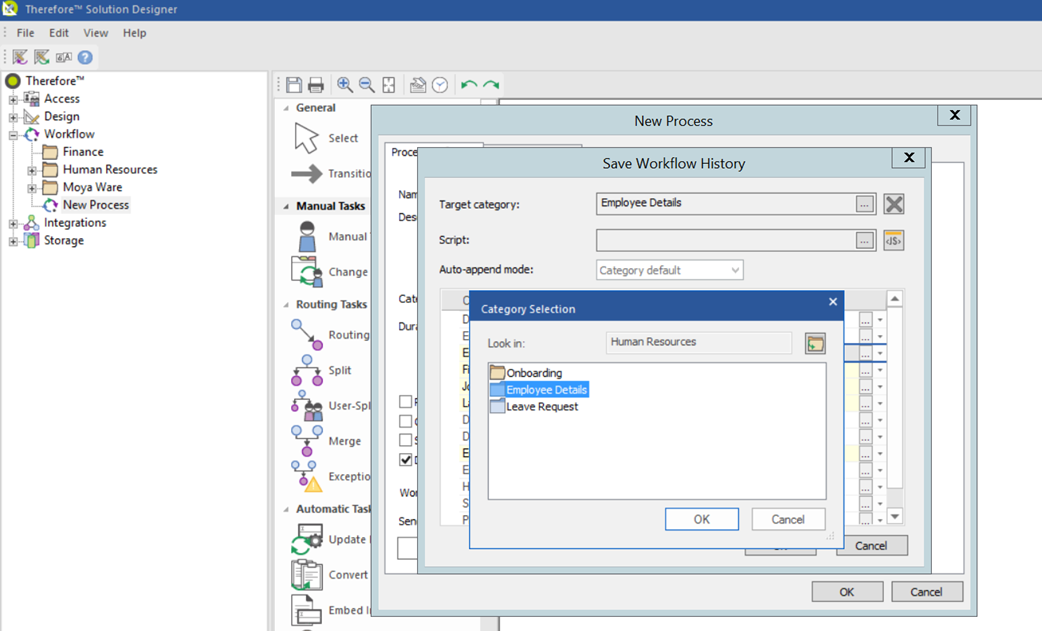
7. Click the icon labeled '...' next to the 'Target category' field to open the 'Category Selection' menu.
8. Navigate to the category in which you would like to save the Workflow history. Left-click to select the target category. Click 'Cancel' to return to the previous menu or select 'OK' to proceed.
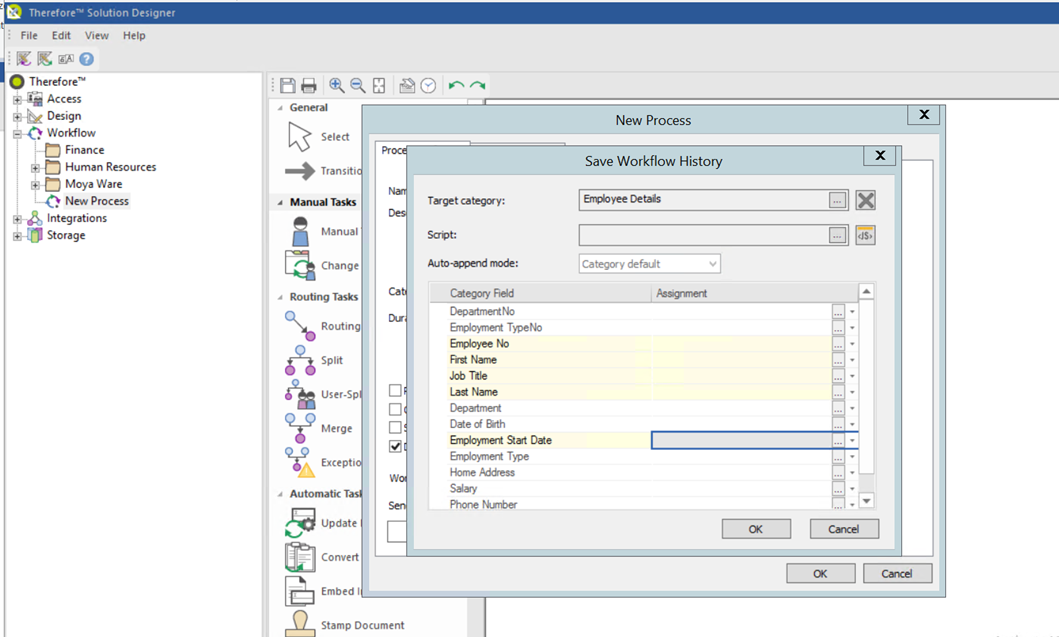
9. Specify scripts, or index field assignments as needed. Click 'OK' to complete the process.
|

