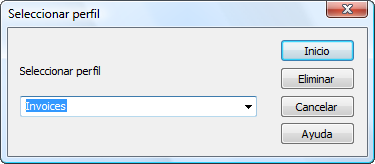
1.Click Profile Wizard... Select an existing profile (for editing) or enter a new name that relates to the category to which the documents will be saved. Click the Start Button.
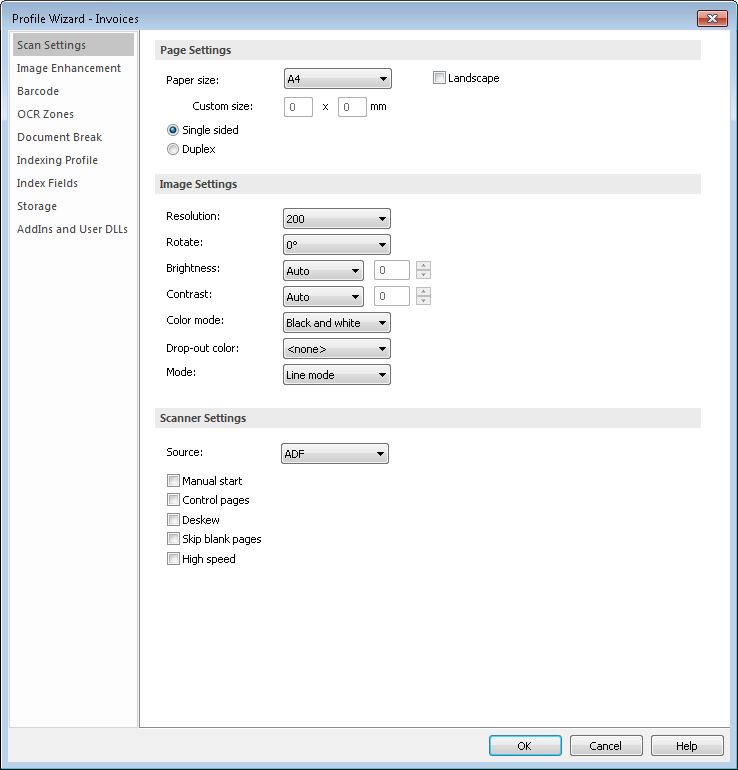
2.The Profile Wizard will open and the first tab, Scan Settings, will be shown; these settings will be automatically applied to whichever scanner is used for scanning. Configure these as required.
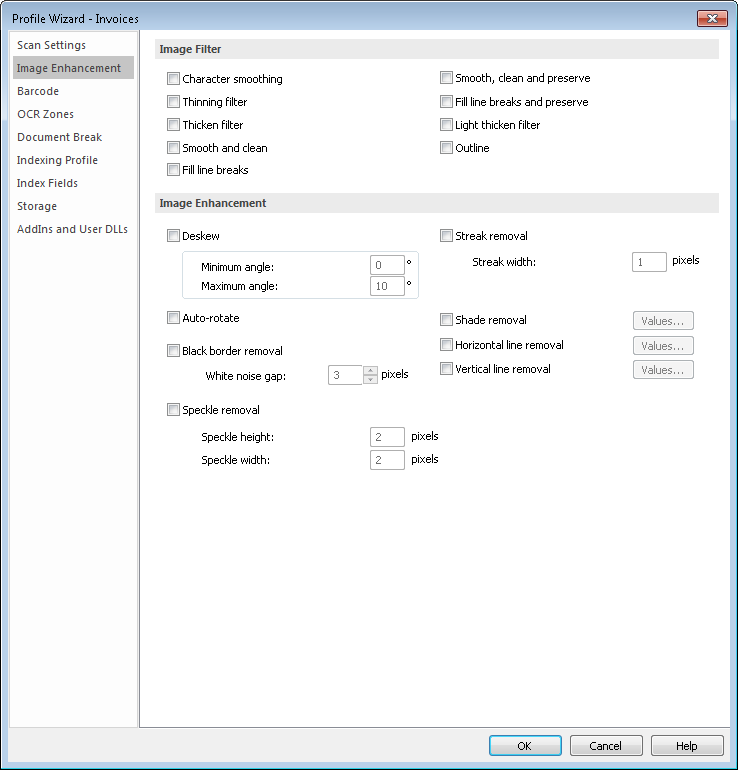
3.To optimize the picture quality/size, various image processing options can be applied to the scanned page. Try applying one option at a time and test the image results. Also, try to avoid selecting image options that counteract each other (such as selecting both Thinning and Thicken filters). See Image Enhancement for details on each setting.
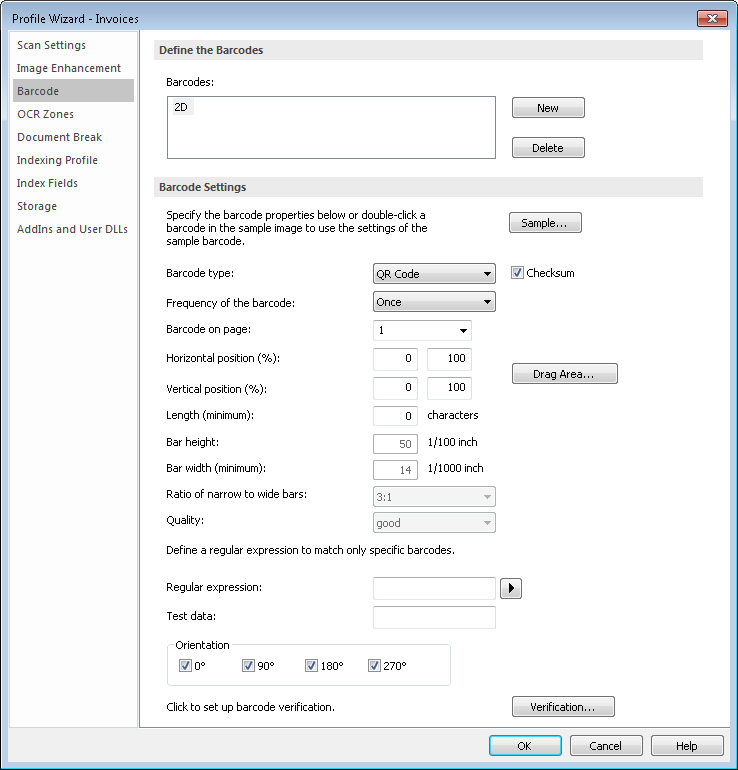
4.The next dialog is needed when category or index data should be extracted from a barcode. Thereforeā¢ supports a variety of barcode types and allows the use of more than one barcode on a single document page. The number of barcodes is not limited, but for practical purposes a limit of 10 is suggested. Click New and then enter an intuitive name. Then click Sample and open a file containing the barcode. Double-click on the barcode and if it is supported, it will be automatically recognized. The Page on which the barcode occurs, frequency which it occurs and its orientation on the page must also be specified. For details on the other settings and on using verification see Barcode definitions.
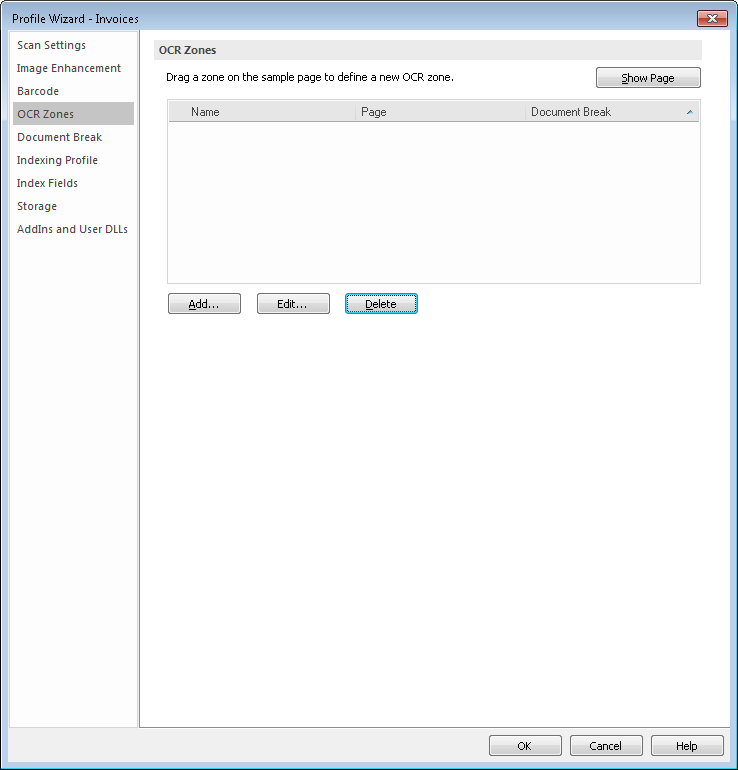
5.The next dialog is needed when category or index data should be extracted from text on the scanned image. This data can also be used to create document breaks. See OCR Zones for more details.
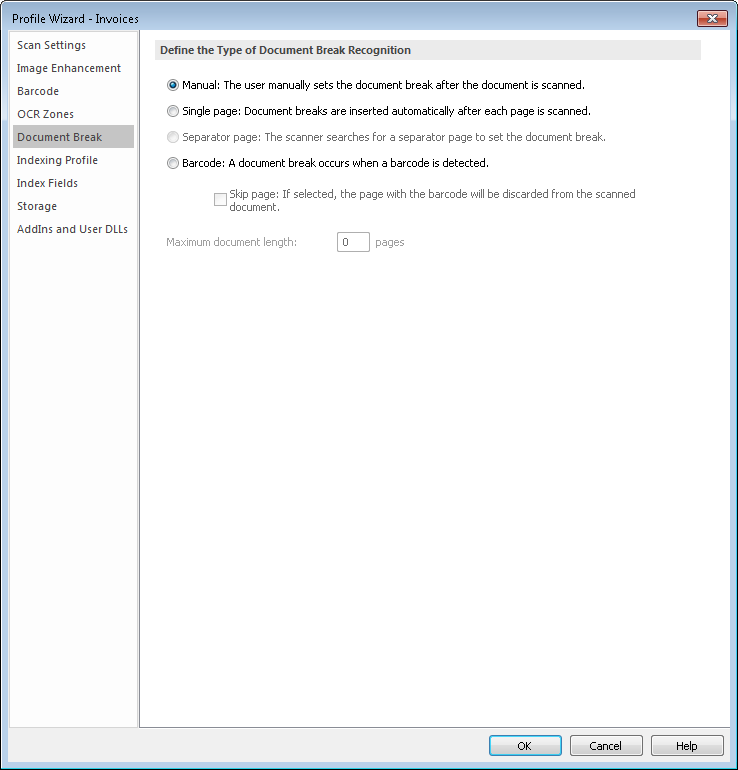
6.Next we need to specify how document breaks should be recognized. Note that these settings will be used in addition to any breaks defined in OCR Zones.
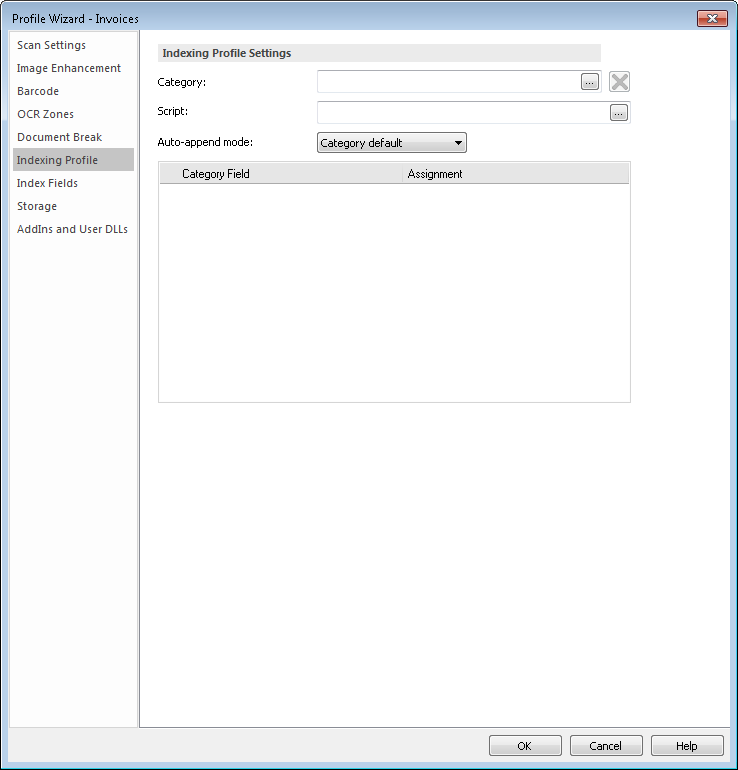
7.The next step is to set how the Thereforeā¢ category and index data will be assigned. See Indexing Profile for more details.
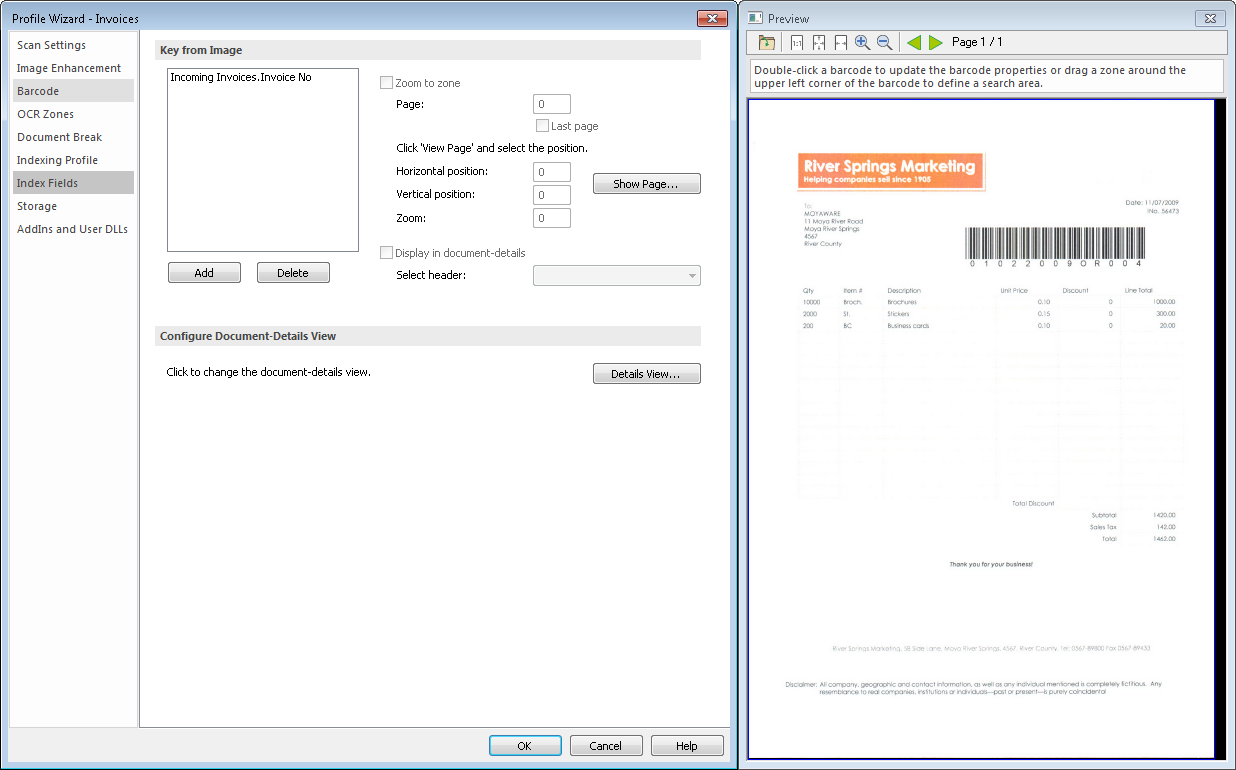
8.The next step allows zoom to zone settings to be defined which makes manual indexing easier. For example, when the focus moves to the invoice number field, the view will automatically zoom into the zone where the invoice number is expected to be. It is also possible to add an index field to the Document-Details View.
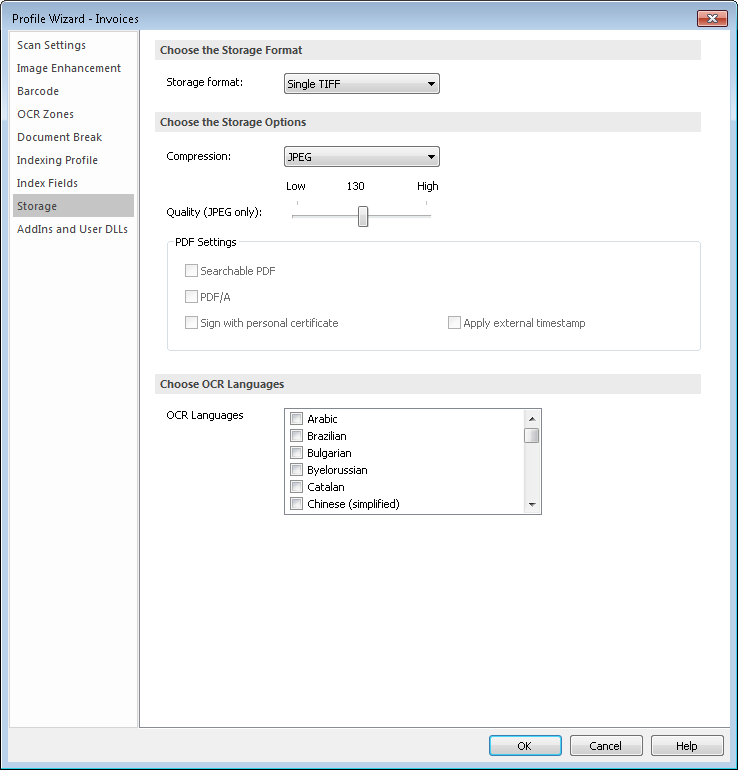
9.The next step is to specify what format the scanned images should be stored as. For OCR recognition it is important to choose the language that matches the text on the document. In addition the PDF Settings can be specified (for example, the PDF can be signed).
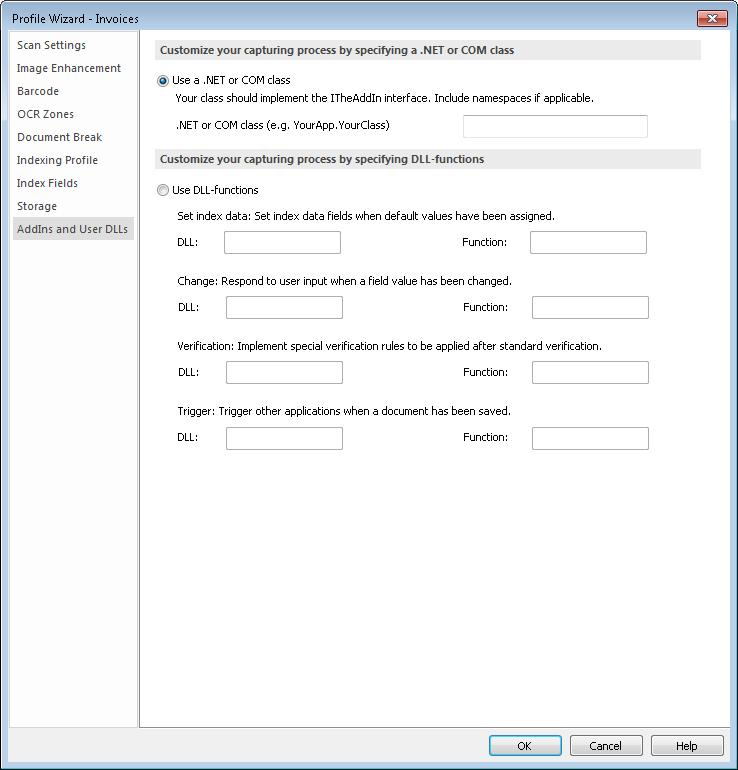
10. Finally, if you need DLLs (Dynamic Link Libraries) to be executed at various points in the document capture process, then these can be configured under AddIns and User DLLs. Click OK to save the settings.
|
|---|


