 How do I create an eForm in Therefore™?
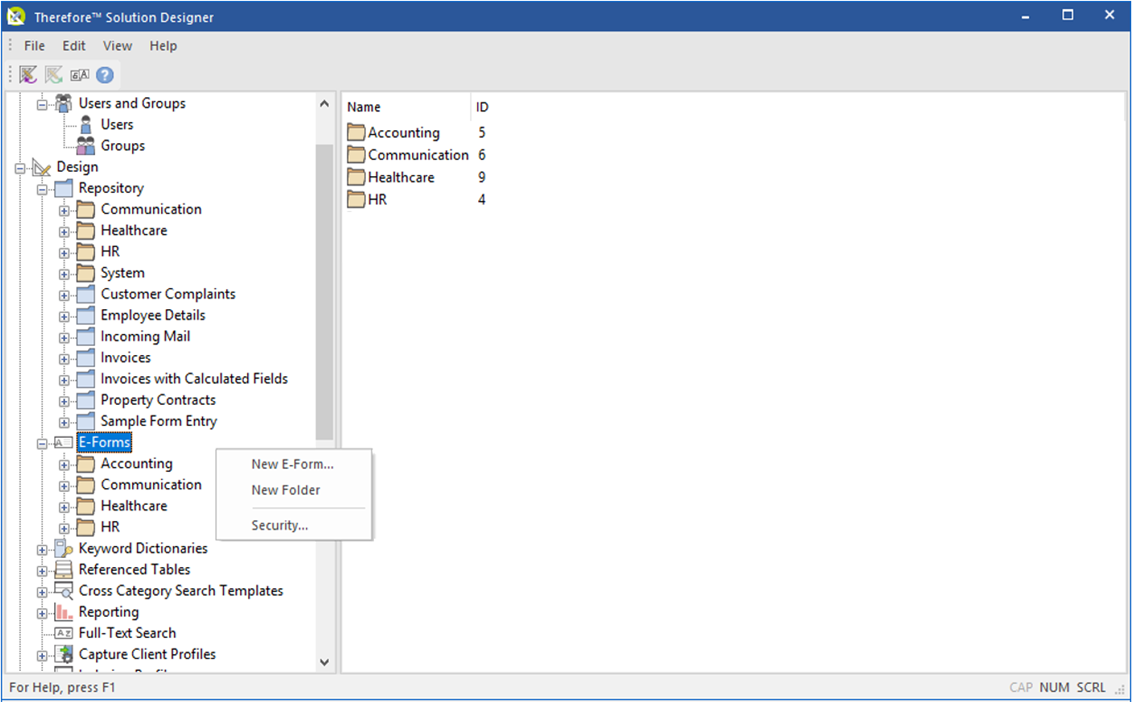
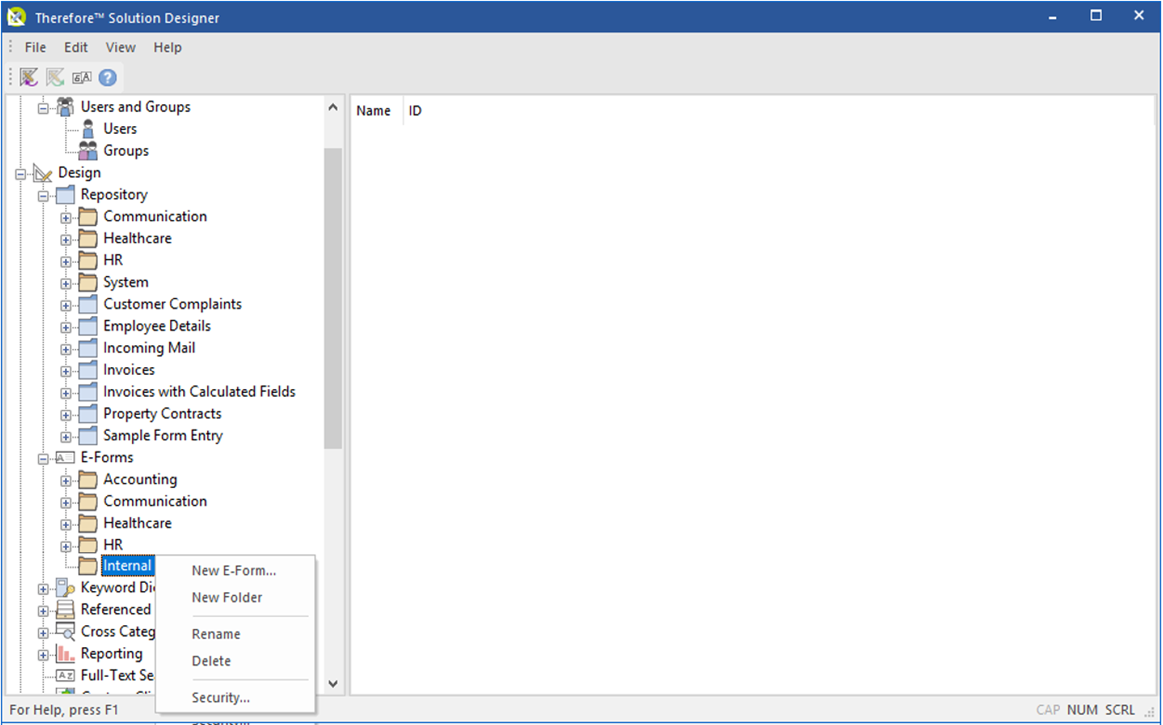
1.Right-click on the eForms node under the Design menu and select the ‘New eForms’ option in the context menu.

|
Optional: A folder can be created to categorize the New eForm or the eForm can be created into an already existing folder.
|
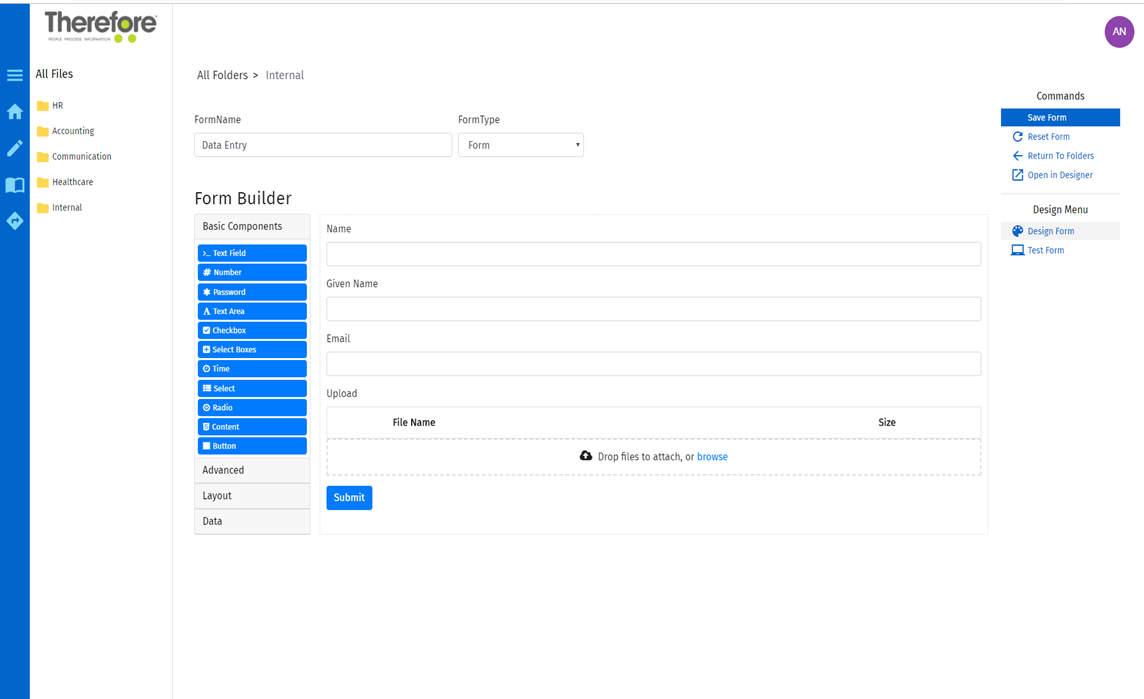
2.Once the web browser opens up the eForms application, drag and drop the various elements on offer from the Form Builder features list. After completion, click the 'Save Form' option in the right panel.

|
Note: Clicking 'Submit' instead of 'Save Form' will not enable the eForm to be functional from the Therefore™ Solution Designer.
|
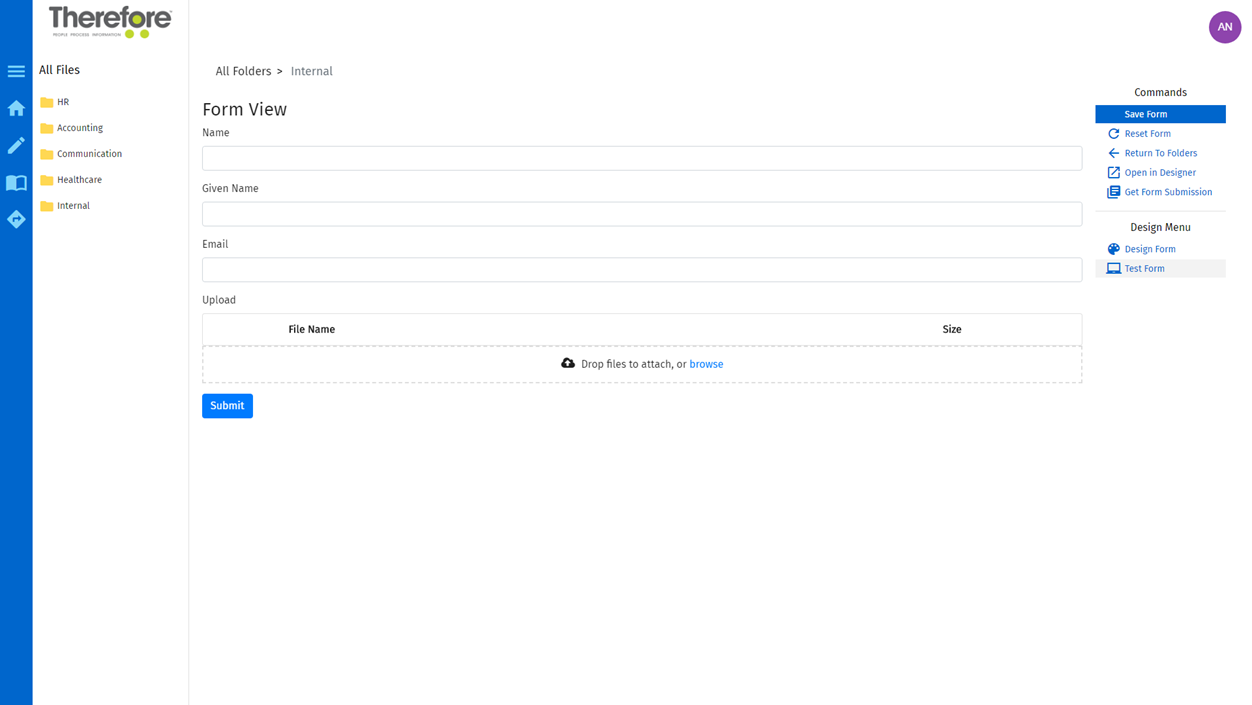
3.Return to the eForm and select the Test Form option to check that the eForm works efficiently. Once the Test form data has been completed, select Submit to check the form's functionality.

|
Note: After clicking Submit on a test form, a new option appears in the right command panel to download the submission JSON - this can be helpful to understand the internal structure of the created data, and can be used in the Test Button in the Therefore™ Solution Designer and scripting.
|
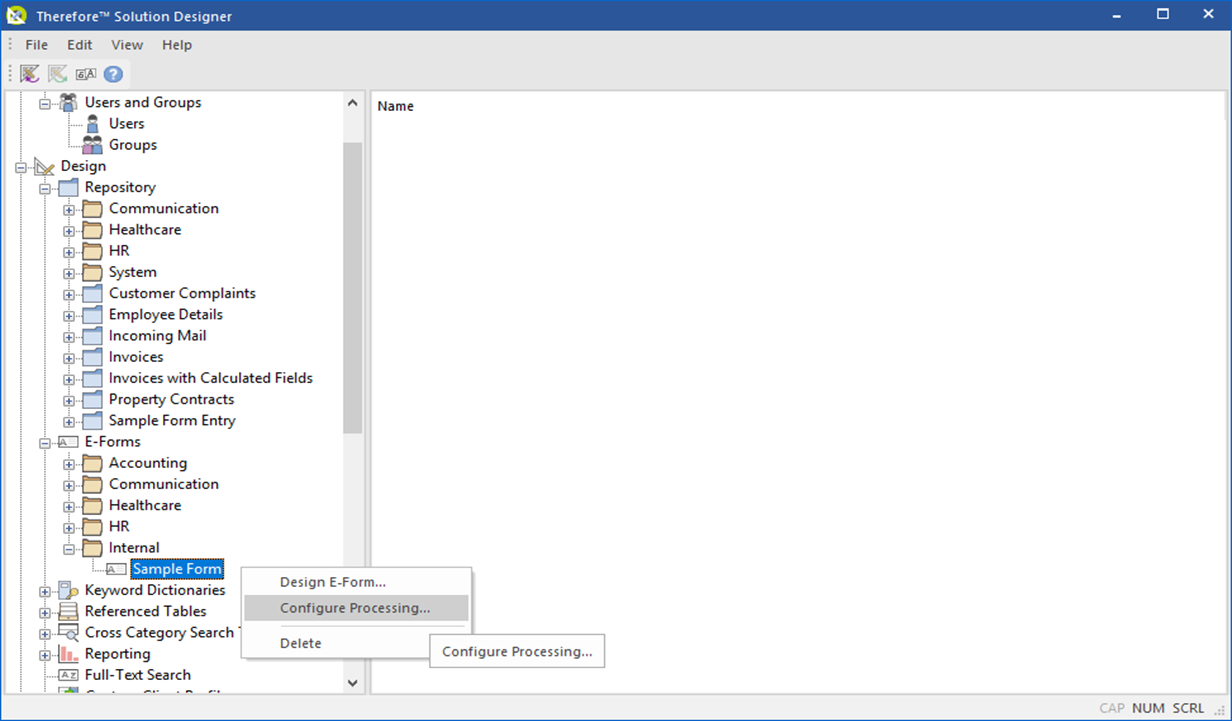
4.In the Therefore™ Solution Designer, right-click on the new eForm and select Configure Processing.
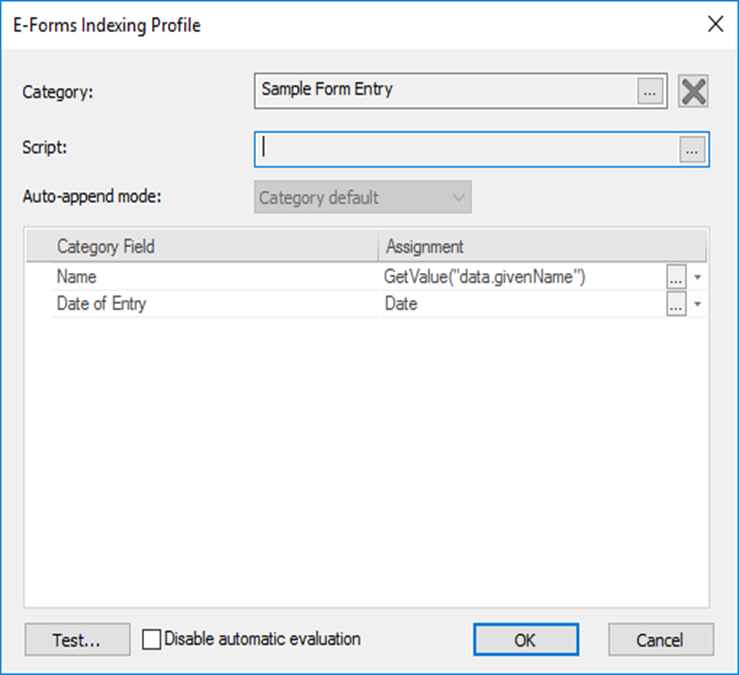
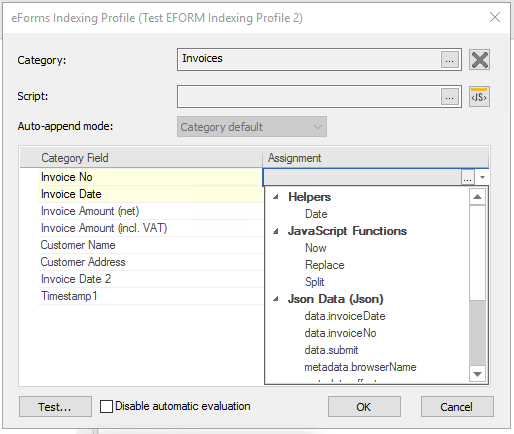
5.In the eForms Indexing Profile dialog, select a category for completed forms to be saved into and select extraction assignments with respect to the selected category field.

|
Open in Designer: This command (on the right panel) can be useful because it can quickly and easily open the Configure Processing Screen in the Therefore™ Solution Designer from the browser.
|

|
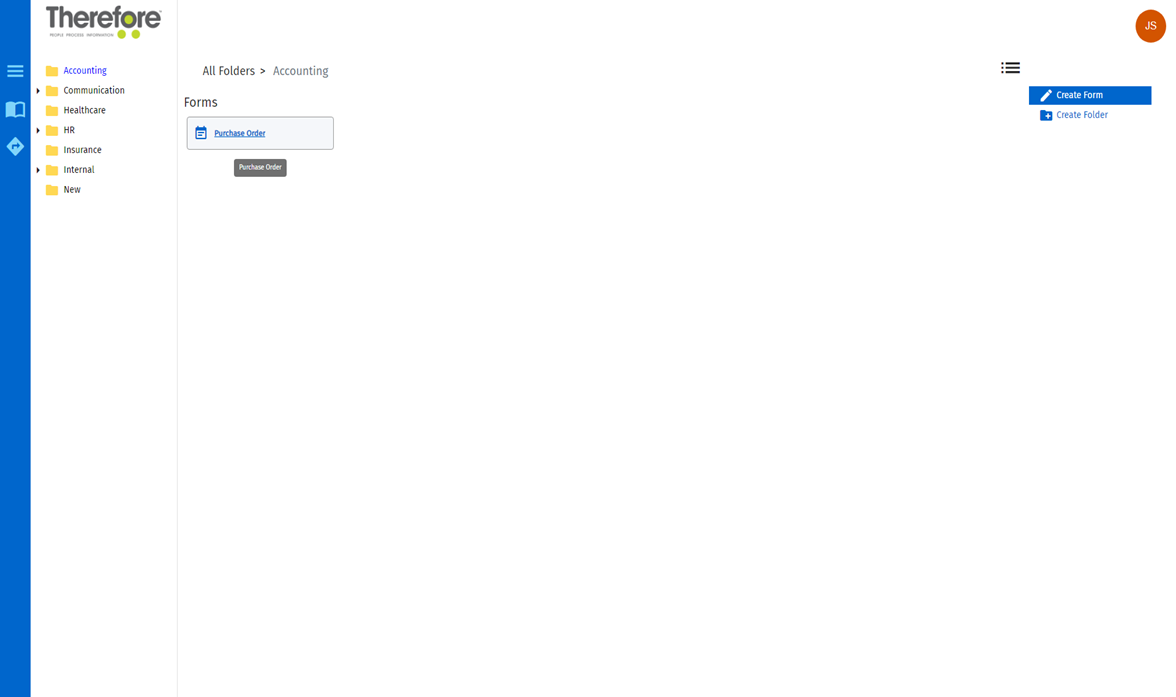
Completed forms will appear in the folder in which they were saved. To re-open the form in test-mode, click on the name of the form (blue text). Clicking on the white space around the name of the form opens it up in designer mode.
|
|
 How do I enable JSON fields in 'eForms Indexing Profile'?
1. Once an eForm has been saved and the category has been assigned in the Therefore™ Solution Designer, use the Test Form function to submit some test data. This will allow you to locate the JSON fields in eForms Indexing Profile.
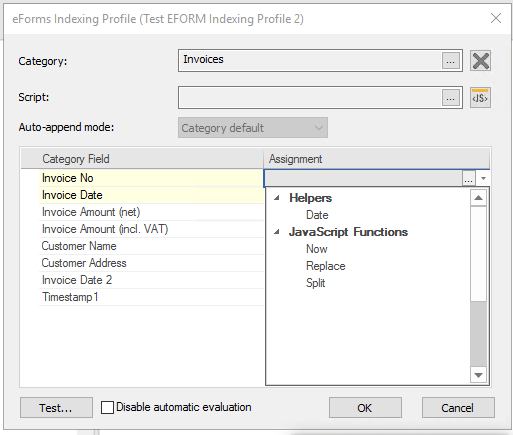

2. Once the submission is complete, reload the Solution Designer (eForm > Configure Processing…) and you will now be able to assign the fields in the eForm Indexing Profile.
|
 How do I create a Wizard eForm?
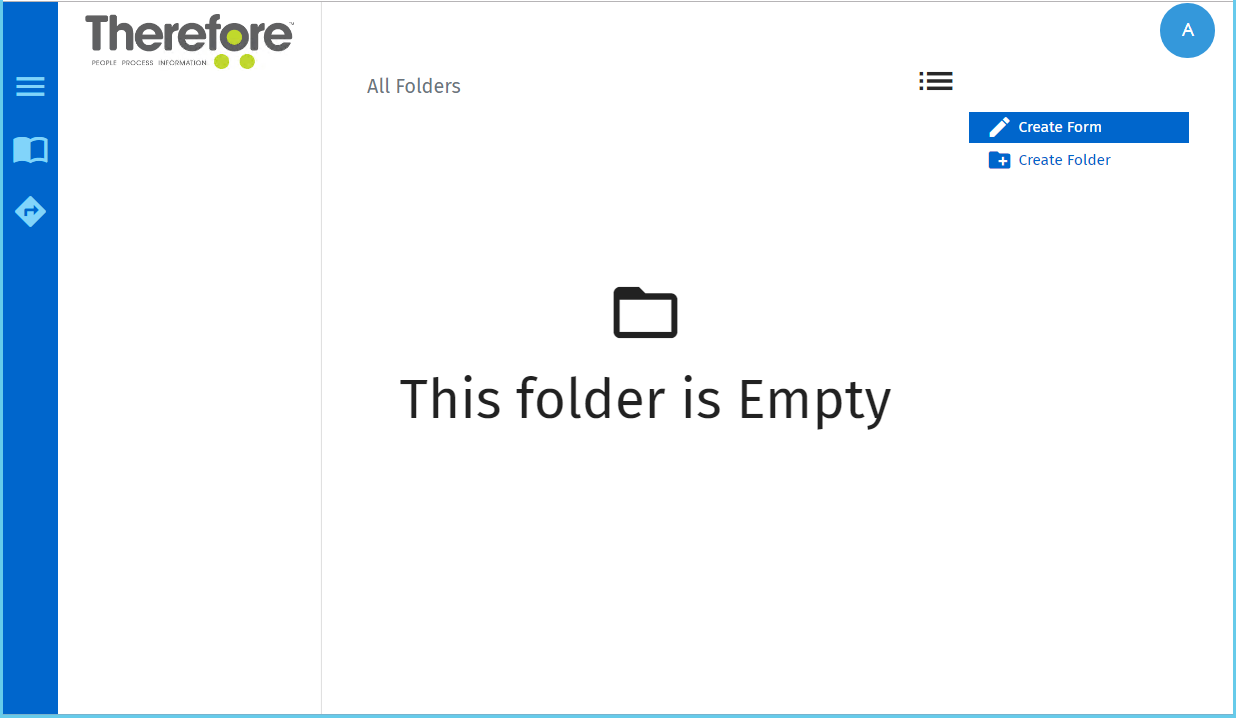
1.Select Create Form on the eForm's landing page.
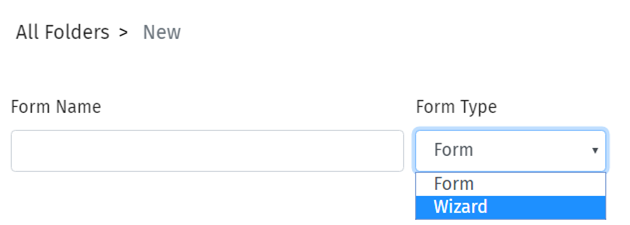
2.In the Form Type drop-down menu, select 'Wizard'.
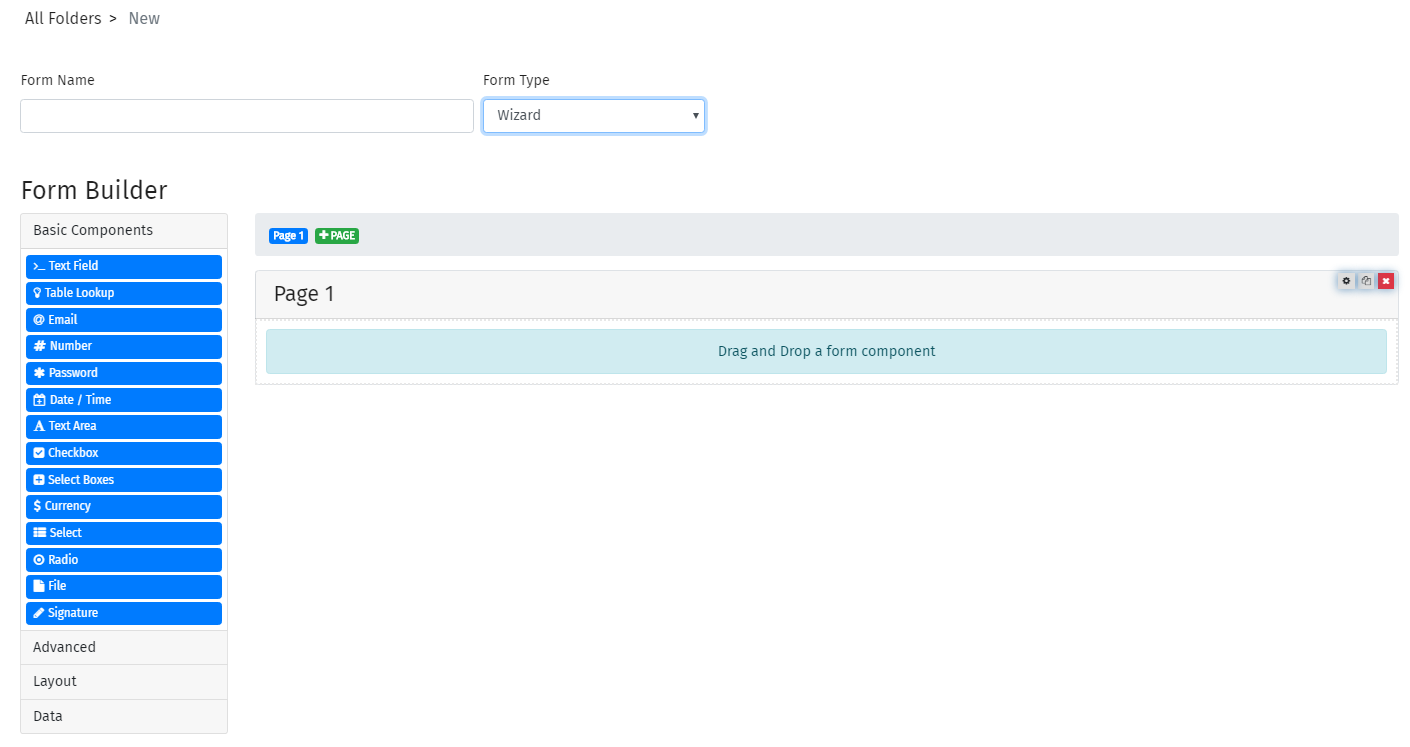
3.Components can be dragged and dropped underneath the page title. The pages icons in the above panel will direct the user to the respective page within the created Wizard.

|
Note:
•A Panel component (bearing a page number as its title) will appear at top of each individual page by default. The panel itself cannot be deleted, but its contents can be cleared when the Remove button is clicked.
•Drag and drop the individual pages to rearrange them. These changes are saved for end users.

|
|

