|
Process Workflow Task |
Scroll |
How do I process my workflow task?
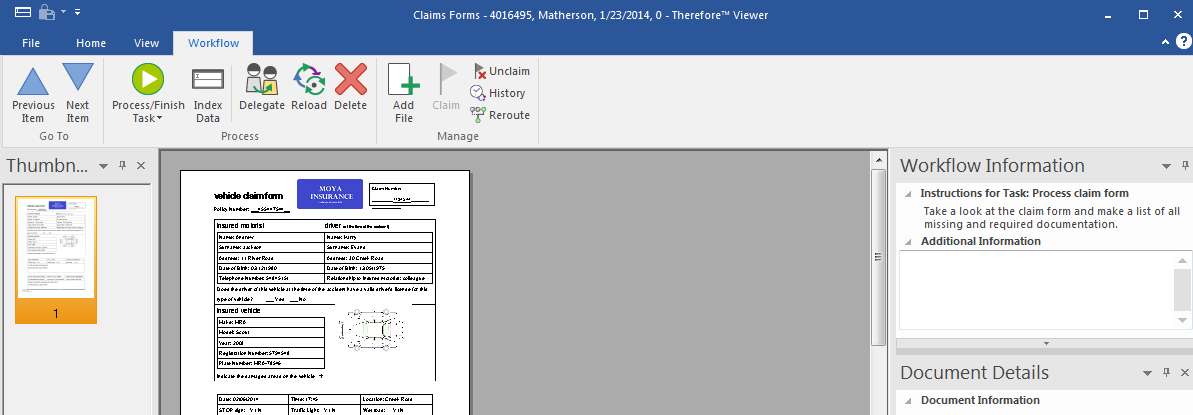
1.Open a workflow task from your Workflow Inbox or via an email link (this depends on how the creator configured the workflow). Under Workflow Information the instructions for the task are listed. If the task has a due date this will also be displayed. Any additional important or informative details that apply to the task can be added in the Additional Information text box.

2.Additional files can be added to the document, by dragging and dropping to the Thumbnails pane. New documents can be linked to the workflow instance by dragging and dropping to the Linked Objects pane. Under Process/Finish Task a list of possible actions is displayed. In addition if a user has the permissions, the task could be delegated. By default, once processed the next task in the user's Workflow inbox will automatically be displayed, or if there are no further tasks, the Thereforeā¢ Viewer will be closed (the Viewer can also be configured to close after a task has been completed). In addition, the user can navigate through their tasks using the Previous and Next Item buttons. See Workflow tab in the reference section for more information.

|
Instances can only be delegated if both the user doing the delegating, and the one being delegated to, have the necessary permissions. |
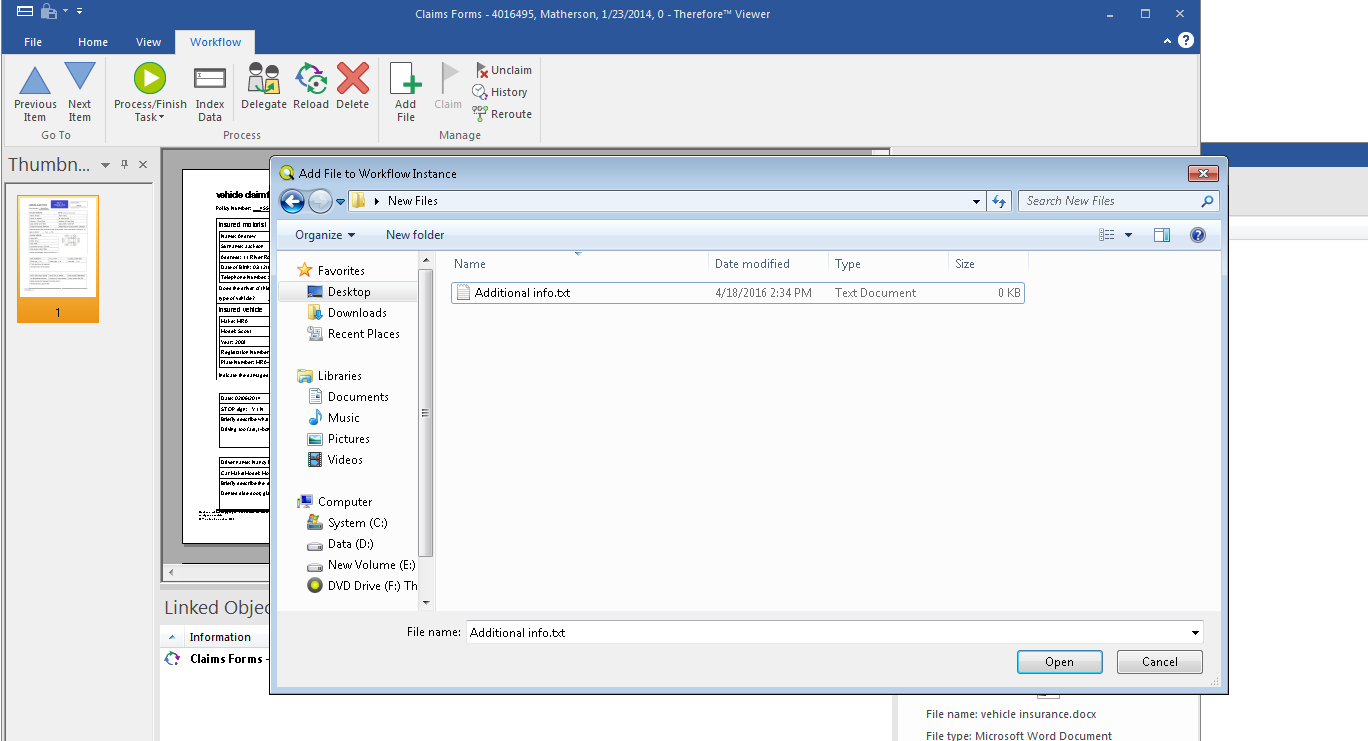
3.In addition a new document can be saved to Thereforeā¢ and linked to this workflow instance by clicking on the Add File icon. For example if this was an invoice, the user could save the matching delivery note to Thereforeā¢ and it would be automatically linked to the workflow instance and displayed in the Linked Objects pane.


