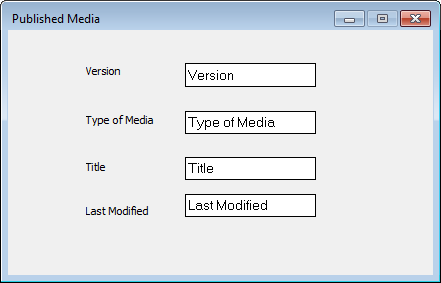
1.Before a profile can be created, a suitable category is required in Thereforeā¢ to which the exported documents can be saved. Some thought and planning should be employed at this stage, since good indexing will improve the later handling of documents. For this example we will use the following category:
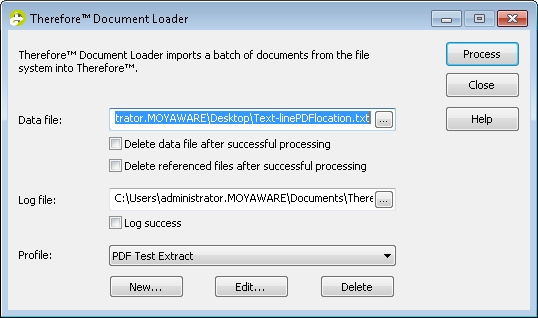
2.Next, start the Thereforeā¢ Document Loader and under Profile click New.
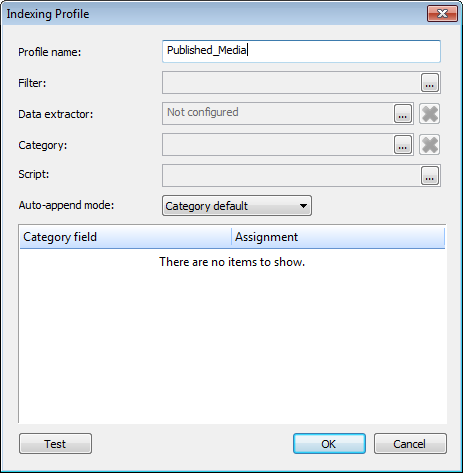
3.The Profile dialog will open. Enter the Profile name.
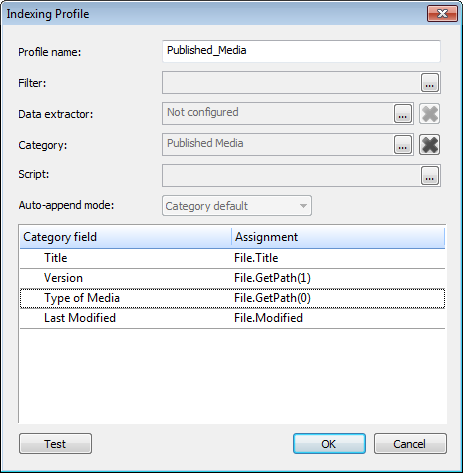
4.Next, select the Category where the documents should be saved to. The category fields can then be given assignment values from the folder structure and file properties. Clicking on the assignment drop-down displays a list of pre-configured options. For example, the File Object: Title (file name without extension) can be assigned to the index field: File Name and the File Object: Modified can be assigned to the index field: Last Modified.

|
•If you just wanted to extract the first four characters of the file title, you could use: Mid(File.Title, 1, 4).
•Where the date format on the documents to be imported differs from the date on the operating system, the ToDate function can be used. For example if the documents have a date with format DD.MM.YYYY but the system uses another format then in the assignment you could use: ToDate((File.Modified), "DD.MM.YYYY") |
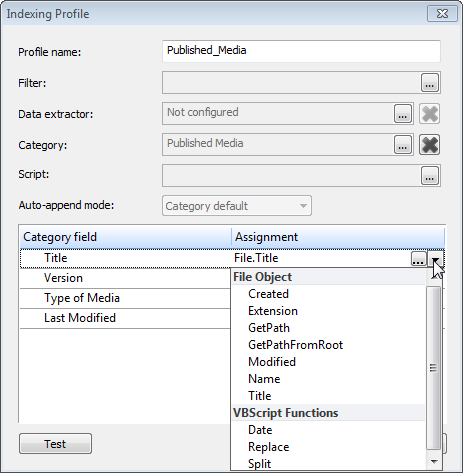
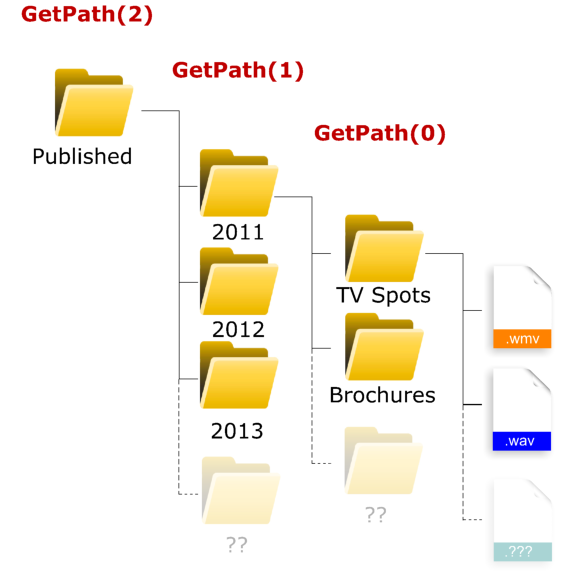
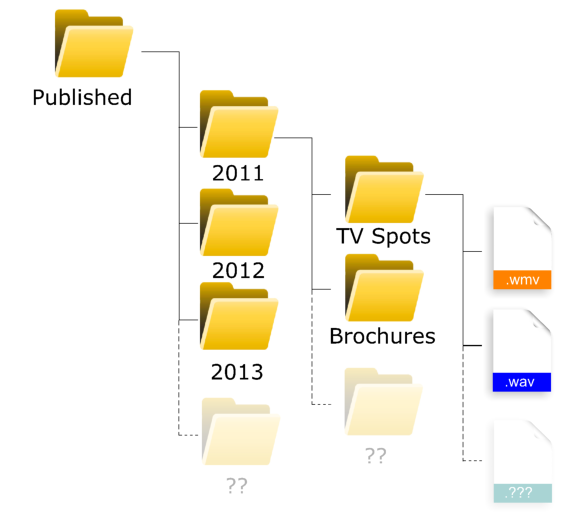
5.To assign values from the folder names the File Object: GetPath can be used together with the relevant folder level. Level 0 is the folder containing the files, and then the level increases one step for each folder above this.
6.In this example the finished indexing profile would then look like this. You can test the profile by clicking on Test and selecting a test file. Click OK to save the profile.
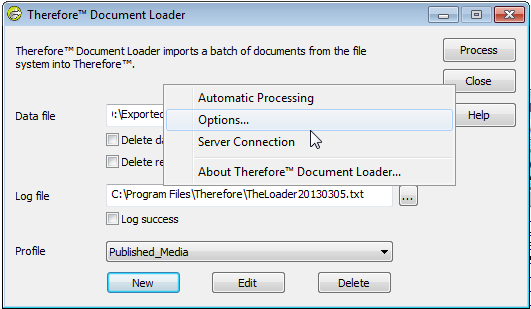
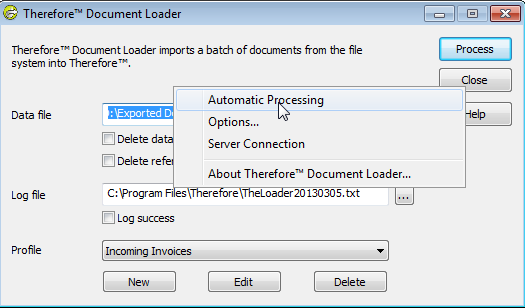
7.Right-click on the Document Loader dialog window and select Options.
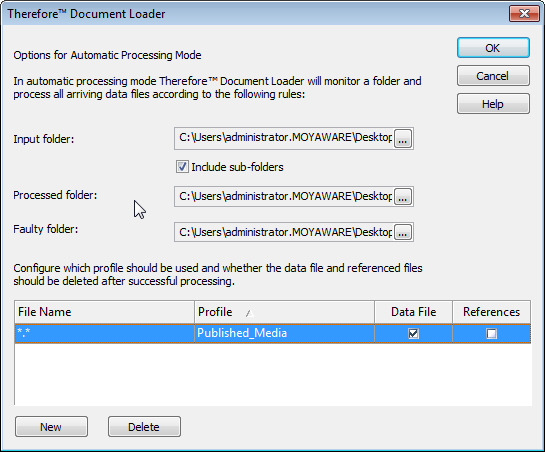
8.As the Input folder select the highest folder in the hierarchy. In this example it is called "Published". Then check the box Include sub-folders. Specify a Processed and a Faulty folder.
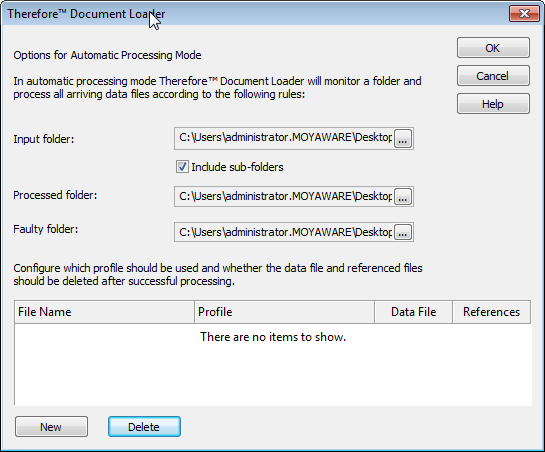
9.Select the profile that was created. If the files should be deleted after saving, check the Data File checkbox. Click OK to save the settings.
10. Right-click again on the Document Loader dialog and select Automatic Processing. This will begin the process of migrating the documents from the selected input folder into your Thereforeā¢ system.
|

 How do I use Automatic Processing to migrate files from a folder structure?


