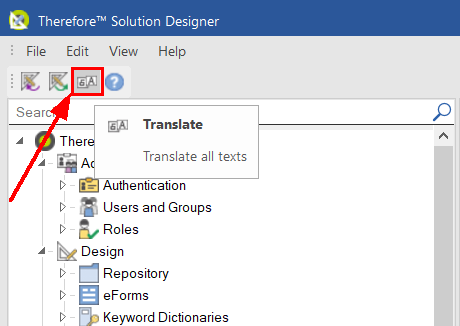
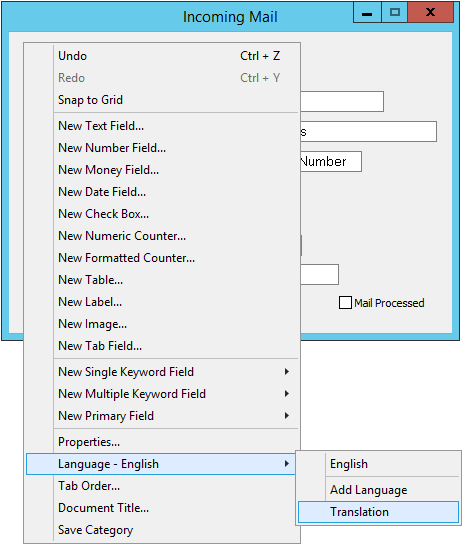
1.Open the category or case definition. Right-click on an empty part of the dialog, then select Language. The side menu will open, showing you which languages are currently available. Select Translation to open the translation dialog.
2.Select your Source language, which will serve as a reference for translation. Then select your Target language. The column Source Text shows the texts in the source language. The column Type tells you where the text is used, for example in a field caption, label caption, category name, or category description. Enter the translation for each text in the Translation column.
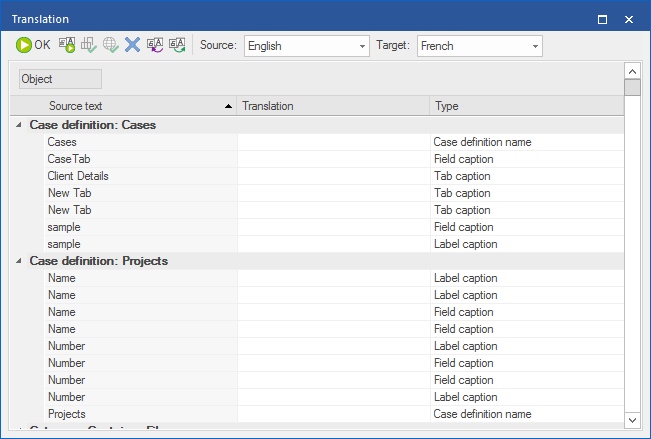
3.Since field and label captions are often the same, many entries are listed twice. Use the auto-translate function to avoid entering the same text twice. Enter the translation for one type, then select the empty fields and click the Auto-Translate button at the top. Automatically translated fields are marked in green.

|
•The names must match exactly for the auto-translate function to work.
•The auto-translate function also works across separate categories or cases, so translating additional objects becomes easier. |
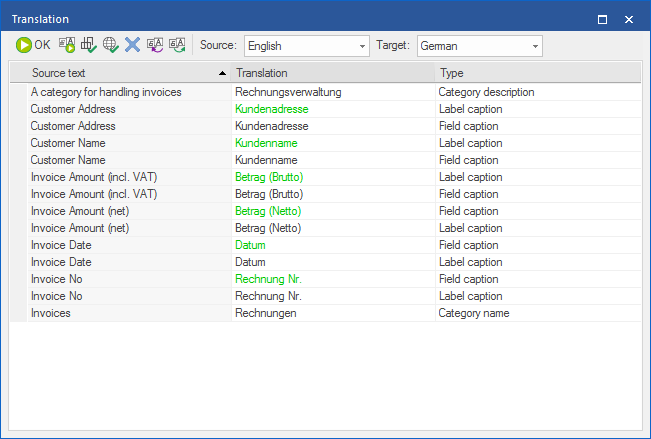
4.Check any automatically translated items. Then click the green check mark at the top to check whether your translations fit into the original's label fields. If all translated terms will fit without being cut off, the message "No issues found" is displayed. If a translated term is too long for its label, a warning is displayed. It is recommended to return to the category dialog and make the label larger to avoid cutting off the text.
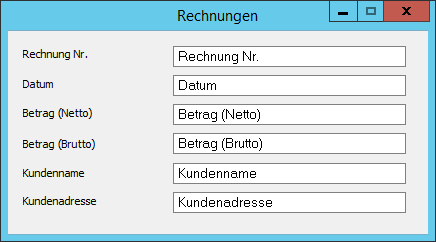
5.Save your changes when done. To check your translation, right-click on the category, expand the Language option, and select your new language. The category dialog will change instantly to the chosen language.
|


