|
Creating an eForm |
Scroll |
eForms are forms users create and manage through the Thereforeā¢ Solution Designer and the Thereforeā¢ Web Client.
Creating an eForm with the Thereforeā¢ Solution Designer
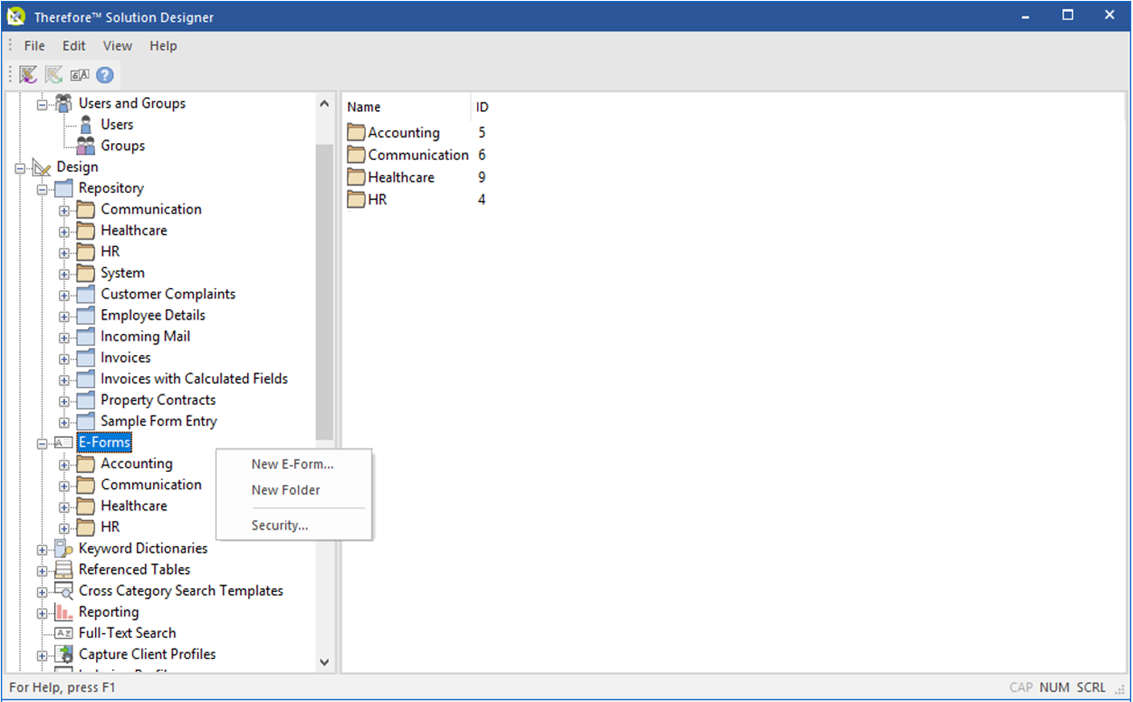
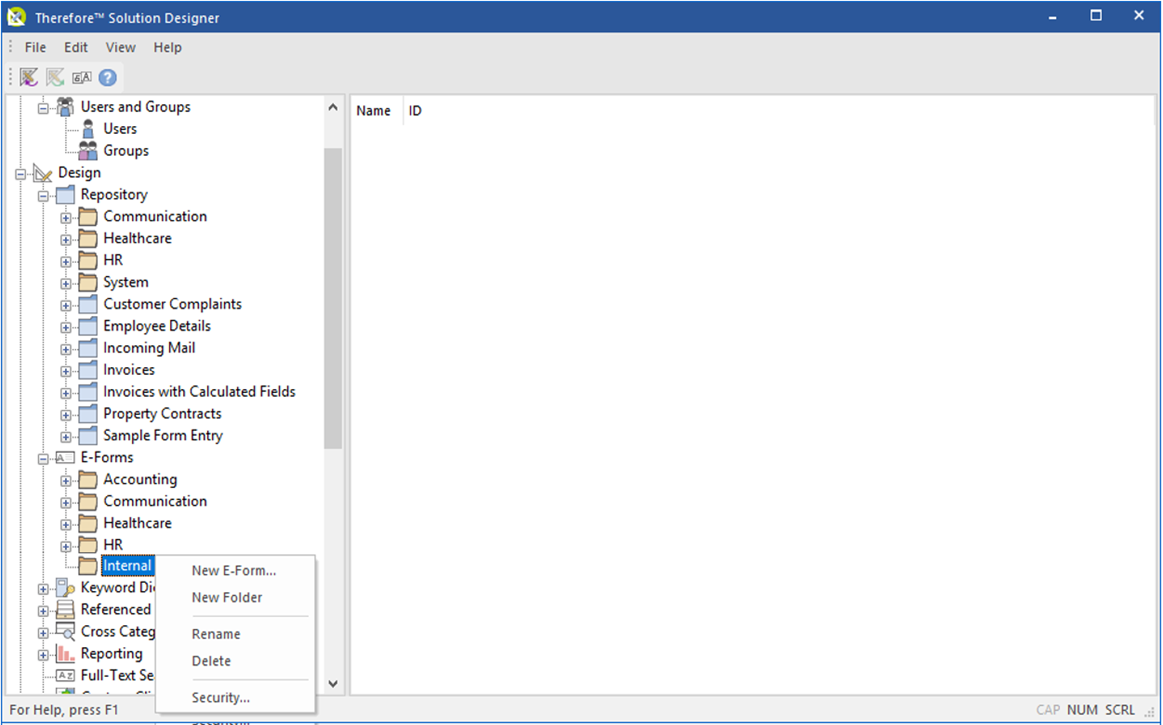
1.Access the context menu on the eForms node by right-clicking the node or a folder under the node and select 'New E-Form...'. This will open the eForms application on your web browser.

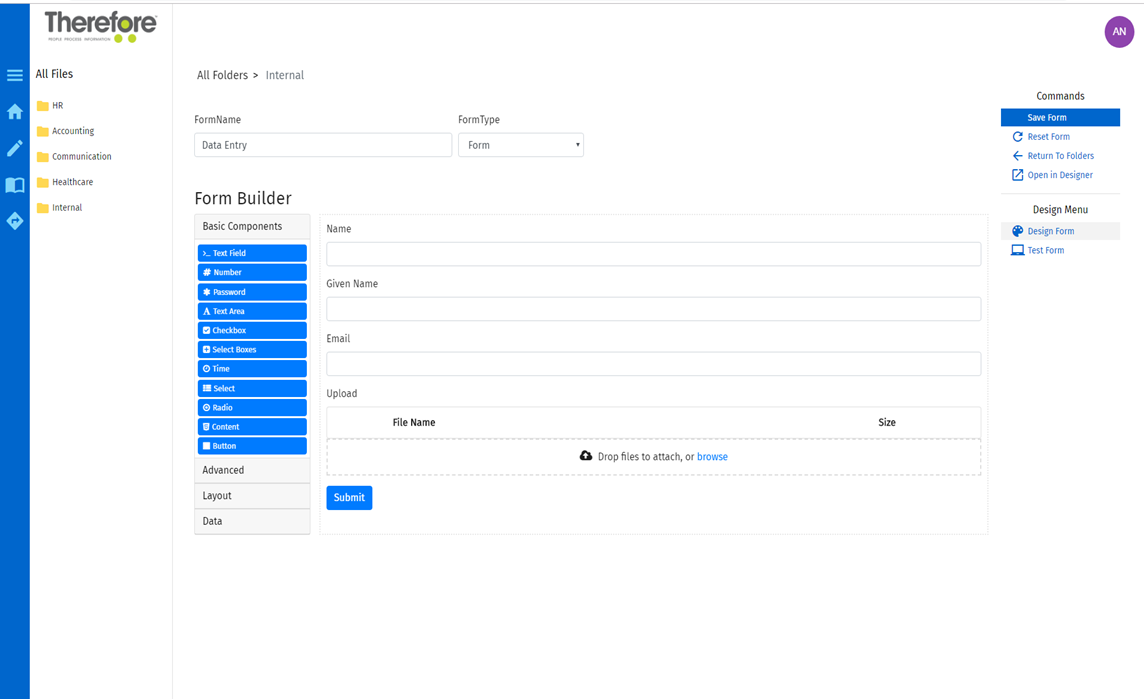
2.You may drag and drop elements from the column on the left into the eForm's body in the middle. Each of these fields can then be configured. Additionally the Form Type can be selected at the top of the screen. 'Form' will be displayed to a user as a continuous page with fields to complete, and 'Wizard' will allow you to separate the content of the eForm through different pages. For more information about these fields and their respective configuration options, please see our reference pages on eForms components.
Reference - eForms Component Settings

3.Once the design of the eForm is ready, the user can click 'Save eForm' on the Actions menu to save the eForm and allow it to be tested or opened in the Solution Designer.

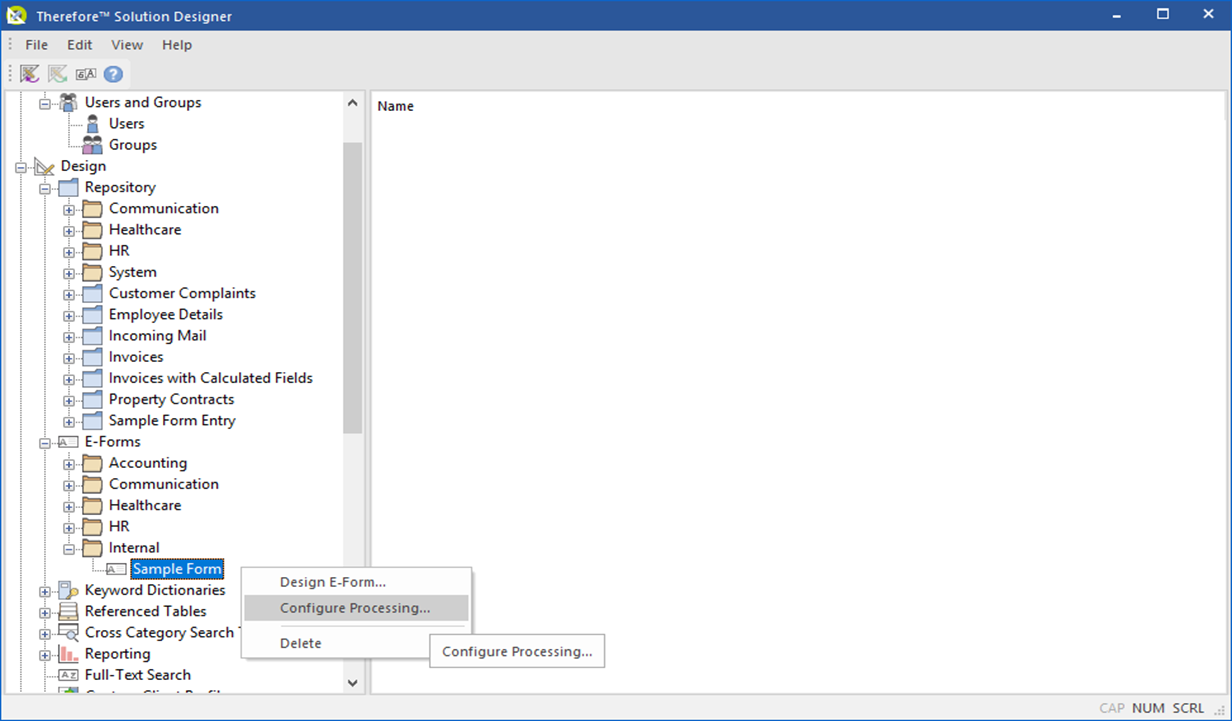
4.Select 'Test eForm' to enter test data into the eForm. Once the test eForm has been submited, return to the Thereforeā¢ Solution Designer, find the created the newly created eForm under its respective node. Access its context menu and select 'Configure Processing'.

5.Select the Category you wish to save the eForm results to, and then pair each category field with their respective field from the eForm. Press OK to save and the eForm is ready to be used. Each eForm submission will be visible in the Thereforeā¢ Navigator under the chosen Category.
