
|
Retention Policy |
Scroll |
For this tutorial we will define a retention policy to manage HR documents for ex-employees. In our case, these documents need to be deleted within 6 months of the employee leaving.
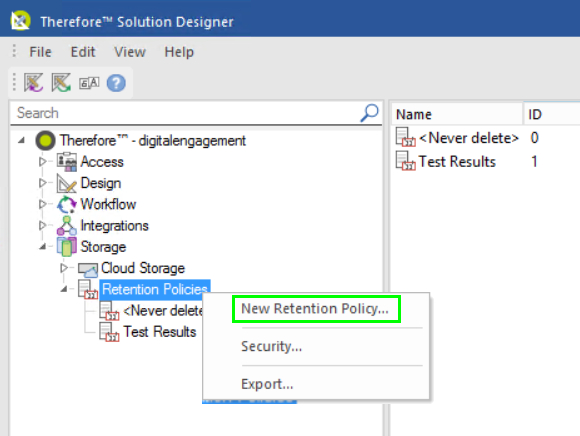
1.Expand the 'Storage' node in the Therefore Solution Designer. Right-click on 'Retention Policies' and select 'New Retention Policy'.
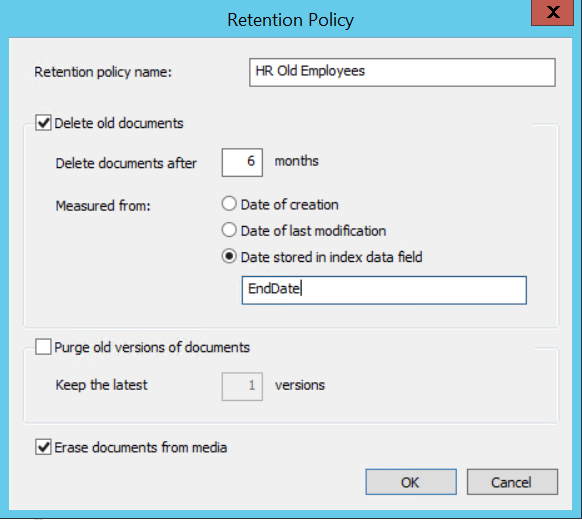
2.Give the policy an intuitive name. Next, configure the policy according to your organizations need. In this case, we want to configure a retention policy that deletes documents pertaining to old employees six months after they left the company. To do so, we tick the box 'Delete old documents' since we wish to delete documents and all associated versions. 6 months are entered as the retention period. Finally, it is necessary to check 'Date stored in index data field'. This is the date on which the employee left the company. In the category ('Moyaware Finance Employees') we store this information in a date field called 'EndDate' so the name of this field is entered here. In addition, note that the box 'Erase Documents from Media' is checked. This will also delete the documents from the backup storage media.
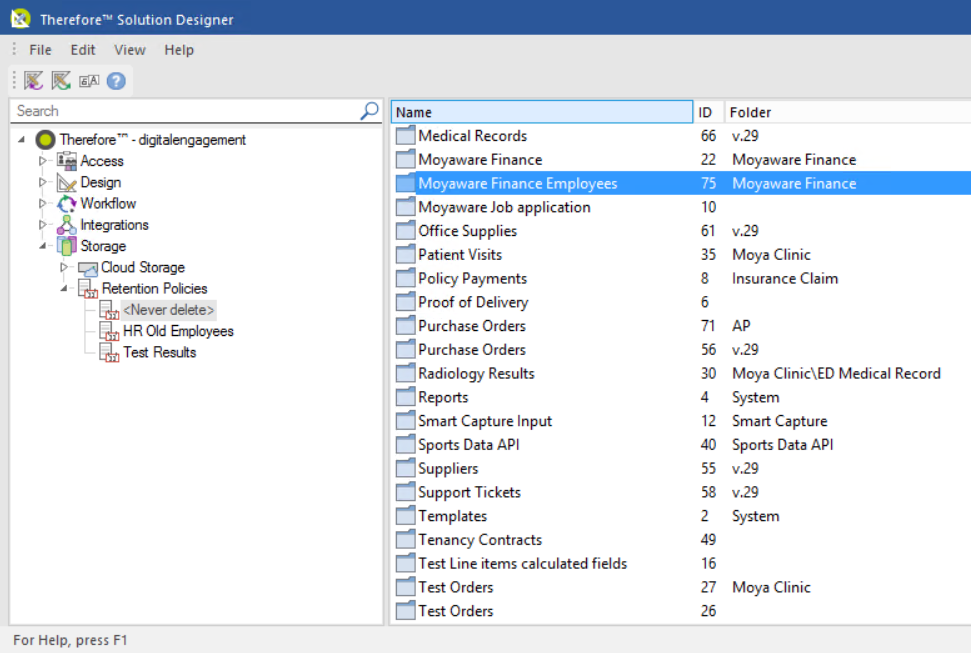
3.Expand the 'Retention Policies' topic and select <Never Delete>. A list of all categories that are not assigned to a retention policy will be listed. Drag and drop all the required categories into the new policy.
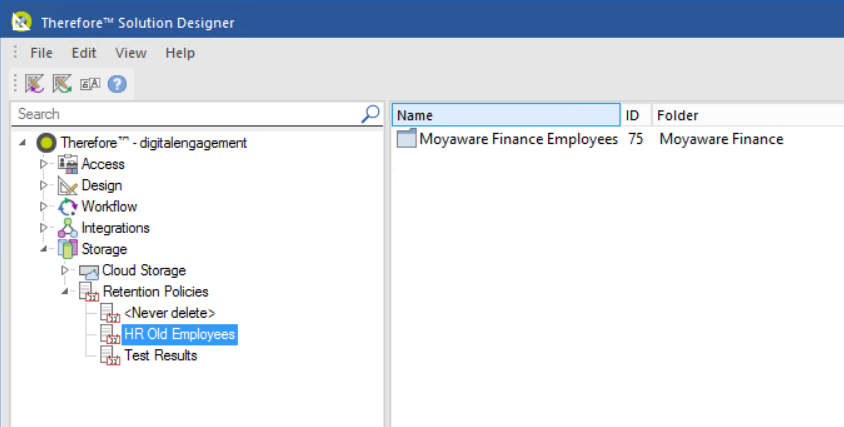
4.Click on the created policy. All the categories that were moved into this retention policy are listed. It is also possible to filter certain documents out of a retention policy based on subcategories.
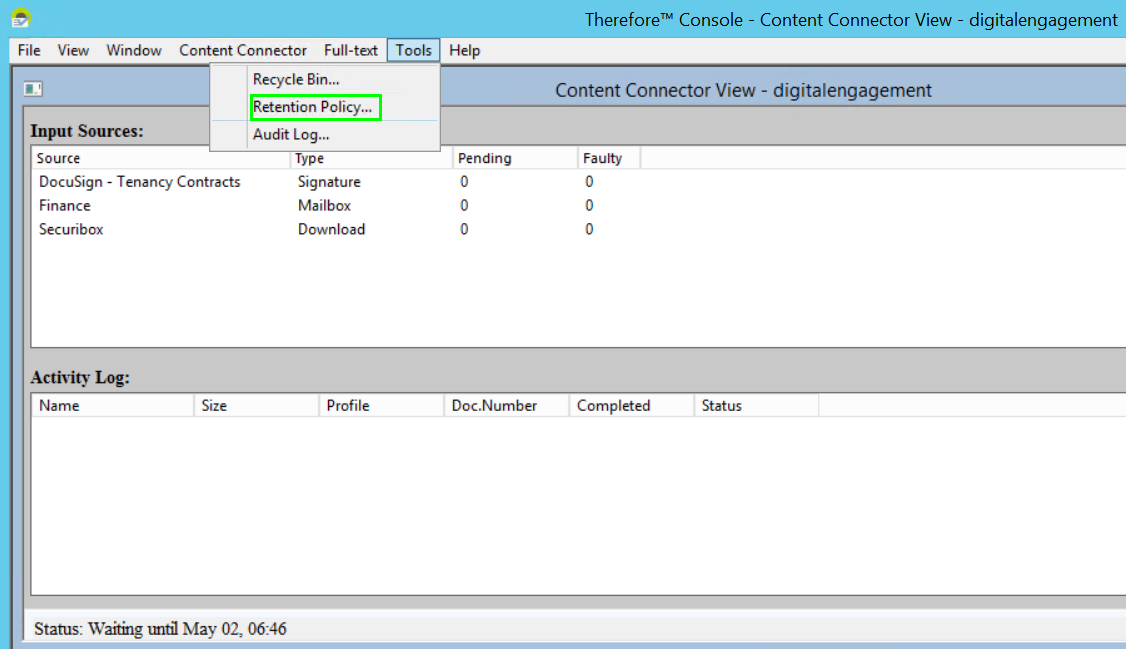
5.Now open the Therefore™ Console and click 'Tools'. Then click 'Retention Policy'.
6.The Retention Policy dialog will open. Check the box next to the policy or the categories within a policy and click 'Search Documents'.
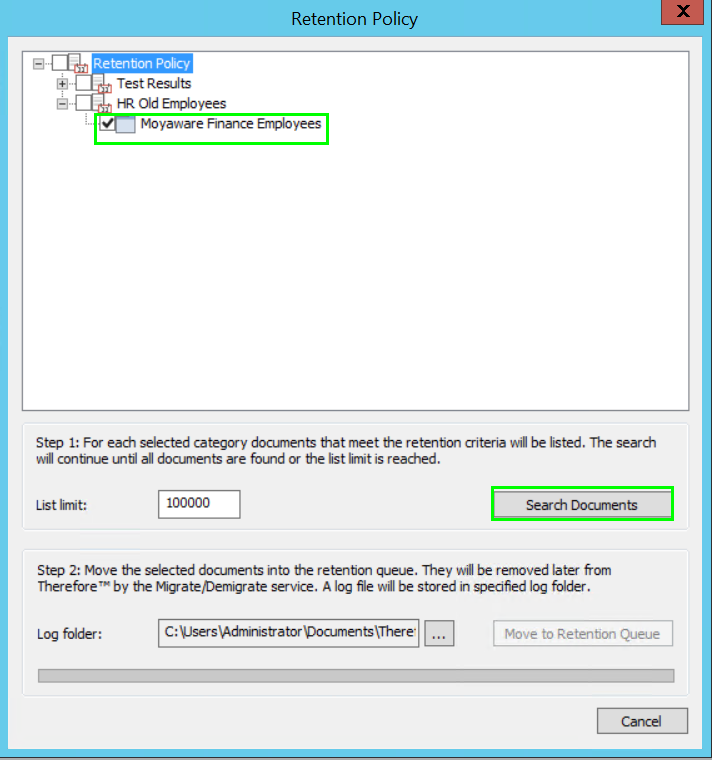
7.The number of documents which have reached the end of their retention period will now be displayed next to the category. Right-click or double-click the category to show the documents.
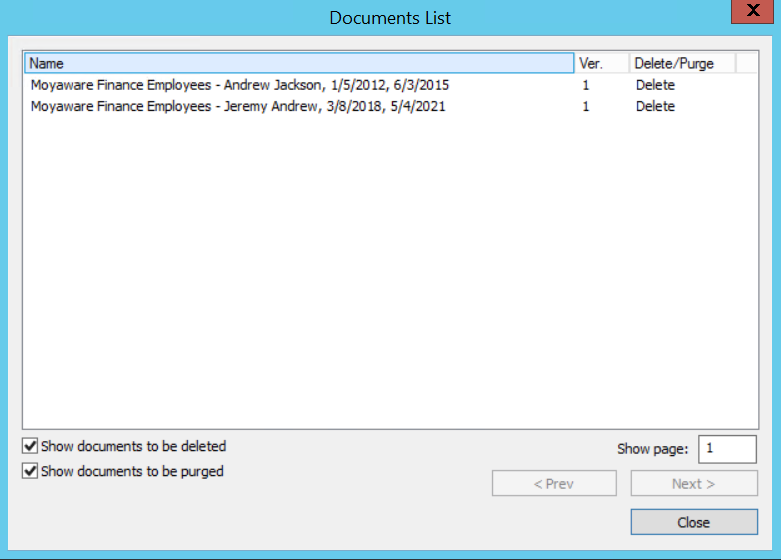
8.In case you decide to not delete a document on the list, you may right-click and select "Remove from deletion list". Once you are satisfied with the list of documents to be deleted, close this window and click "Move to Retention Queue" on the Retention Policy window from before.
The documents will no longer be accessible in Therefore™. However, they will only be physically deleted from storage when the next scheduled migration takes place (unless 'Erase documents from media' is unchecked in step 2).
|
If a document is removed from the list, it will not be moved to the retention queue. However, the next time the administrator searches for documents in the console the document will appear again in the list of documents that have exceeded their retention period. A document can be permanently removed from a retention policy by opening it in the Therefore™ Viewer and disabling the retention policy in the application button menu. |

|
|---|
