
|
Installation & Configuration |
Scroll |
 How do I install & activate integration with eCopy ShareScan?
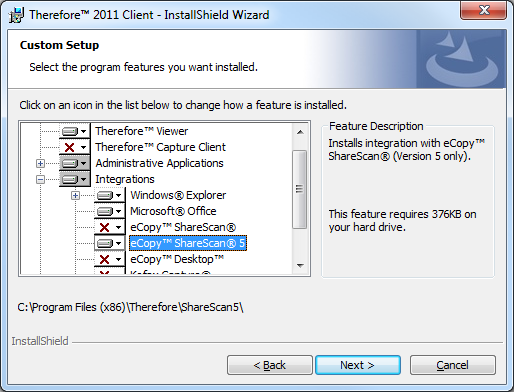
1.The extension for eCopy ShareScan needs to be installed on the eCopy ShareScan PC. Run the Therefore™ Client setup and select the Custom install option. In the Therefore™ components dialogue window, expand the Integrations section and select the relevant eCopy ShareScan version. All other optional features can be de-selected. Complete the installation.
2.Make sure that the user account which is running the ShareScan Manager service has the necessary rights for a DCOM connection to the Therefore™ Server (to check which account is running the service, right-click on the ShareScan Manager service and under Properties select the Log On tab).
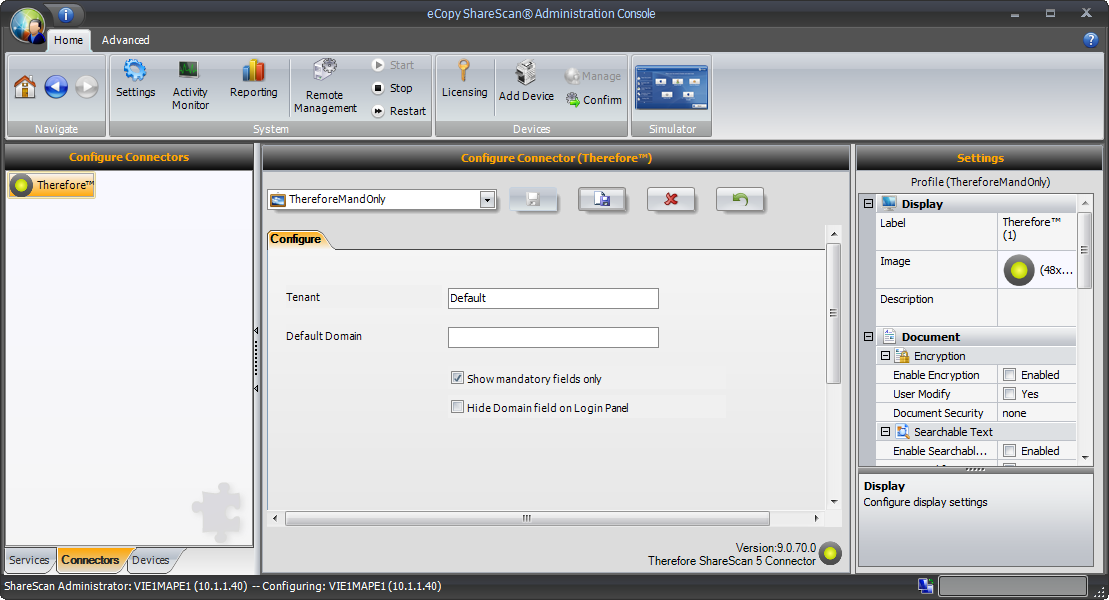
3.Open the eCopy ShareScan Administration Console, and under the Connectors tab, choose the Therefore™ connector. It may be necessary to refresh the connector list. By default there is a profile already configured. If necessary you can create further scanning profile(s).
|
Please note that the first box, Tenant, should only be filled in with the tenant name when connecting to a multi-tenant system. Otherwise it should be left empty. |

4.Select the Devices tab and then the relevant device. Then activate the necessary Therefore™ Connector profile(s). Click Save when done. Repeat this for any other required devices.

5.Buttons for each profile will now be visible on the configured device.
