|
Profiles |
Scroll |
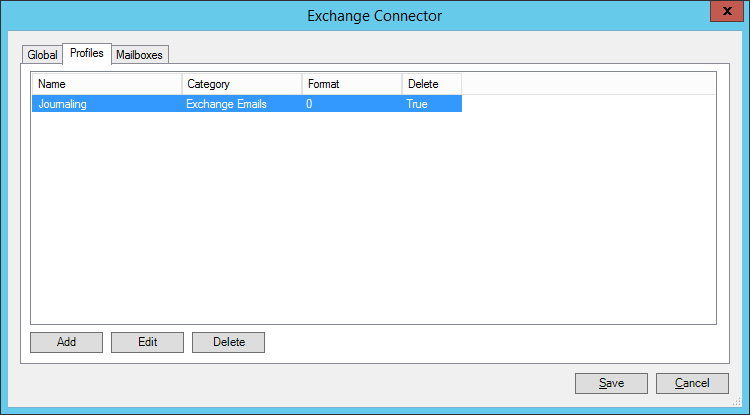
After defining the global settings, switch to the Profiles tab. This is where you define how e-mails are saved to a category of your choosing in Therefore™. In this scenario, we're assuming the connector is used to automatically save all e-mail traffic on the Exchange server using journaling.
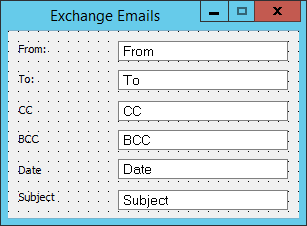
The e-mails will be saved to the category pictured below.
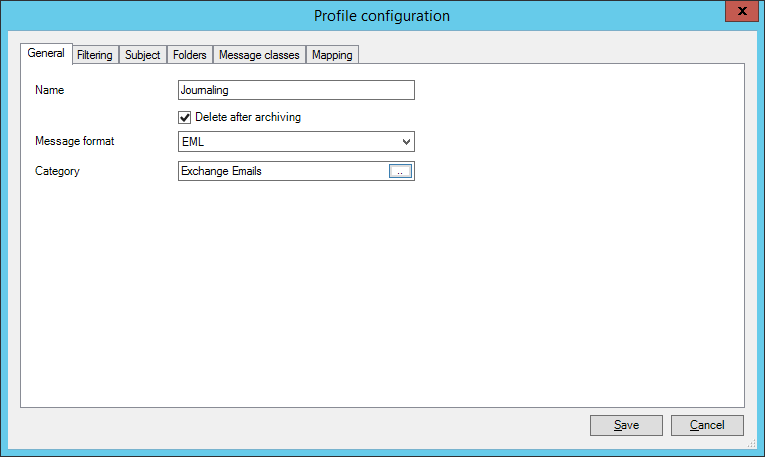
1.On the Profiles tab, click Add to open the profile configuration dialog. On the General tab, enter the profile name, the message format of the e-mails to be saved, and select the category in which to save. In this scenario where journaling is used, it's recommended to check the box Delete after archiving so e-mails are deleted after saving and the journal mailbox does not continue to grow.
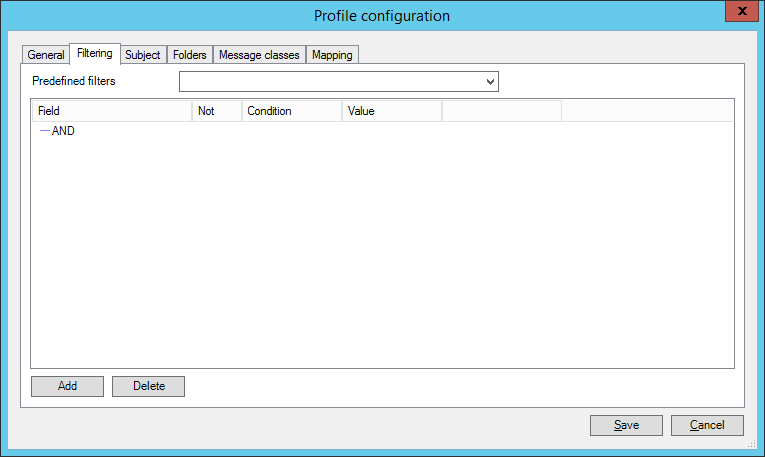
2.Switch to the Filtering tab. Define the filters needed to make sure only the right e-mails are saved. Since we want to save all e-mails from the journaling mailbox in this case, we won't add any filters. An example of filter conditions can be seen in the tutorial for user mailboxes.
3.The use of the Subject tab is optional. You can use it if you have a long list of subjects that should be skipped or included in the filtering, as entering the subjects here is faster than creating many subject conditions in the Filtering tab. Select whether the subjects in the list should be skipped or included. Wildcards can also be used.

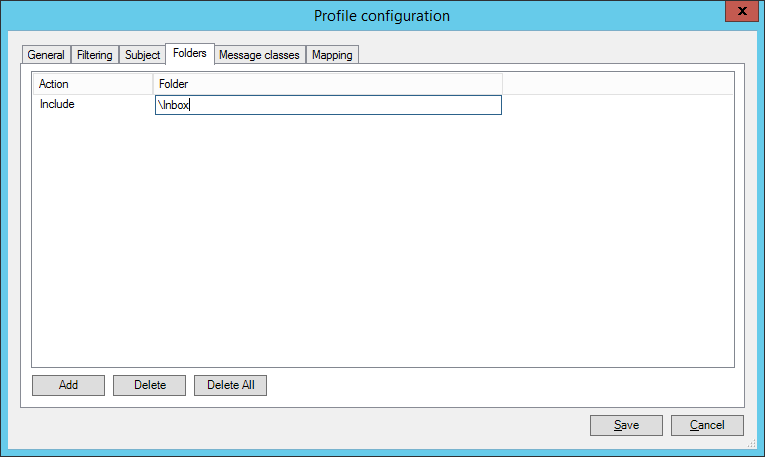
4.Switch to the Folders tab and click Add. Select Include for the Action, and enter the name of the folder that should be monitored. In this example, we chose to include the Inbox of the journaling mailbox, since all e-mails will land here. We also chose to skip other folders such as Drafts, Sent Items, Deleted Items, and Junk Email.
|
Enter the folder names separated by backslashes in hierarchical order. The following example would be entered as \Inbox\Contracts\Expired: -Inbox --Contracts ---Expired |

5.In the Message classes tab, the default value is IPM.NOTE. Add any other message classes the connector should save. See this Microsoft article for more information on item types and message classes.
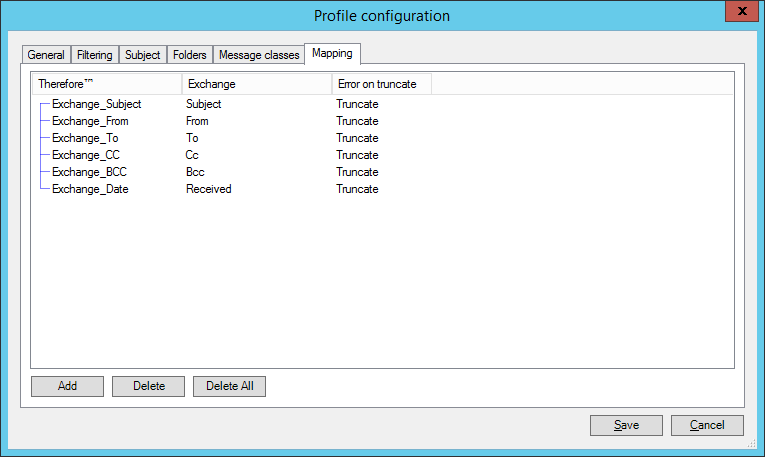
6.Switch to the Mapping tab. This is where you can map fields in a Therefore™ category to message properties from Exchange. Click Add > Add field to add a field from this profile's Therefore™ category. Then open the drop-down list in the Exchange column and select which property should be mapped to the Therefore™ field you chose. Finally, select what should happen if a value is truncated (truncate or raise error).
7.Click Save once done. The profile is now listed in the Profiles tab.