|
Azure Active Directory Integration with Therefore™ |
Scroll |
1.Preparation in Azure Active Directory: For the Openid Connect token, we need to create a new client ID in the Azure Tenant. This is a required prerequisite for this feature to work. Below are the step-by-step instructions to create such a client application for Therefore™.
2.Register a new app. The ‘Name’ can be any given name – it does NOT need to be a ‘Therefore Client Login’.
3.Once the app has been created, add a platform.
4.Then select Web under Web Application.
5.Ensure to add the correct Redirect URI and check the Implicit grant. This needs to point to the Therefore™ Web Access page "Client/WEB/Login/SSOLogin.aspx" of the customer’s web client installation and to the correct tenant, e.g. https://<tenantname>.thereforeonline.com/Client/WEB/Login/SSOLogin.aspx. In the Implicit Grant section, make sure that Access tokens and ID tokens are checked.
6.Click Add a platform again and add a Mobile and Desktop application.
7.Ensure to tick the checkbox for the URI ending with native client and leave custom Redirect URI empty.
8.In the Manifest section, change the entry for allowPublicClient from null to true, and For groupMembershipClaims from null to SecurityGroup.
9.Optional: Go to the Branding tab and change the entries as desired.
10. In the Overview section, make a note the Client ID. This is required for configuration in Step 3.
|
|---|
 Step 2: Create a custom client application for backend integration into Azure Active Directory.
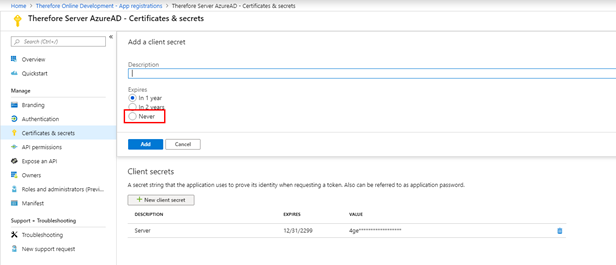
To integrate the Therefore™ Server into Azure Active Directory from the backend, a custom client application needs to be registered manually in the Azure Active Directory, and the application should be configured to share 'secret' with Therefore™. Application secrets can be set to "Never expire", which will assure backend access to Therefore™ from the users' Azure Active Directory.
For setup:
1.Create the new application with the default settings.
2.Go to API permissions, click on Add a permission:
3.Select Microsoft Graph.
4.Select Application Permissions.
5.Select Directory.Read.All.
6.After adding the permission, click on “Grant admin consent…”.
7.Click Yes for the pop-up.
8.The status column should now exhibit the term, “Granted…”.
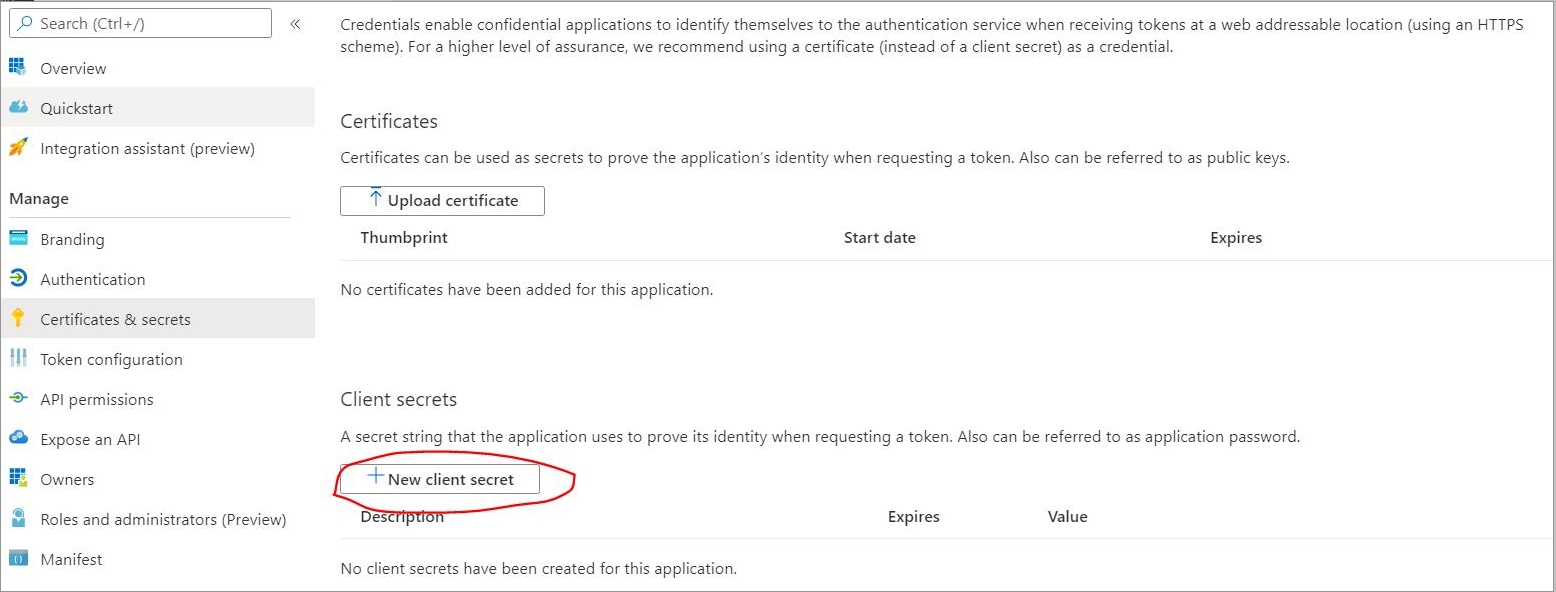
9.Create a new client 'secret'; this needs to be shared with Therefore™.
10. In the Overview section, make a note the Client ID. This is required for configuration Step 3.
|
|---|


