
|
Creating an export profile |
Scroll |
 How do I create an export profile?
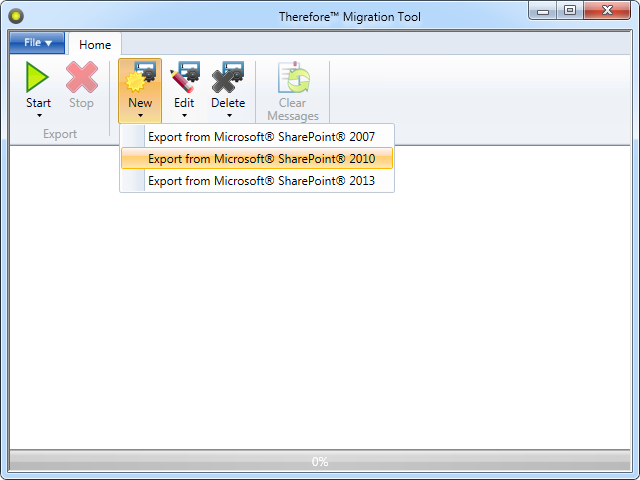
1.Run the Therefore™ Migration Tool for SharePoint and click on New, then select Export from... for the correct SharePoint® version.
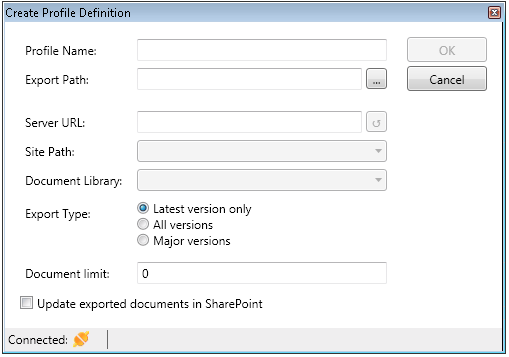
2.In the Create Profile Definition dialog, first enter a name for the export profile. Then under Export Path enter the location where the exported documents should be saved.
3.Enter the Server URL and click the connect button  to establish a connection to the SharePoint server. If the connection is successful, the Connected icon in the bottom left will turn green.
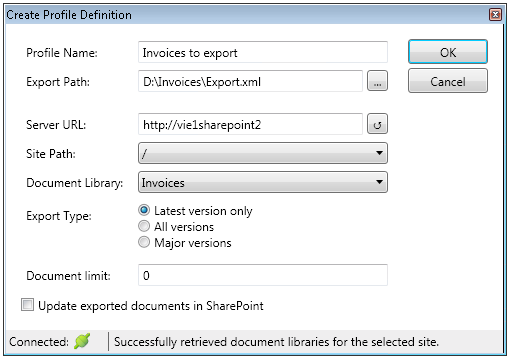
4.Once a connection has been established, choose a site path by clicking on the drop-down arrow under Site Path.
5.Select the desired document library by clicking on the drop-down arrow under Document Library.
6.Under Export Type, choose choose which version(s) of the documents should be exported.
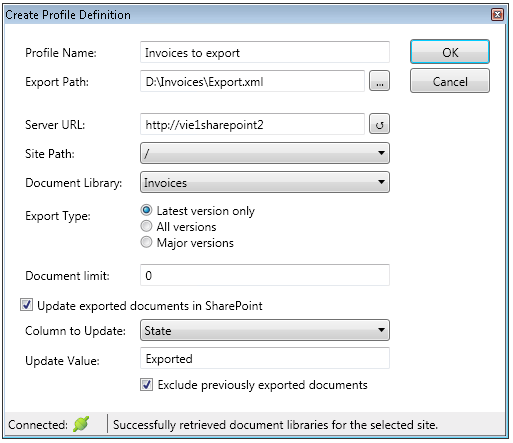
7.If you want to update a column value of the exported documents in SharePoint, click on the checkbox Update exported documents in SharePoint. Select the column to update, then enter the value that it should be updated to.
|
Check the box Exclude previously exported documents if you don't want to update documents that have already been exported using the Therefore™ Migration Tool. |

8.Click OK when finished to save the profile.
