|
Creating a New Tenant |
Scroll |
How do I create a new tenant?
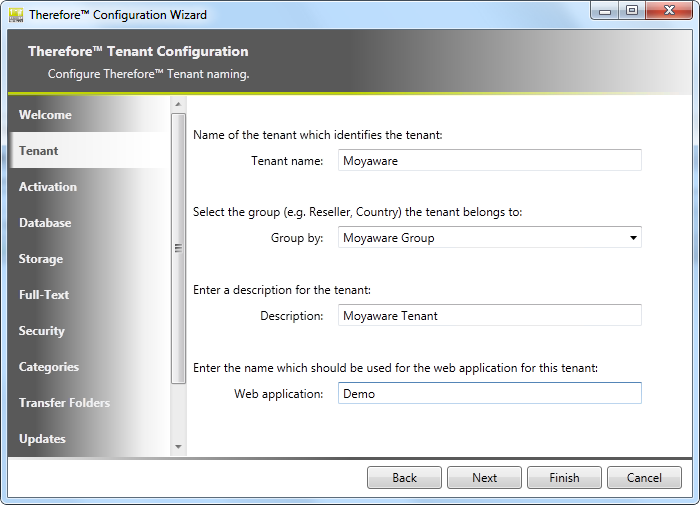
1.Open the Tenants Manager and click File on the menu. Then select Add Tenant... to open the Therefore™ Configuration Wizard. Enter the Tenant name and if needed you can assign it to an existing group, or enter a name to create a new group. You can then enter a Description for this tenant. If Therefore™ Web Access is required, then a Web application name must be specified and .
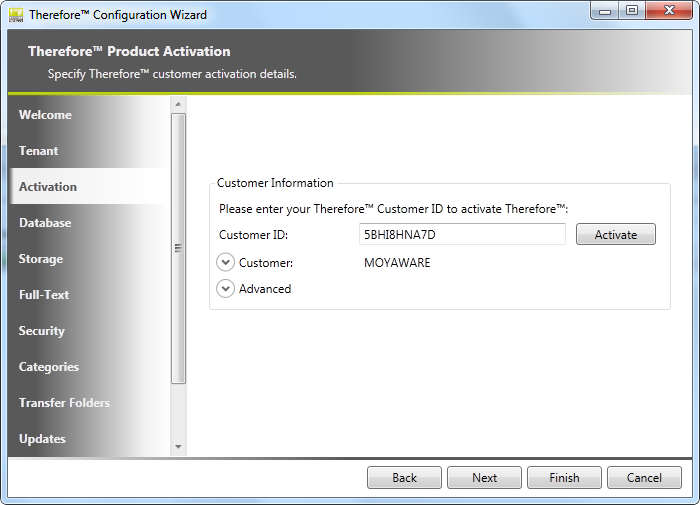
2.Next the tenant must be activated by entering the Customer ID and then clicking Activate (this requires an internet connection). If an activation file is available, this can be specified.
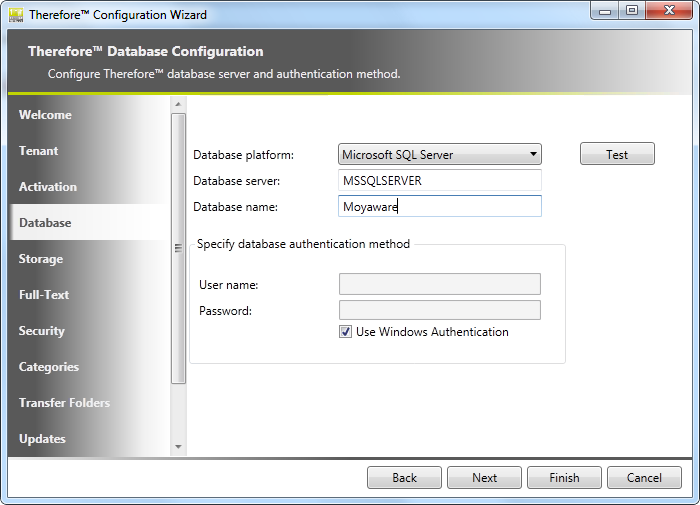
3.The next step is to specify the database server (name or IP) and a name for the tenant database. The Therefore™ Server can use Windows Authentication to access the database (recommended). Alternatively a user name and password can be specified.
|
Recommended: For a database name choose the tenant's name. |

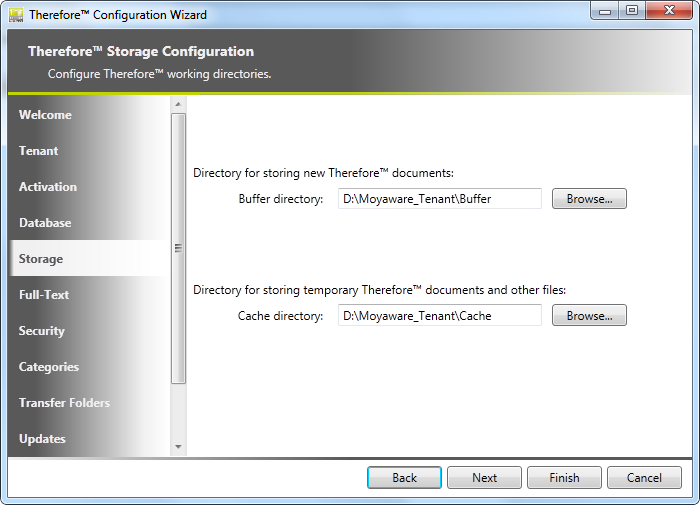
4.Next, Buffer and Cache directories need to be specified for the tenant.
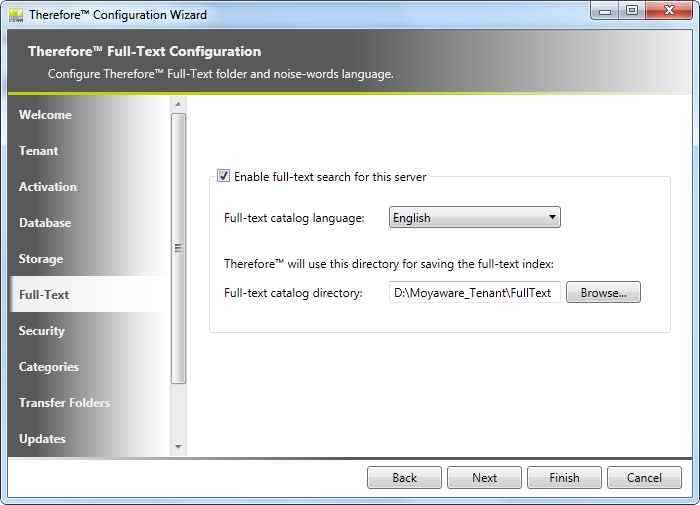
5.If full-text searching is required, then a catalog language must be chosen and a catalog directory must be specified.
6.Next, an administrator and user group need to be specified. The Enable mixed security check box will allow Therefore™ internal users to connect to the tenant.

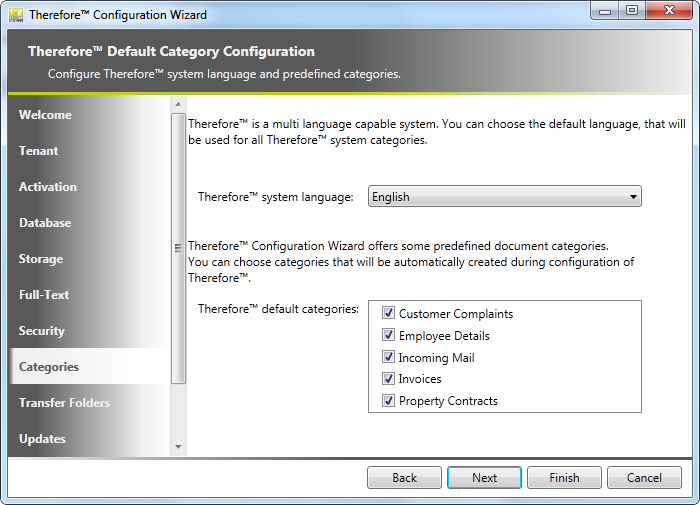
7.Next the default server language needs to be selected. The default language can be changed later on the tenant in the Therefore™ Solution Designer Advanced server settings -> General -> Server Language. By default some predefined Therefore™ categories are automatically created. Deselect categories that should not be created.
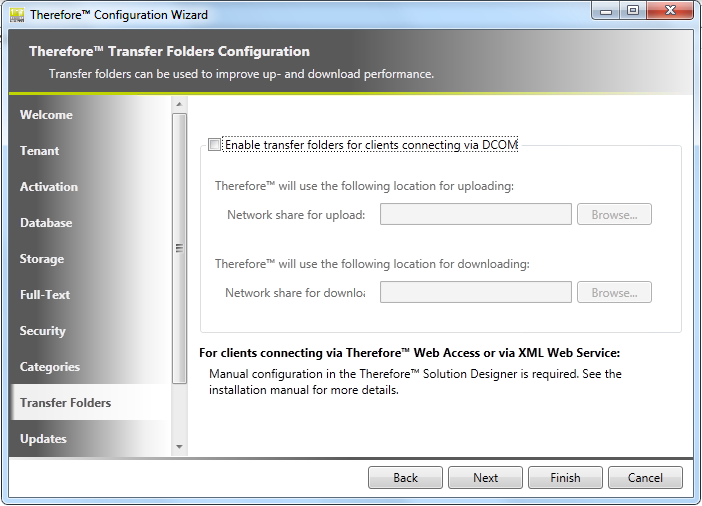
8.Optionally, the UNC paths for the transfer folders can be defined for better upload and download performance when connecting via DCOM. Please refer to the Installation Guide for a tutorial on configuring transfer folders.
|
•Transfer folders can also be configured for connecting via XML Web Service and Therefore™ Web Access. •To use an XML Transfer Folder in a multi-tenant environment, some settings in the XML Web Service configuration file need to be changed. |
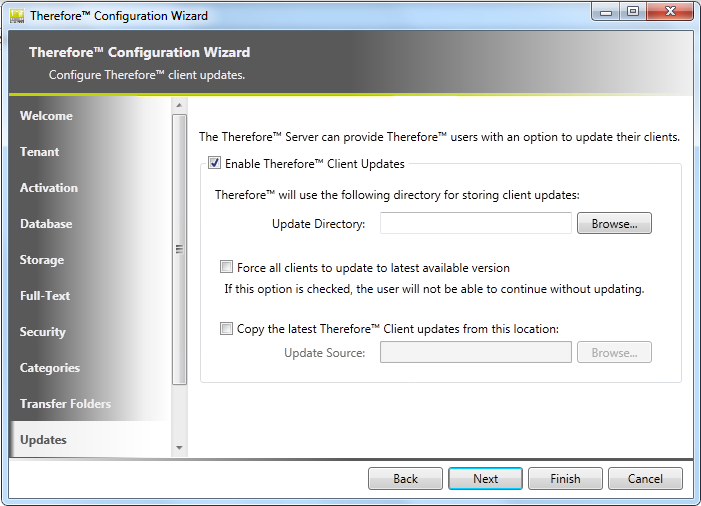
9.Optionally, some settings for client updates can be configured. For a full description of these options and configuration instructions, please refer to the Upgrade Guide.
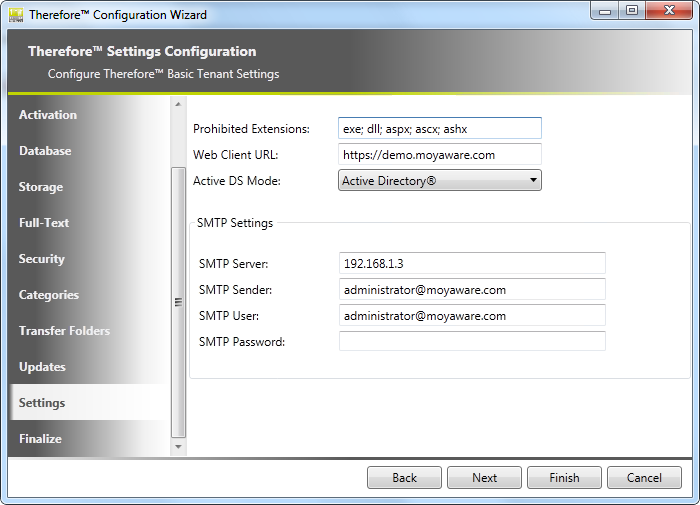
10. Next there are a number of settings that can be configured. Click Finish to create the tenant.
|
If a Profile is defined all defined fields are filled in automatically. |
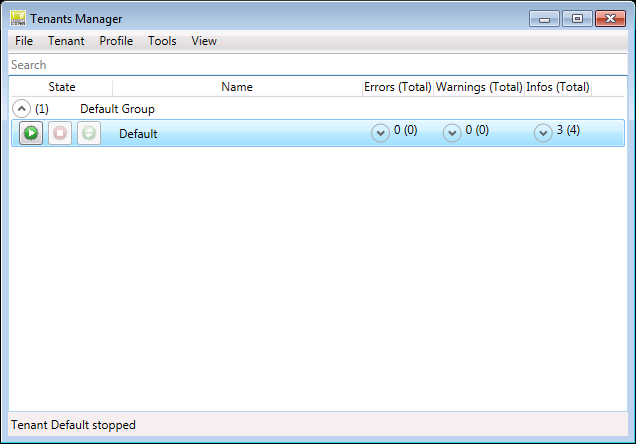
11. The final step before the tenant can be used is to start the newly created tenant. Click on  button to start the tenant.