
|
Configure Thereforeā¢ Server Login |
Scroll |
To integrate the Thereforeā¢ Server into Microsoft Entra ID from the backend, a second custom application needs to be registered manually in the Microsoft Entra ID.
The application should be configured to share a 'secret' with Thereforeā¢.
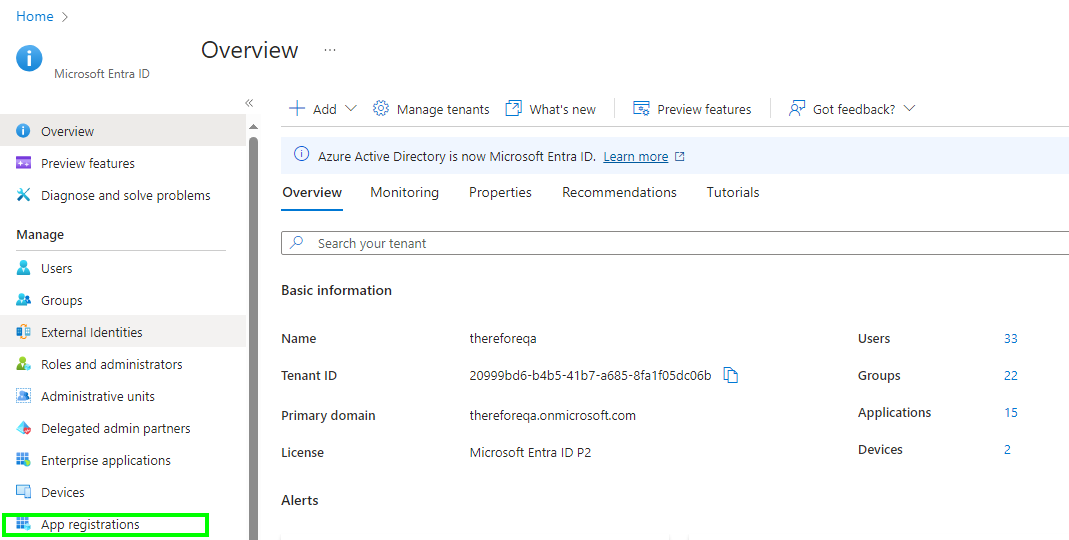
1.In the Azure portal, go to 'App registrations' and create a new application with the default settings. In this example, it is named 'Thereforeā¢ Server Login'. The steps to create an application are detailed in the previous tutorial:
Tutorial: Configure Thereforeā¢ Client Login
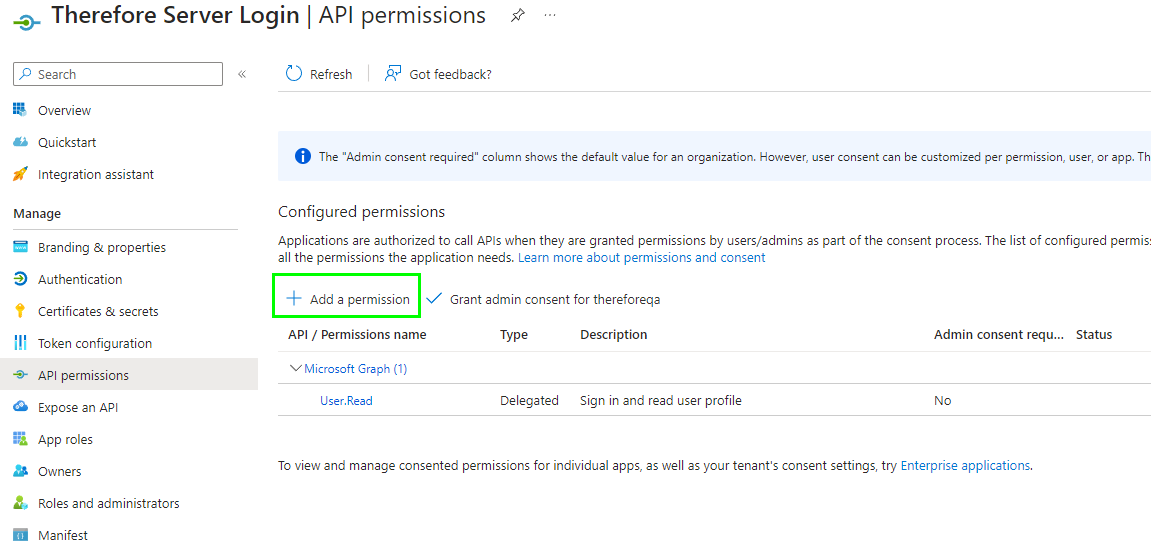
2.Go to API permissions, and click 'Add a permission':
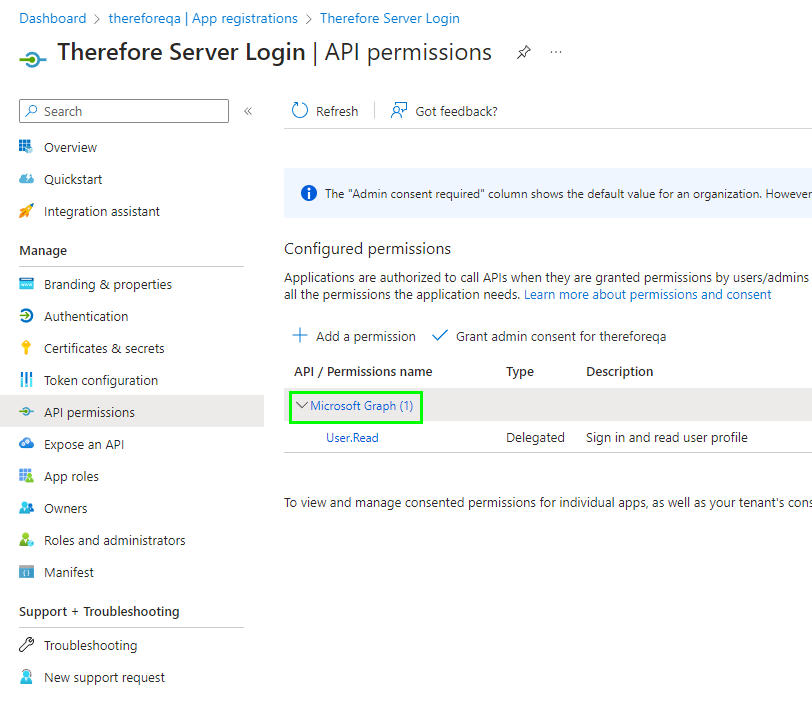
3.Select 'Microsoft Graph'.
4.Select 'Application permissions'.
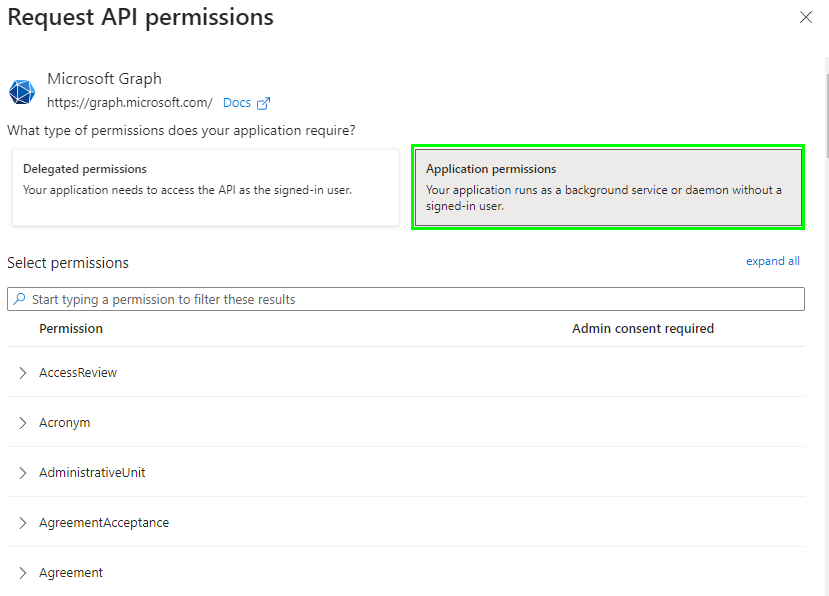
5.Search for and add the following application permissions:
•Domain.Read.All
•Group.Read.All
•User.Read.All
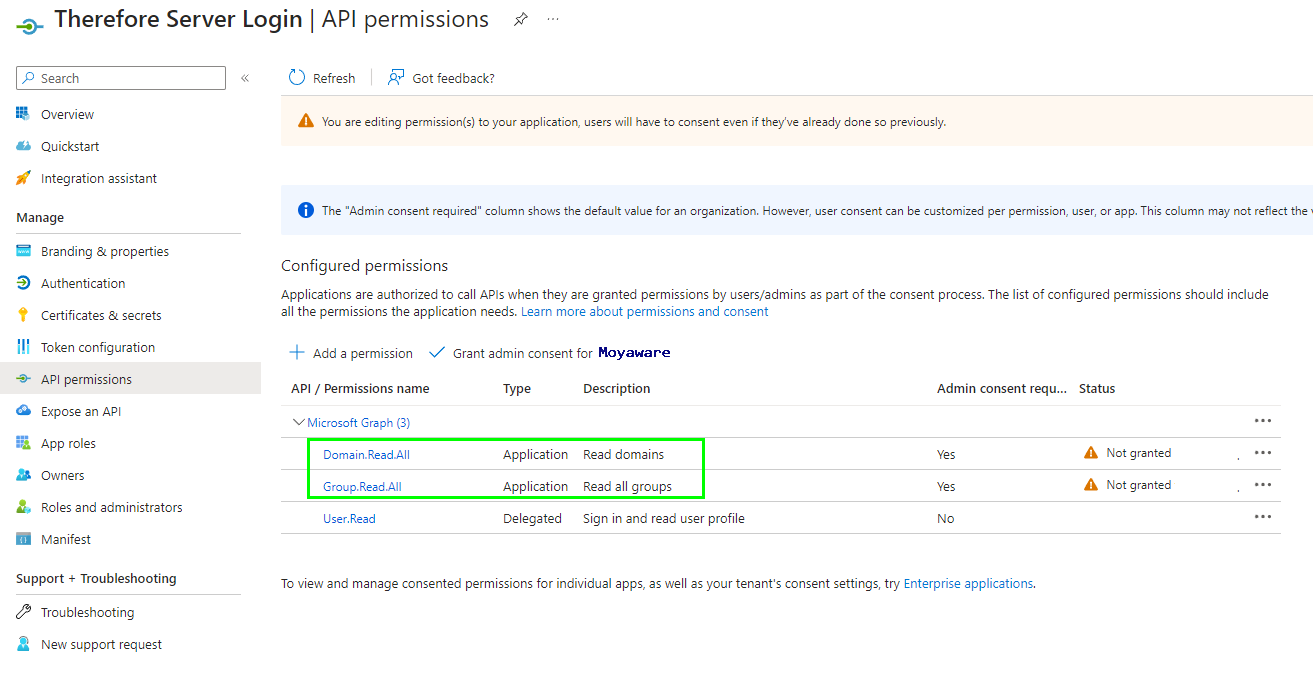
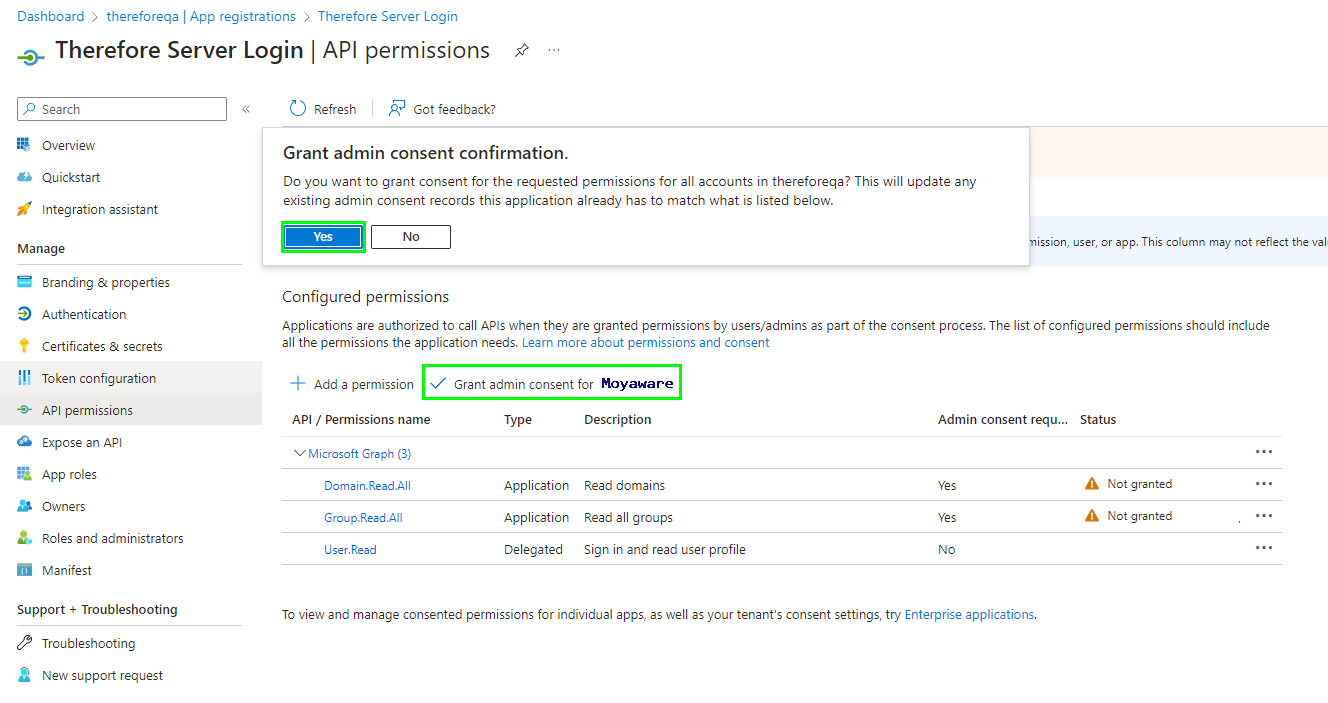
6.After adding the permission click 'Grant admin consent for <Organization>'. Click 'Yes' on the confirmation message. Please note that an Admin Account is a prerequisite for this step.
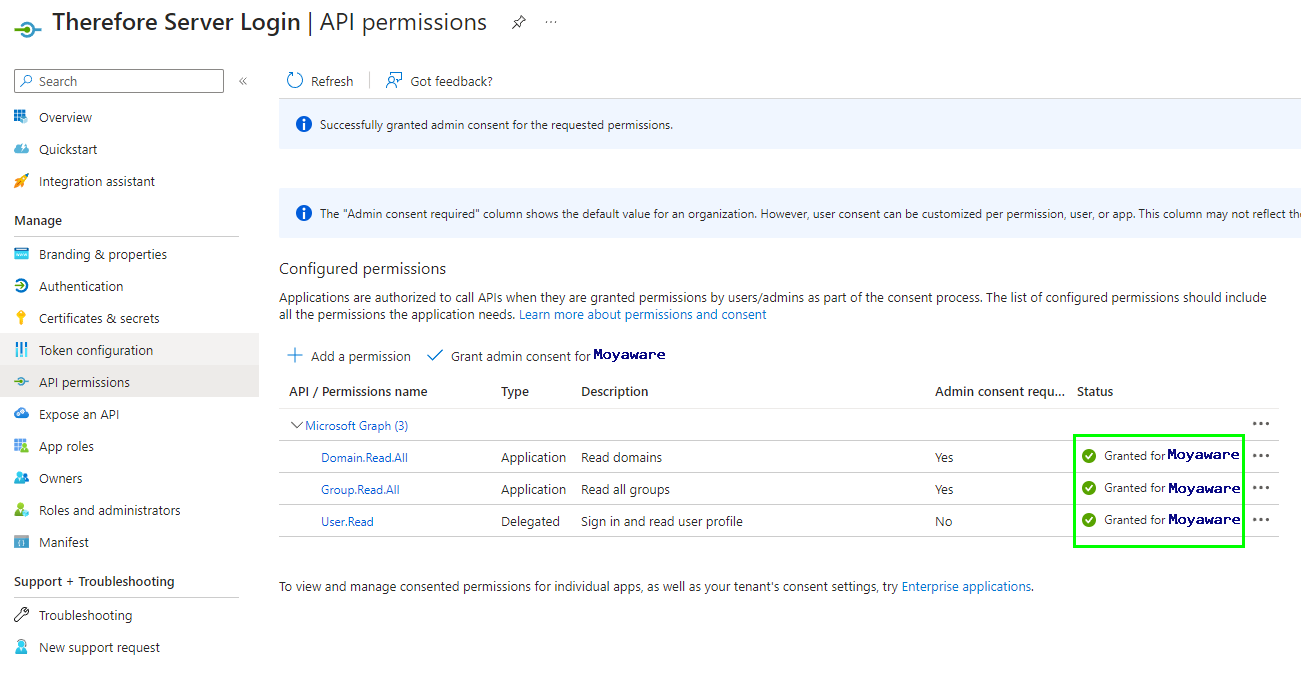
8.The status column should show 'Granted for <Organization>'.
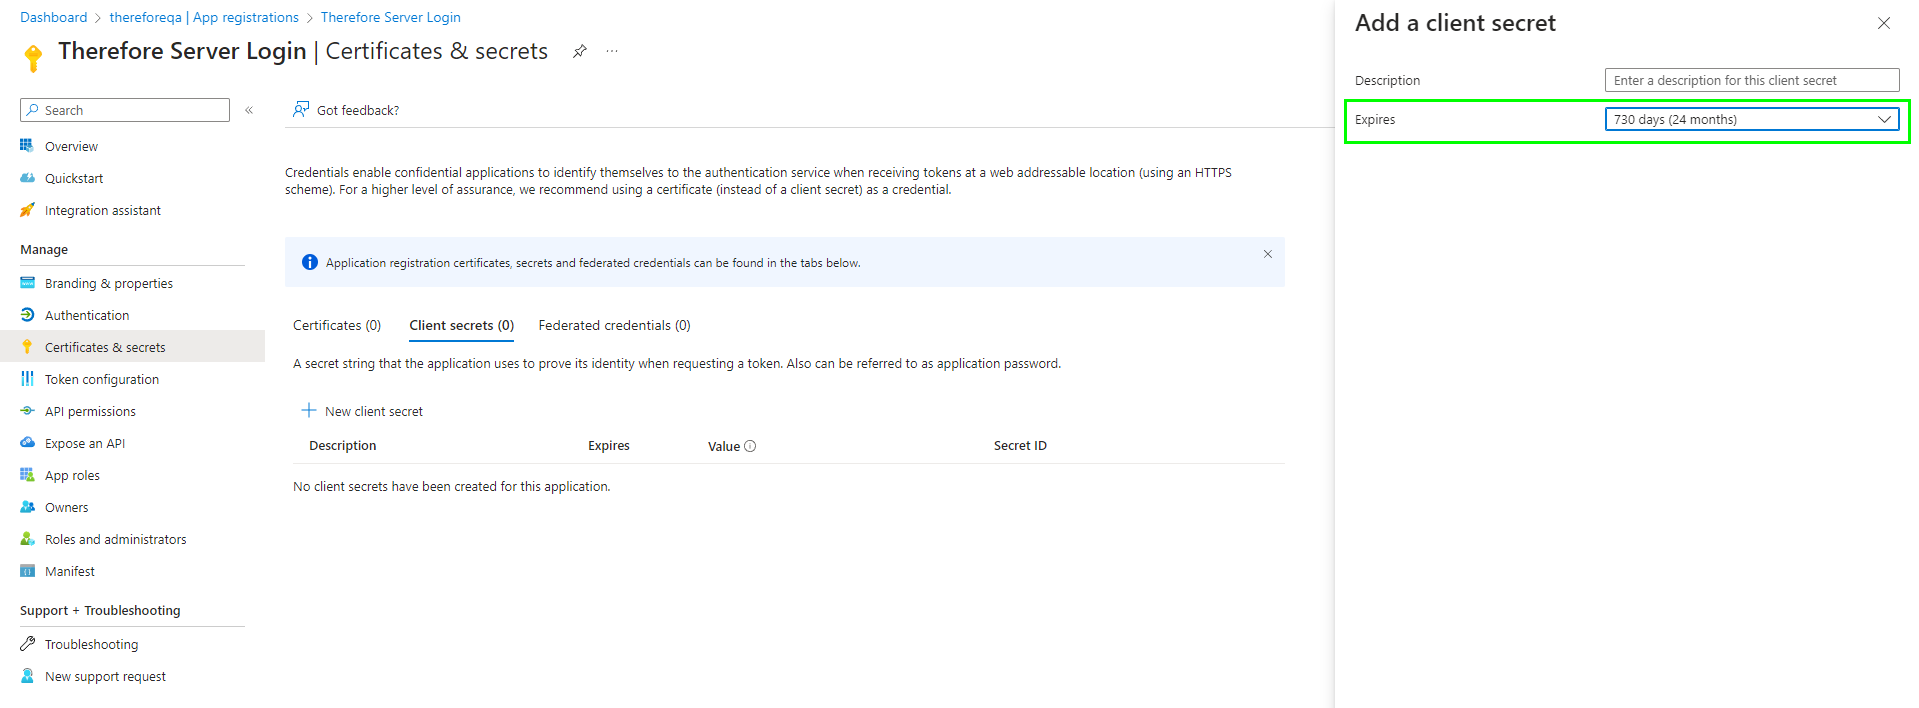
9.Go to 'Certificates & secrets' and click 'New client secret'.
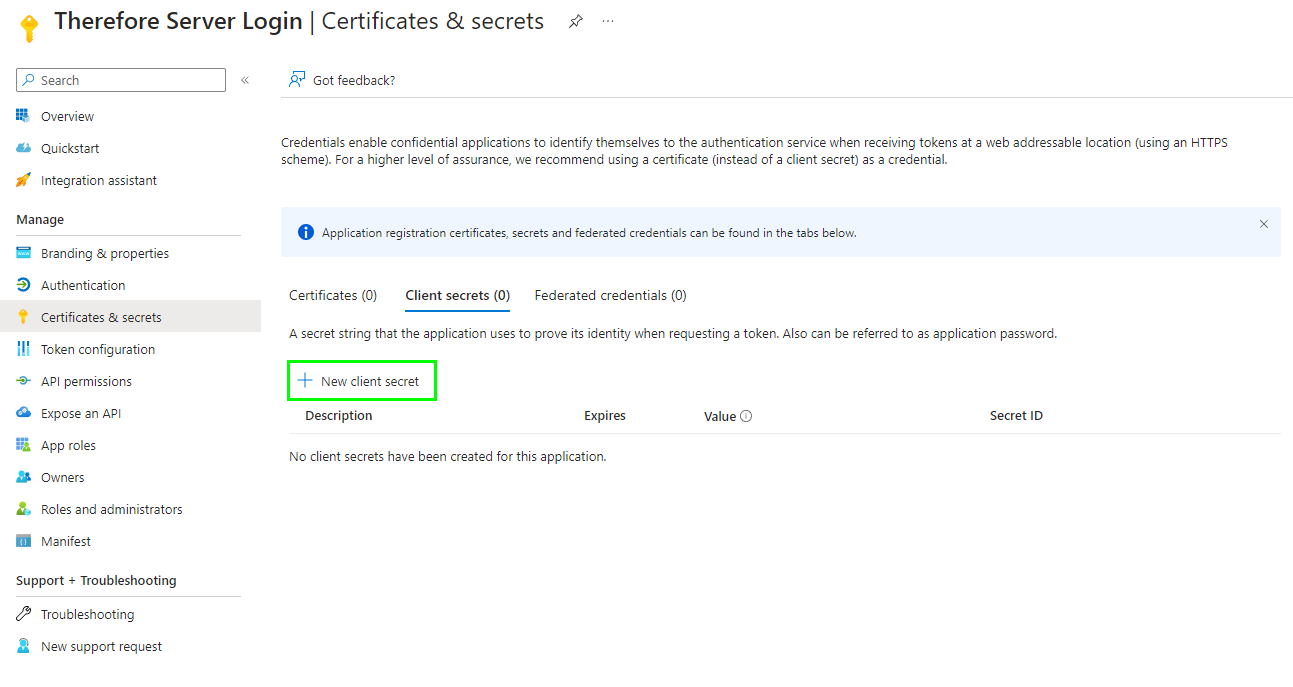
Please chose the expiration date that is the best fit for your security policy. We recommend using 24 months so you donāt need to update the secret too often. If the secret expires users will no longer be able to login to Thereforeā¢ so make sure you update the secret before it expires.
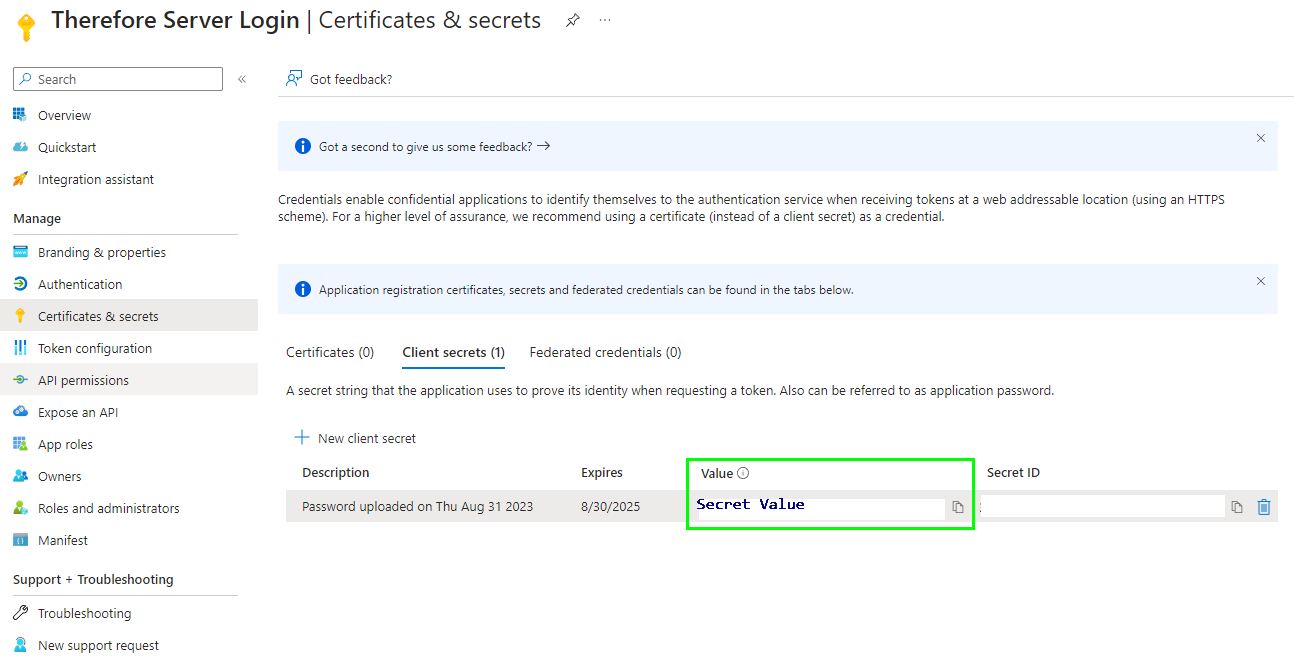
10. Go to the 'Overview' section and make a note of the 'Application (client) ID'. It is required for configuring the Thereforeā¢ settings. Copy the 'Value' of the client secret. This value is also needed to configure Thereforeā¢.
11. Proceed by configuring Thereforeā¢.
