|
Implementing the Connection Settings for the Therefore™ Installed Client |
Scroll |
How do I implement the Connection Settings for the Therefore™ Installed Client?
1. To make the Therefore™ clients connect to OneLogin open the connection settings, enter the URL of your XML Web Service, and select the Authentication provider “Generic OIDC”.
2. To retrieve the OpenID connect settings from the server click the “Update from Server” button.
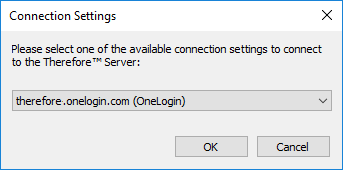
3. If you have more than one external directory configured, you will be asked which provider to you wish to use.
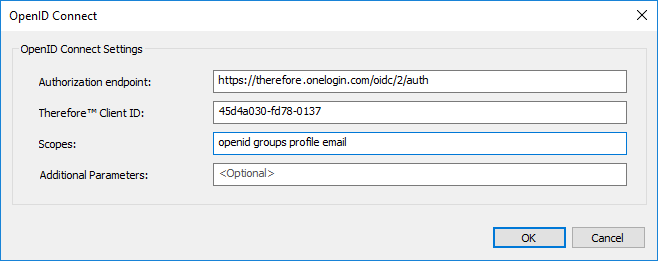
4. To double-check if everything was configured correctly, click on “Settings…” to show the OpenID Connect settings:
|
Alternatively, these can also be configured directly in the registry.
To open the registry press Windows+R, type “regedit”, and click OK.
|
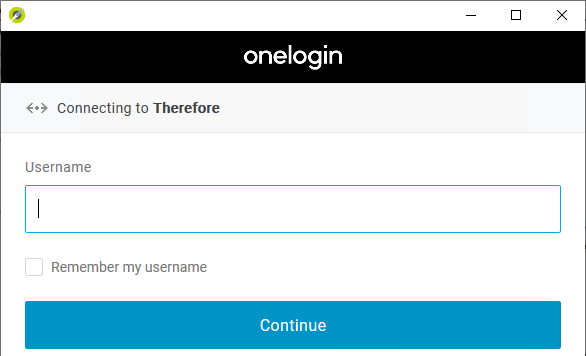
5. Starting the Therefore™ Navigator (or another client) will now bring up the login dialog from OneLogin.
|
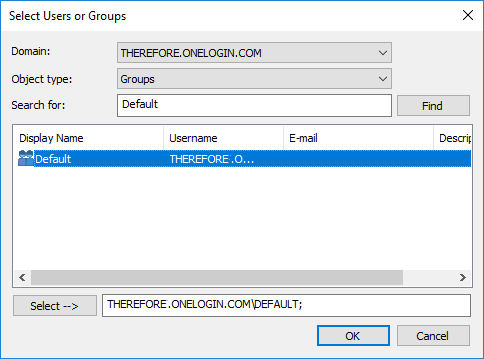
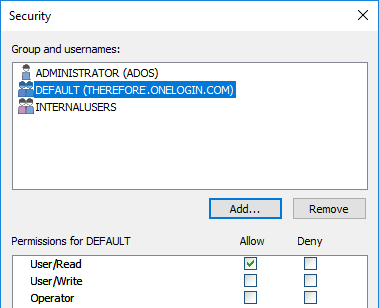
Note: The Therefore™ Server will appear to reject the connection - although signing into OneLogin is successful - if the permissions are insufficient. The Therefore™ permissions still need to be granted in the Therefore™ Solution Designer as usual. |
|
If roles are used to grant access to the OneLogin application, it is possible to allow connecting to Therefore™ for every user of that role by granting permissions to that role.
|


