
|
Configure a Document Download Service in Thereforeā¢ |
Scroll |
To set up a document download service, an account with the download provider is needed. Please check the download provider's documentation on how to configure the portals that should be scraped.
Developers can find instructions on how to configure additional Download Service Providers in the Additional Resources.
Additional Resources: Add Additional Download Service Providers
To configure the download service in Thereforeā¢ the following steps are necessary.
1.Go to the Advanced Settings in the Thereforeā¢ Solution Designer (Right-click on the Thereforeā¢ object > Settings... > and search for 'Document Download Base URL'. This URL must be set in order for the download service to work. For Thereforeā¢ On-Premises, the service will be running locally.
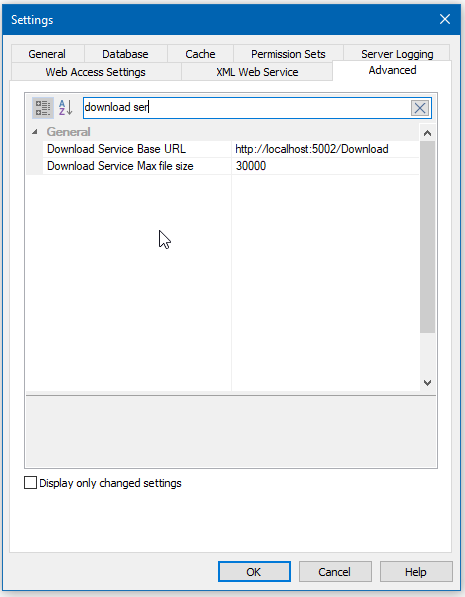
2.Right-click on the Download Services node in the Thereforeā¢ Solution Designer and click 'New Download Service...'.
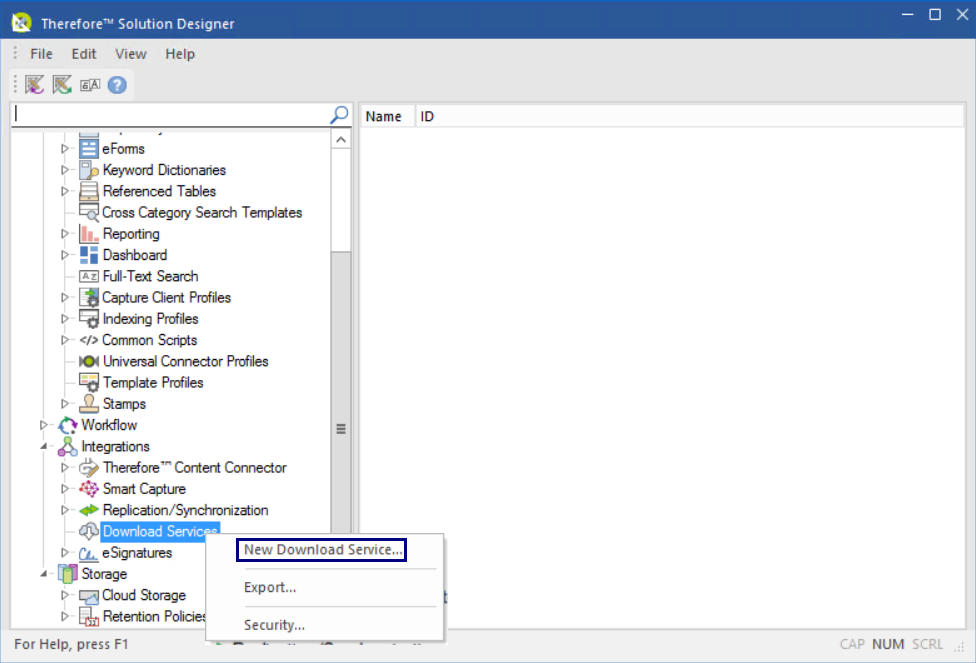
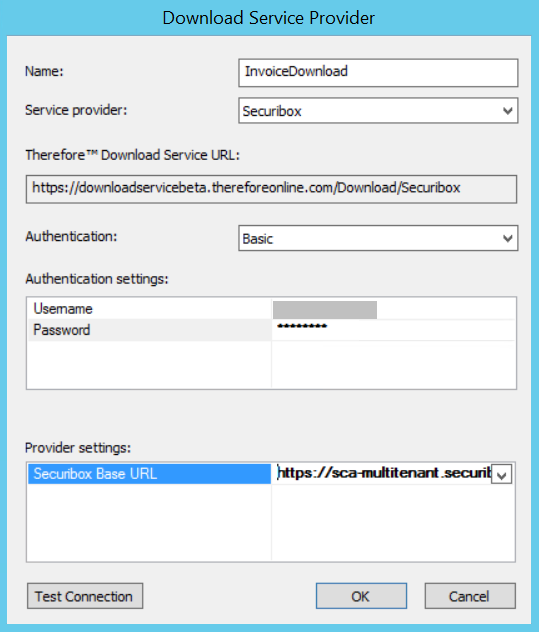
3.Give the download service an intuitive name and select a service provider from the dropdown list. Under 'Authentication Settings', enter the required credentials for your provider. Under 'Provider Settings', specify which server to connect to.
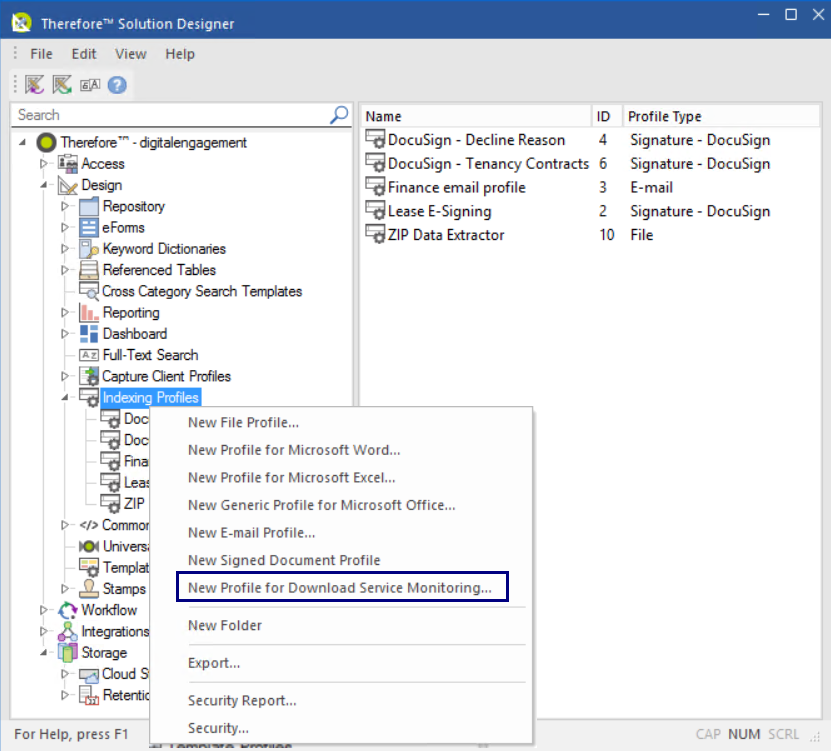
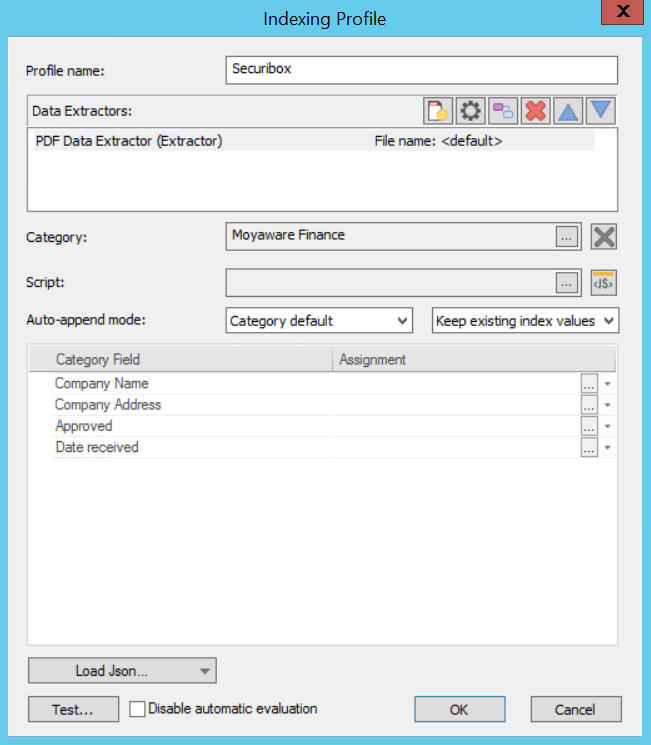
4.Create an indexing profile for the download service. To do so, go to 'Design' > right-click on 'Indexing Profiles', and select 'New Profile for Download Service Monitoring'.
5.Configure the indexing profile for your provider. The required settings vary depending on the format files will be downloaded in by your provider. It is possible to load a sample JSON file in order to extract metadata. To do so, click 'Load JSON...' and load the file either from your clipboard or your PC.
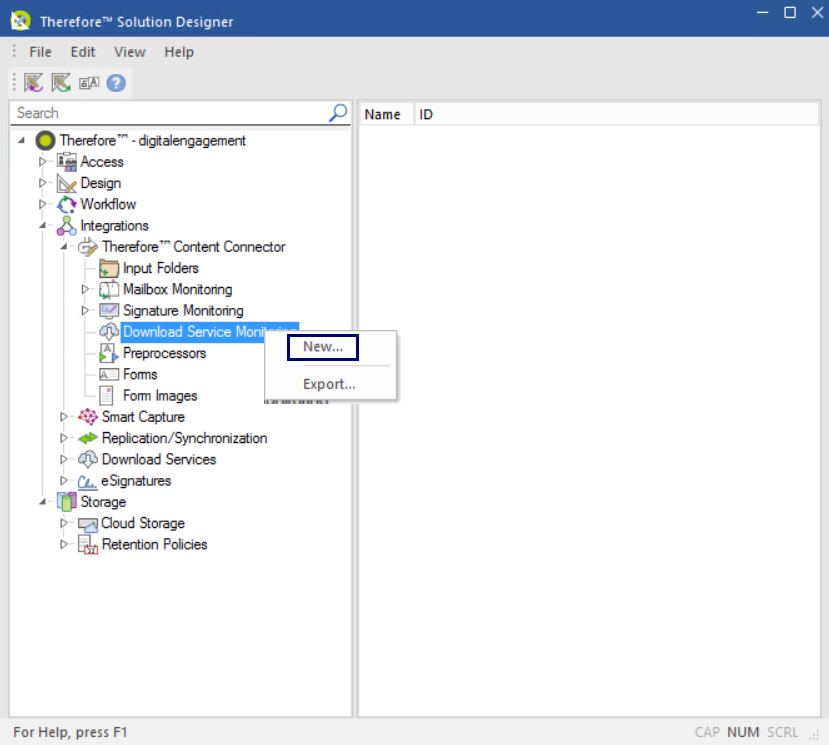
6.The next step is to create a new Content Connector source. In the Thereforeā¢ Solution Designer, go to Integrations > Thereforeā¢ Content Connector > right-click on Download Service Monitoring and select 'New...'.
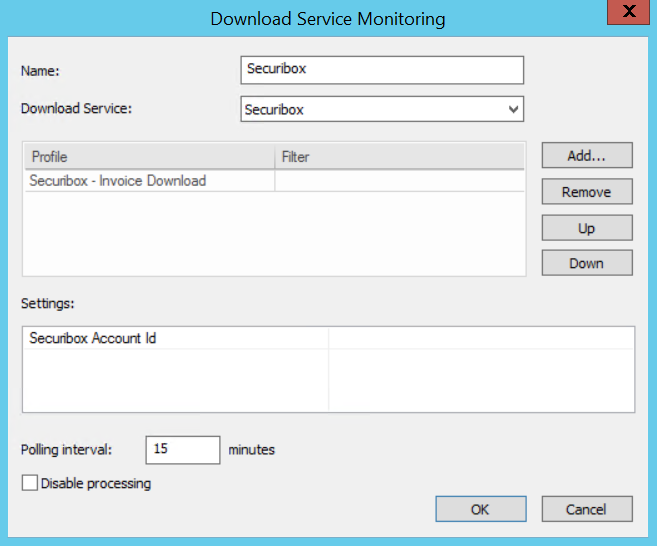
7.Create a new Content Connector profile for the download service. Enter a name for the profile and select your provider from the drop-down menu under 'Download Service'. Under 'Profile', add the indexing profile that was created in the previous step. Under 'Settings' you can add additional optional settings that are supported by your provider such as only downloading invoices associated with specific account IDs.
8.Click 'OK' to save the configuration.
