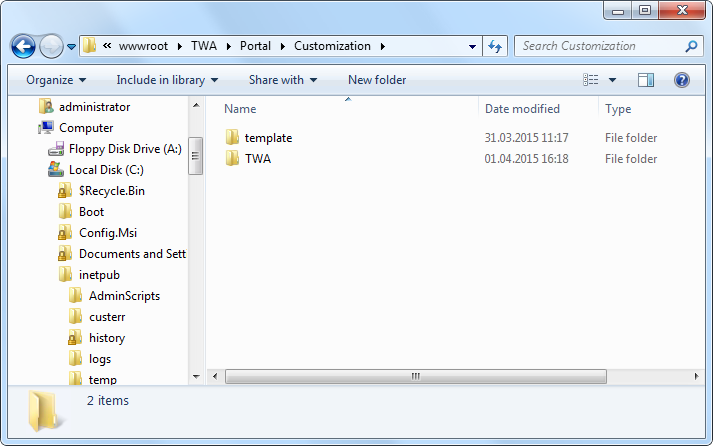
The Thereforeā¢ Portal can be highly customized to fit the look and feel of your company. This is done by editing an XML file and the images you would like to use to customize your Portal. The customization must be placed under the IIS server directory \TWA\Portal\Customization. A default template is available under the folder "template", which can be copied, renamed, and then customized.
 Where can I set customization options for the Thereforeā¢ Portal?
1.If you are running a single-tenant system, create a folder under the \TWA\Portal\Customization directory and name it TWA.

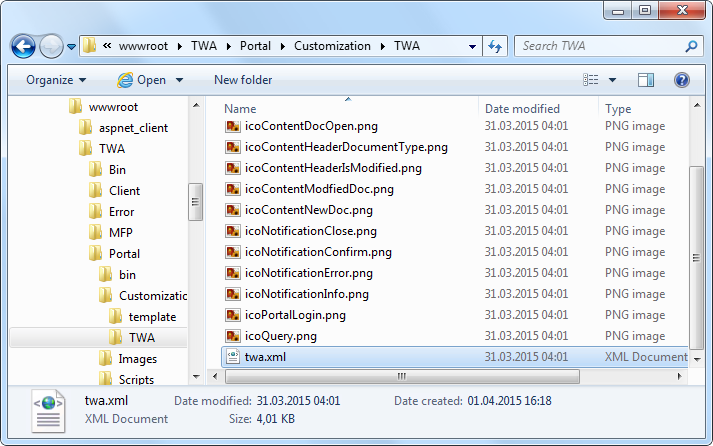
2.Copy the contents from the default "template" folder and copy it to the folder you just created, TWA. Make sure to rename the XML file to TWA.xml.


|
For multi-tenant systems a separate folder is required for each tenant, and the XML file must have the same name as the folder. For example, to customize the Portal for the tenant NewYork, create a folder called NewYork, then name the customization file NewYork.xml.
|
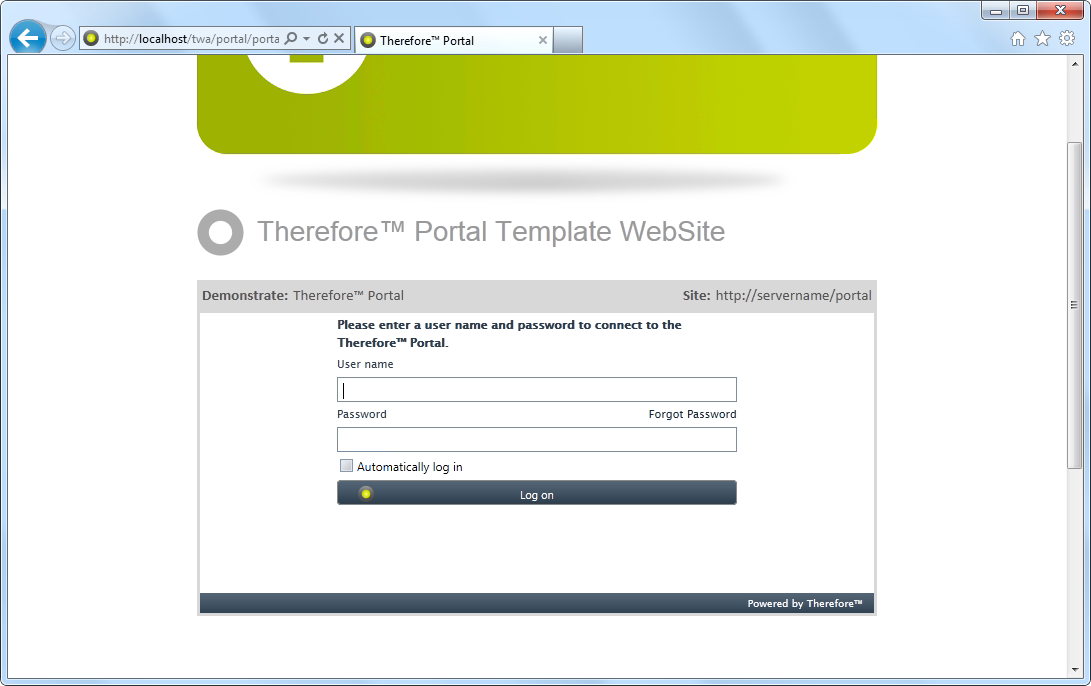
3.Edit the XML file with a text editor. Replace any images and their references in the XML file as necessary. For testing purposes, an HTML page template is provided under the directory \TWA\Portal\Portal.html. To access this page on the server, open a browser and enter http://localhost/TWA/Portal/Portal.html .

|
 Which values can I/should I change?
All elements between the <Portal> tags can be changed as necessary to customize the look of the Portal. The main types of elements are described below.
<Skin>
Choose from one of the skin values listed in the comment.
<Display...>
These values are related to the user name display options.
<Login...>
These values are related to the user login page.
<Hitlist...>
These values are related to the document hit-list.
<Activation...>
These values are related to the user activation page.
|

 Where can I set customization options for the Thereforeā¢ Portal?


