
|
Upload |
Scroll |
Files can be manually dragged in from Windows Explorer. They can only be dropped in the area marked Drag & Drop Documents.
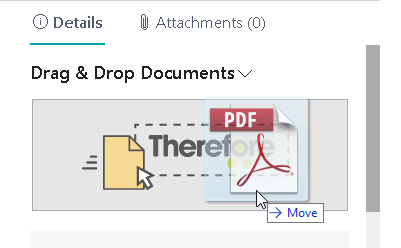
Only the light gray rectangle is a valid drop-target. After dropping the file, a progress bar will appear until the document is uploaded.
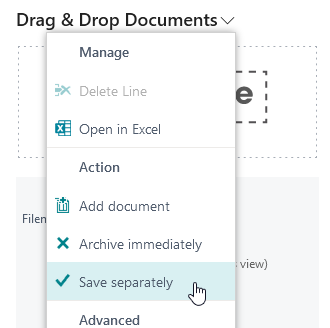
When dragging in multiple files at once you can choose to save them all in one Therefore™ document, or to save them all as separate documents. This has to be specified prior to the drag&drop action in the options menu.
If the check symbol is shown the files will be saved as separate documents in Therefore™. If the X symbol is shown the files will all be saved into a single Therefore™ Document. Your choice will be remembered for each page separately.
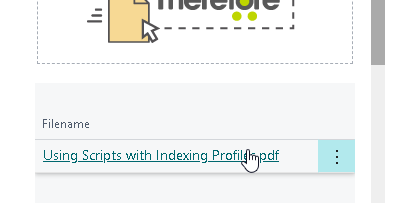
When the document upload was successful, the document title is displayed below the drop area as a link. Clicking the link will open the document in the Therefore™ Web Viewer. The Index data is filled in according to the Mapping.
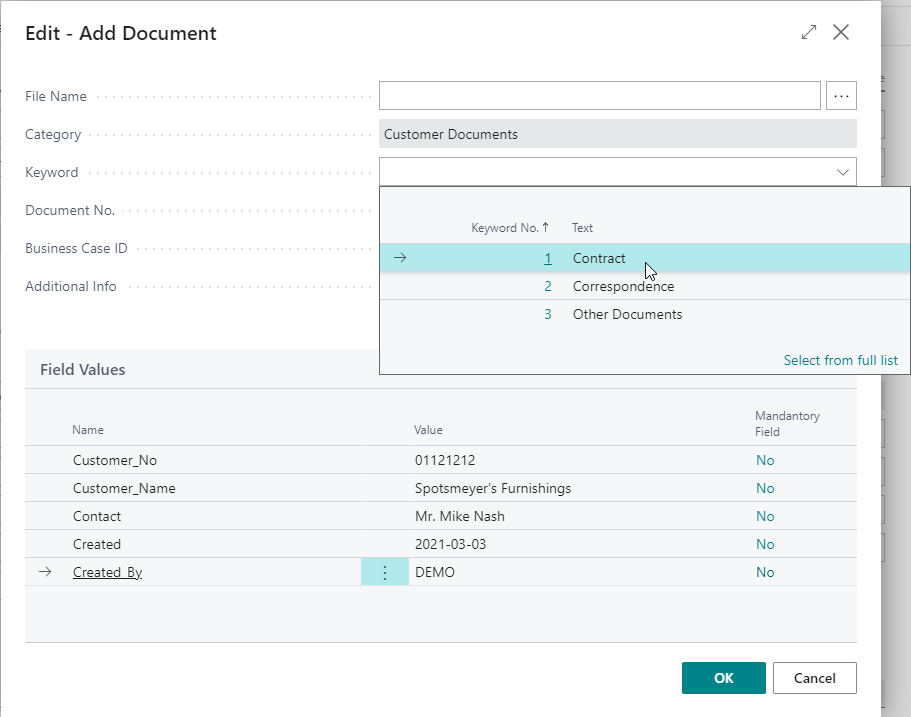
As an alternative to Drag & Drop, it is possible to upload documents using the Add Document dialog and choosing a file. The same dialog is shown when Drag & Drop is used if the Archive immediately checkbox is not checked. This dialog offers the option to choose a keyword value if any are defined in the category.
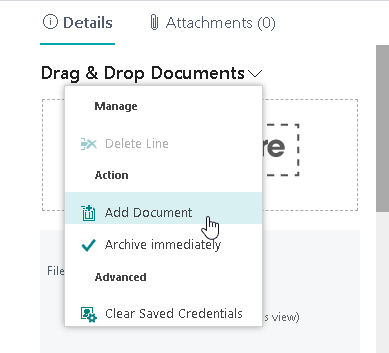
Additional Info as well as a Business Case ID can be specified as well.
Another way of saving documents are reports. Usually, they are automatically executed as configured in the mapping. It is also possible to trigger this manually. This can be useful if the document was accidentally removed, or if creation did not work. To do so, open the context menu and click on “Re-Queue Standard Document”:
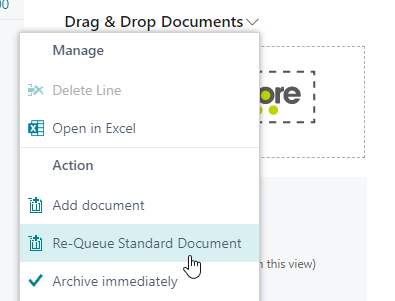
The report will be synchronously created and saved to Therefore™.
