
|
Scanning & Saving to Therefore™ |
Scroll |
How do I scan and save documents?
1.The first step is to log in using your username and password and to choose the correct domain from the drop-down list. The domain option is not available if the computer with the server is not in the domain. Alternatively the domain info can be entered before the user name (e.g., moyaware\john smith), but in this case the drop-down box must be left blank).

|
•uniFLOW/Universal Login Manager: If the uniFLOW/Universal Login Manager is installed, then login is via uniFLOW/Universal Login Manager, and logging into the MFP Application is not necessary. Instead a splash screen will be opened from which the application can be started. •Default account: a default account can be set in the Therefore™ Solution Designer on a per device basis or system wide for all devices. If the application is in default account mode no login screen will be displayed but a splash screen. The default account will be used for logging into Therefore™. |
|
|

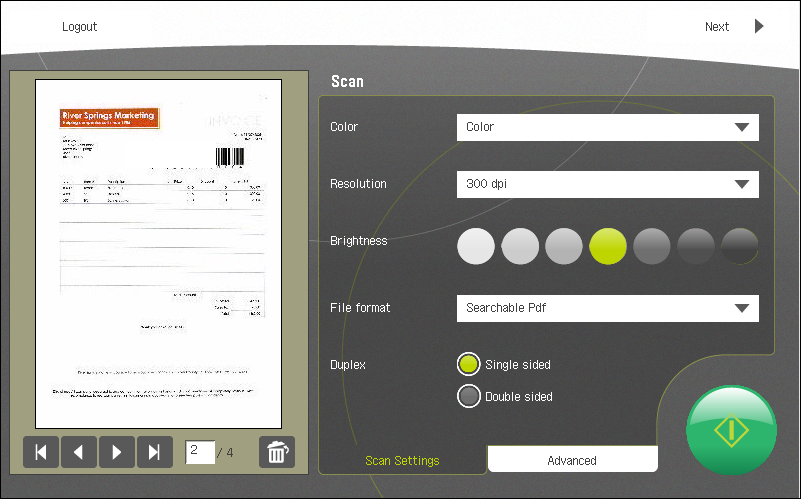
2.The scanning dialog will be displayed, and if necessary, the settings can be adjusted. To begin scanning, press the green start button on the screen or the physical start button on the MFP's panel. Once the document has been scanned, it will appear as a preview in the left-pane. Unwanted pages can be deleted using the Delete button, and further pages can be scanned using the green start button. When finished press Next.
|
Default scan settings can be set in the Therefore™ Solution Designer on a per device basis or system wide for all devices. |

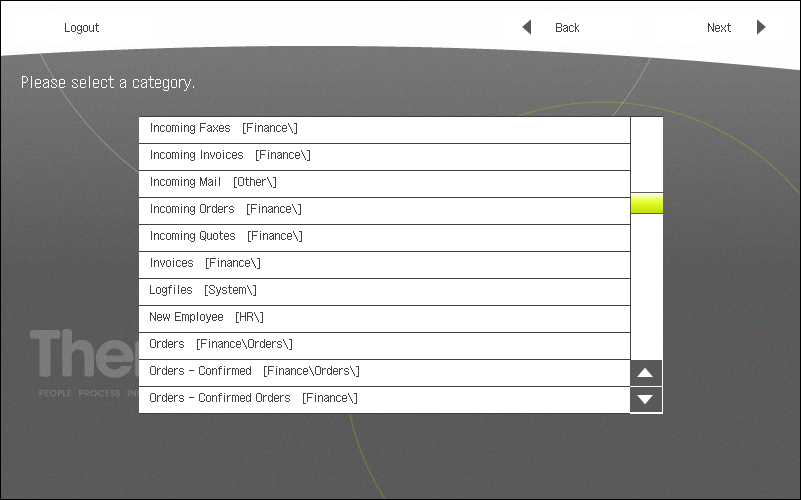
3.The Therefore™ category can now be chosen from the displayed list (only categories for which the user has permission will be listed). Press Next once the selection has been made.
|
A default category can be set in the Therefore™ Solution Designer on a per device basis or system wide for all devices. If a default category is set the category panel will be skipped. All scans will be saved into the predefined category. |
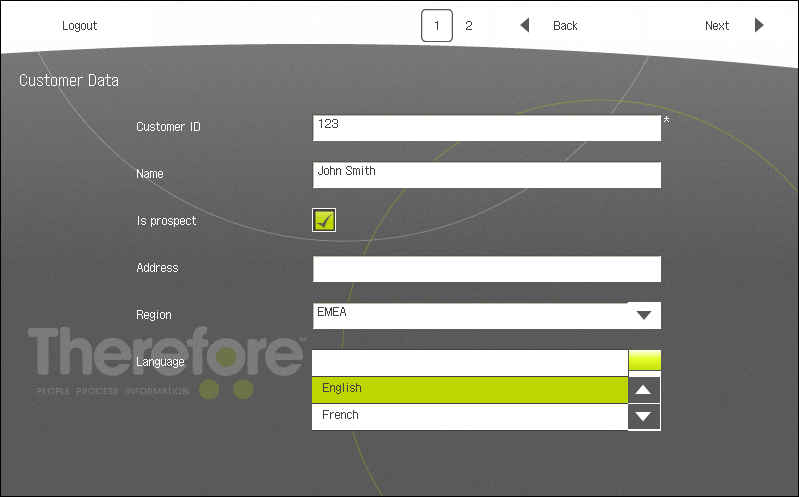
4.The index fields for the chosen category will be displayed and can be filled out. Click Next once finished. The index data can be entered using the software or hardware keyboards.
|
•Compulsory fields are marked with an asterisk. •Therefore™ MFP Application supports the auto-append feature. When a document is saved a second time, Therefore™ will populate all other fields with the data from the existing document. In addition, an auto-append tool bar will appear at the bottom of the dialog. The user can then change the default auto-append action by selecting the drop-down box and choosing a new setting. See the Administrator manual for more details. •Table category fields are are not supported on the Therefore™ MFP Application. |
5.The progress of the saving process will then be shown.
6.If for some reason there is a problem saving the document, an error message will be displayed; otherwise a dialog will appear with the options to Scan More or Logout (Finish for uniFLOW/Universal Login Manager). Scan More will return to the scanning dialog, logging out will return the application to the login screen and Finish (for uniFLOW/Universal Login Manager) will return to the splash screen.
|
Timeout: For security reasons, if left idle on this dialog for 30 seconds, the application will revert to the login screen (or splash screen in the case of uniFLOW/Universal Login Manager). |
