1.Before you begin to scan a document, select a matching capture Profile and if required a scanner setting. To capture via scanning click Scan, or to capture electronic documents click Import.
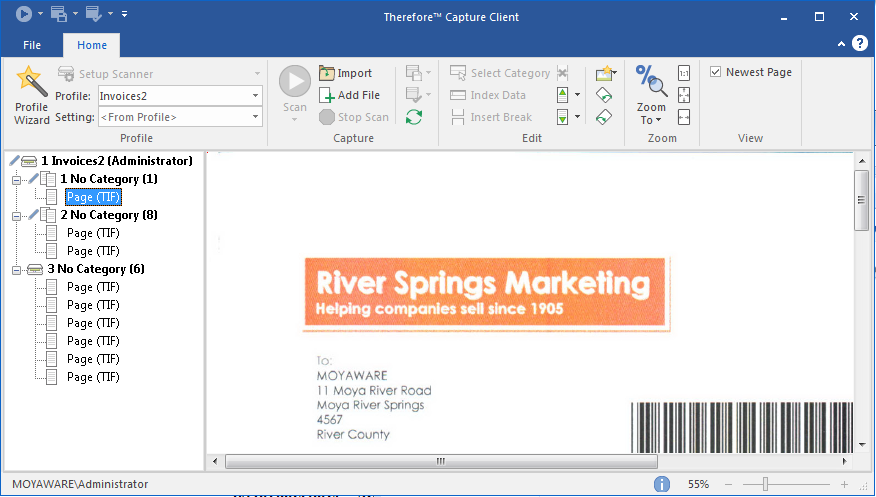
2.In the left pane a batch will be created. Each batch object contains one or more documents depending on the document break settings, and each document contains one or more pages. The printer icon ( ) shows which batch and document is active. ) shows which batch and document is active.
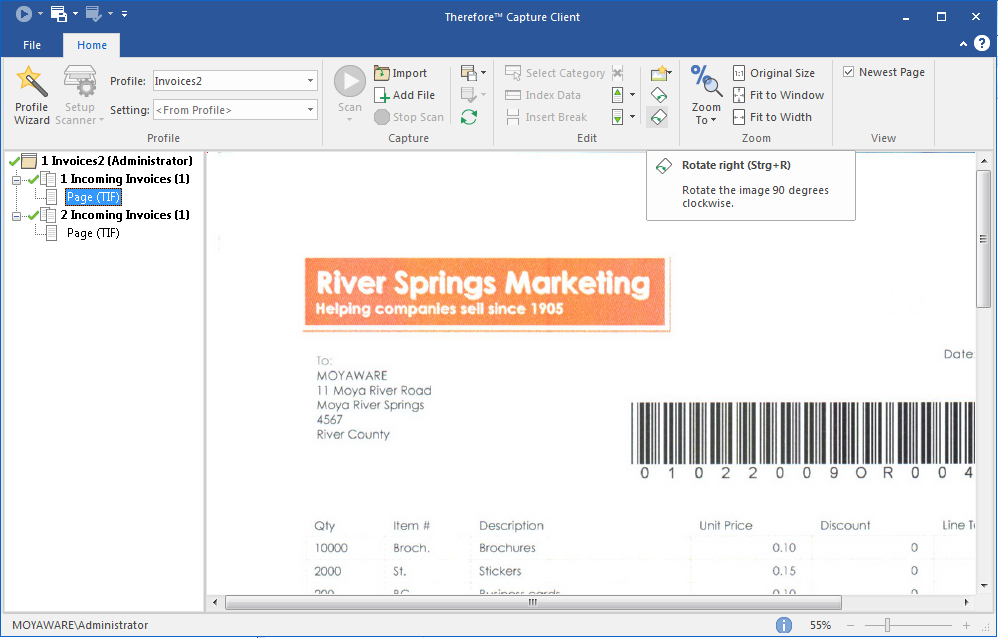
3.To add any kind of electronic file to a document, select the document and then click Add File.
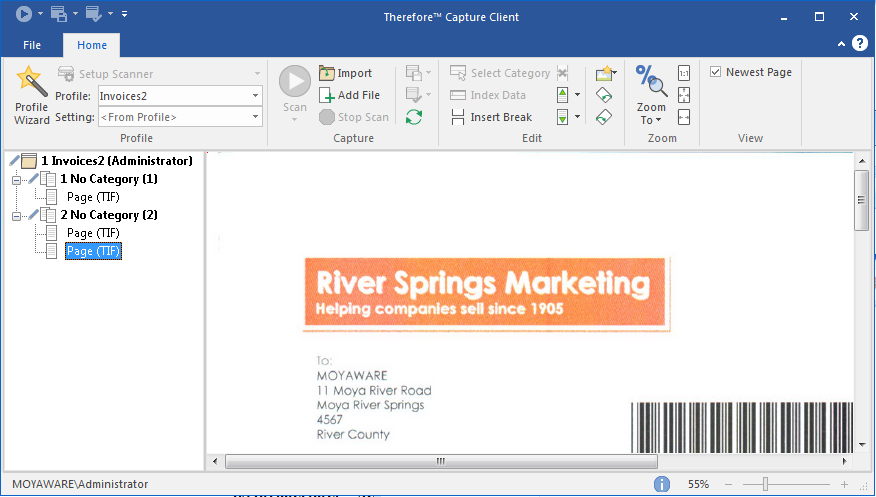
4.The new page will appear under the document object.
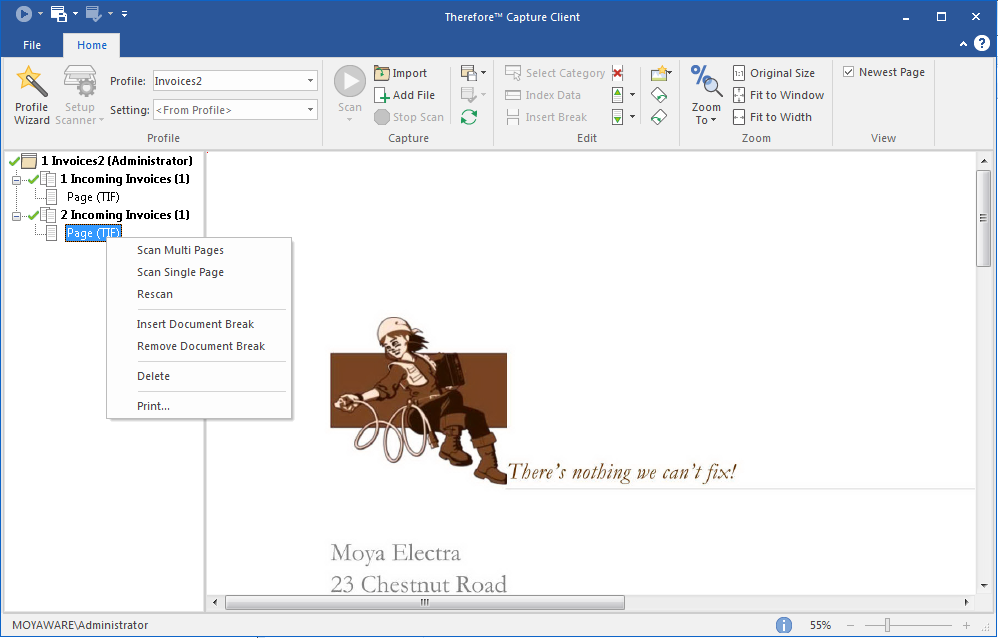
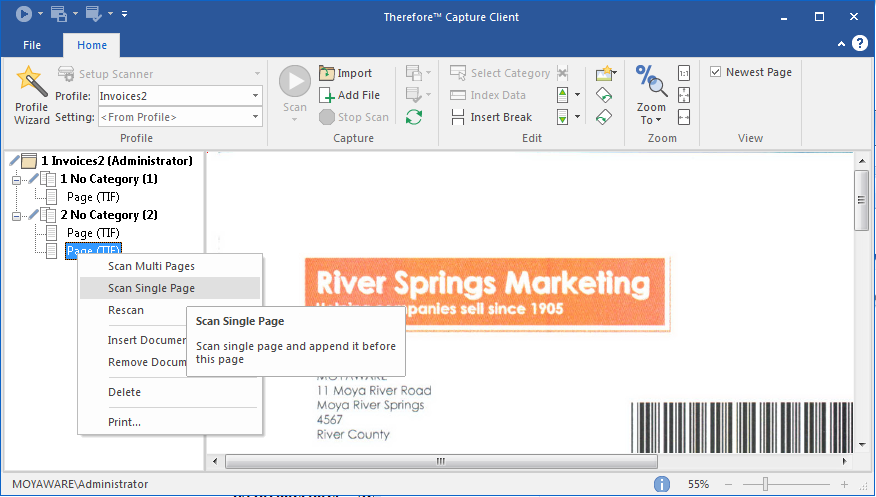
5.To add a page to a document by scanning, select a page in the document and click Scan Single Page. (To add multiple pages click Scan Multiple pages).
6.To add further documents to the batch, use the Scan or Import functions. But note, if your selected Profile has no document break specified, the pages will be added to the currently active document, as indicated by the printer icon (  ). Also note, if you change capture profiles, a new batch will be created. The number of pages in a document is shown as part of the document title. The page order can be changed by simple drag and drop. ). Also note, if you change capture profiles, a new batch will be created. The number of pages in a document is shown as part of the document title. The page order can be changed by simple drag and drop.
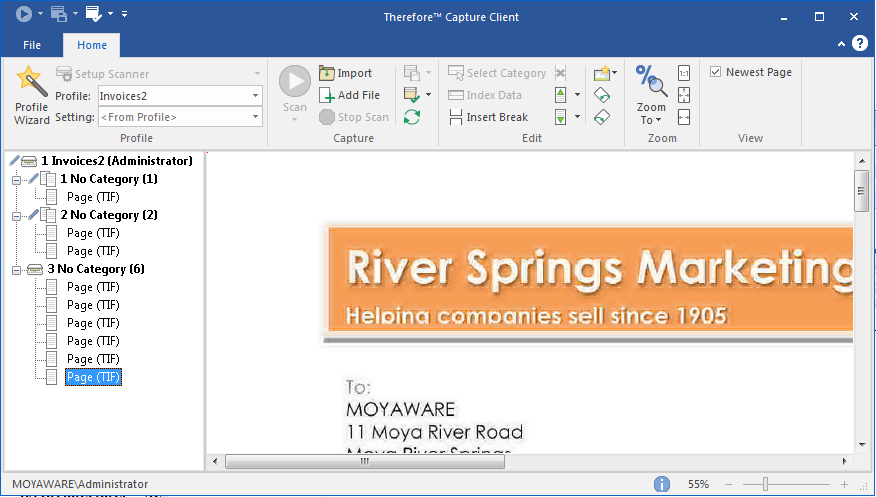
7.To classify a document, Thereforeā¢ requires a category and index data. A capture profile can be defined to automatically assign a category and index data. The pen icon ( ) shows that the category and/or that mandatory index fields have not been automatically set. The category and/or index data can be set manually by clicking on the document. Once done the name of the category will appear as the document header and the pen icon ( ) shows that the category and/or that mandatory index fields have not been automatically set. The category and/or index data can be set manually by clicking on the document. Once done the name of the category will appear as the document header and the pen icon ( ) icon will be replaced by a green check icon ( ) icon will be replaced by a green check icon ( ). Once all documents in a batch have been assigned a category and mandatory index data, then the batch object will also have a green check icon. The batch can now be saved to Thereforeā¢ by selecting it and clicking Save Batch in the menu. ). Once all documents in a batch have been assigned a category and mandatory index data, then the batch object will also have a green check icon. The batch can now be saved to Thereforeā¢ by selecting it and clicking Save Batch in the menu.
|
