
|
Creating an Application Group |
Scroll |
Therefore™ Generic OIDC authentication via AD FS requires creating an Application Group on the AD FS server. Please follow the steps below to create the Application Group.
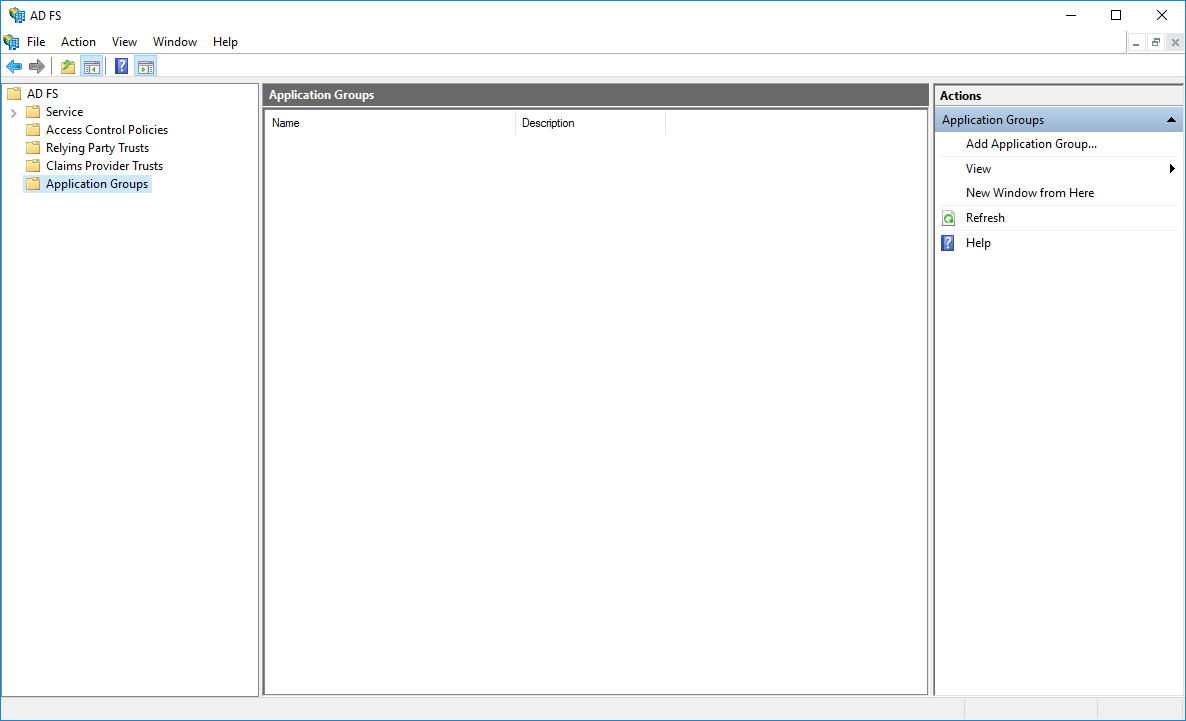
1. Select Application Groups in the AD FS tree view. Click Add Application Group… in the Actions pane.
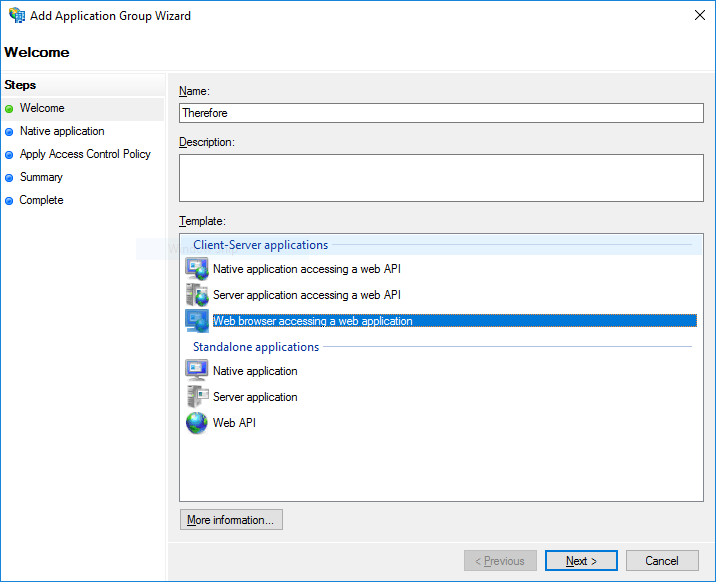
2. Type in the desired name for the Application Group. Select Web browser accessing a web application and click Next.
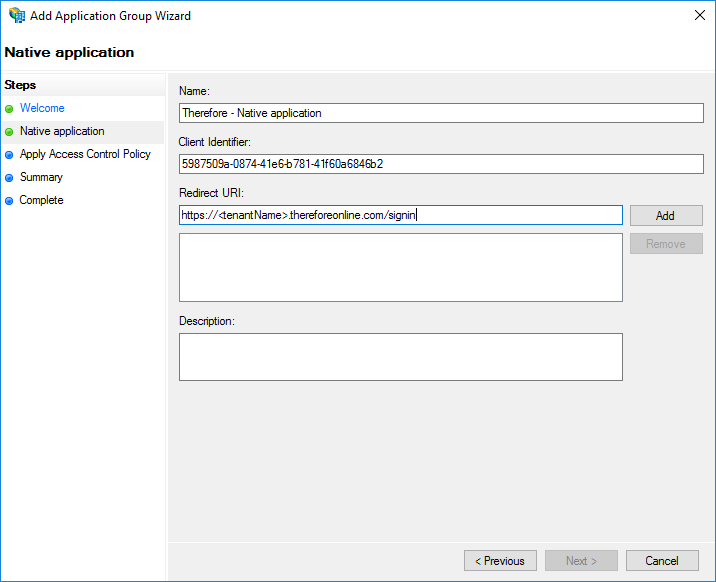
3. Add the Redirect URI for the Therefore™ Web Application and then press Next. For Therefore™ Online the URI follows the pattern shown in the example below. Here, <tenantName> needs to be replaced with the actual tenant name.
https://<tenantName>.thereforeonline.com/signin
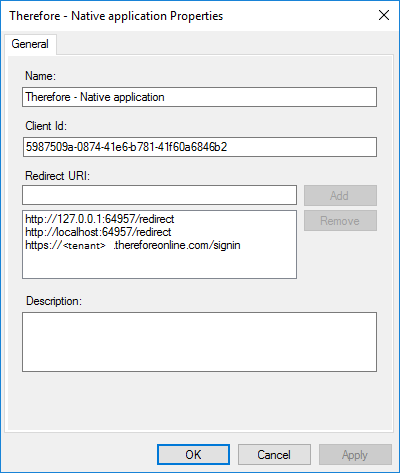
To enable OIDC authentication for Therefore™ installed clients such as the Therefore™ Navigator two more URLs need to be added, as shown in the screenshot below. These URLs can also be added later.
http://127.0.0.1:64957/redirect
http://localhost:64957/redirect
|
Note: Redirect URIs for other Therefore™ applications such as the Therefore™ Go app can be found here. |

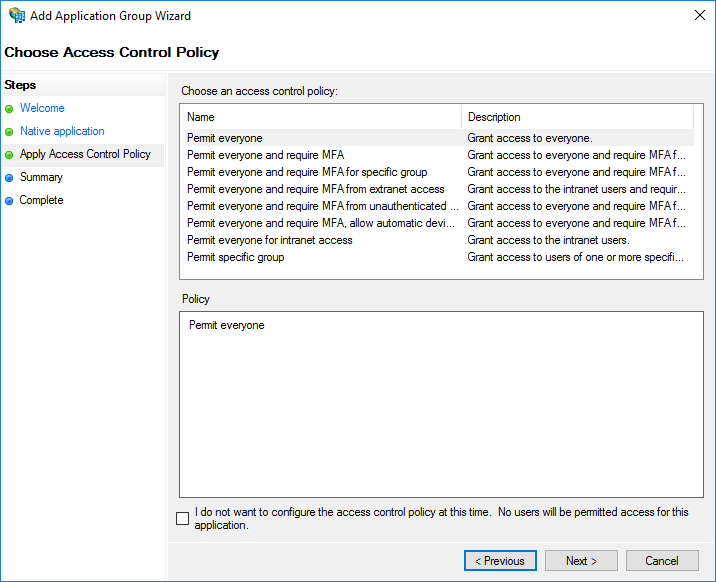
4. The next step involves choosing the access control policy for this application. For additional information about Access Control Policy templates and creating customized templates the relevant Microsoft documentation provides a detailed description. Click Next to continue.
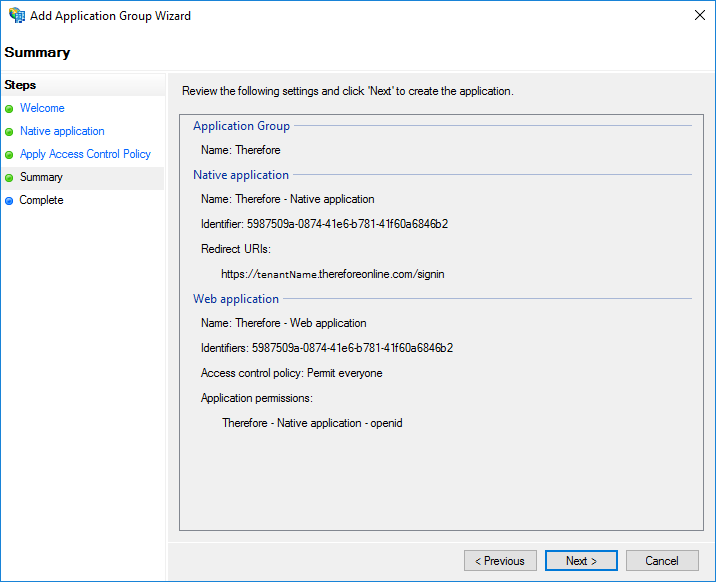
5. Check the information displayed on the summary page. Click Next to confirm.
This concludes creating an application group. Click here for the tutorial on setting the necessary Client Permissions.
