|
Setting Client Permissions |
Scroll |
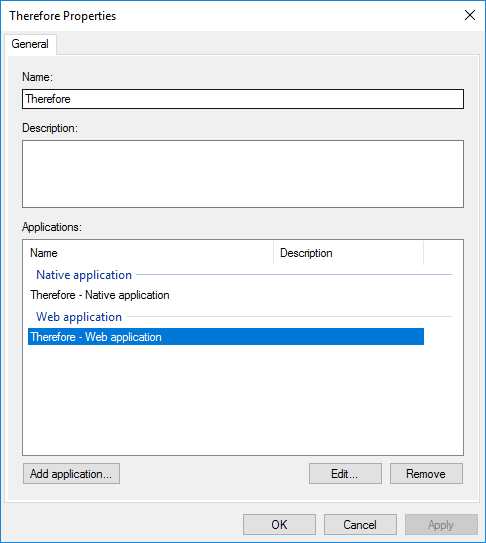
1. Once the Application Group has been created, double click the Web application to open the Properties dialog.

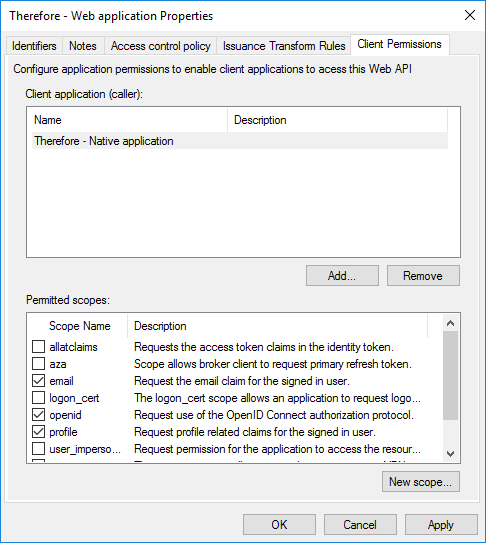
2. Navigate to the Client Permissions tab and make sure that the following Permitted scopes are selected.
a.email
b.openid
c.profile

3. Click OK to proceed. This concludes setting the necessary Client Permissions. Optionally, find out how to add Thereforeā¢ installed client authentication here or go to the user configuration tutorials.
