
|
Adding a logo or image to a form |
Scroll |
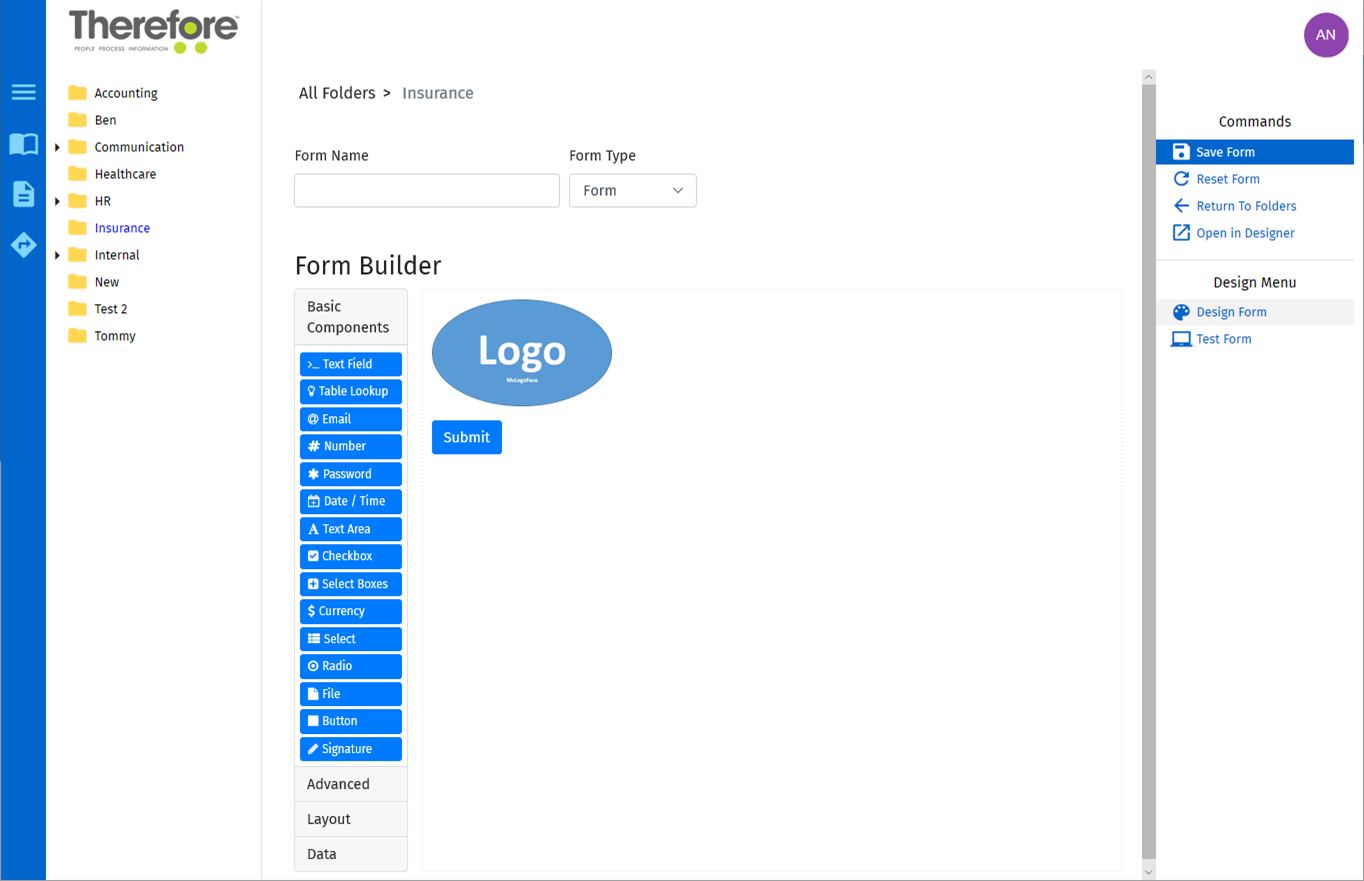
When configuring an eForm users are able to add logos or images as part of the eForm that form takers later on can see but not interact with.
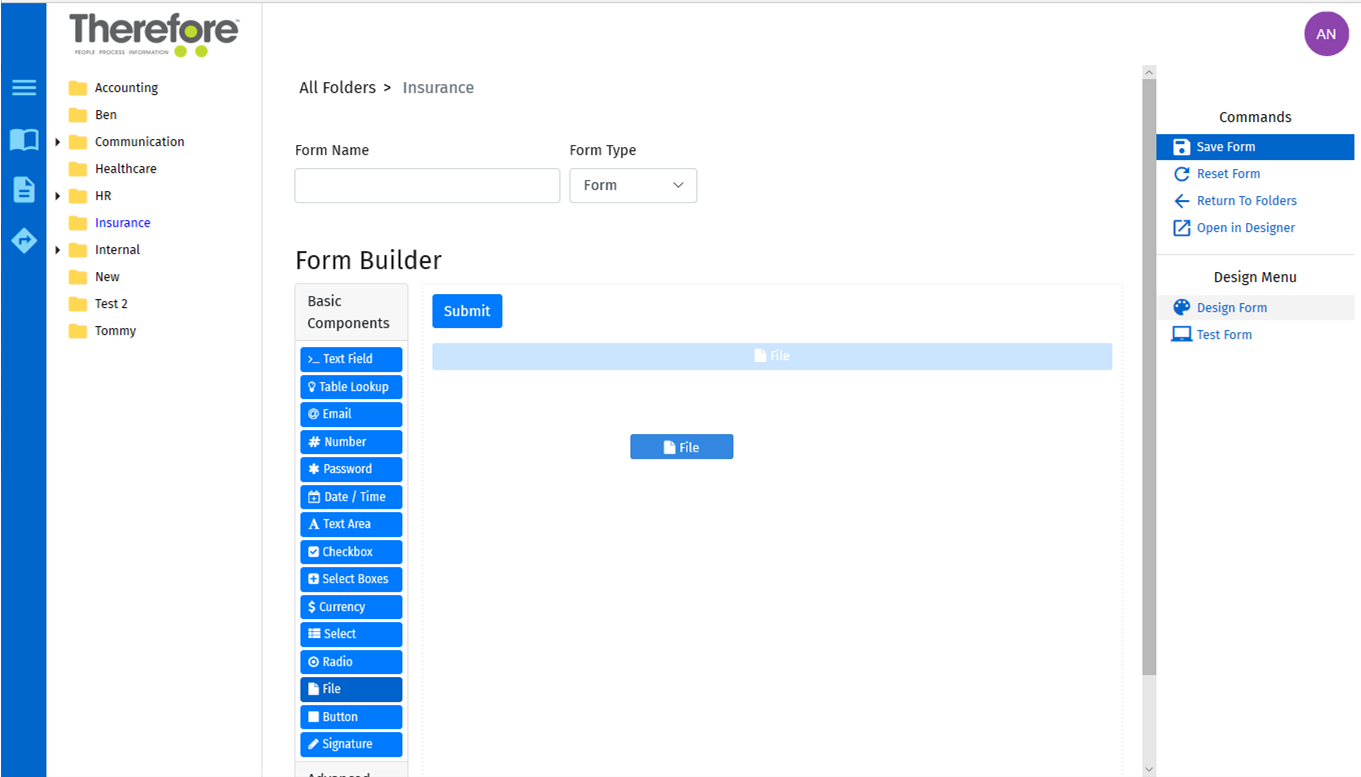
1.In the Form Builder (of the Thereforeā¢ eForms interface), drag a File component into the Form Creator.
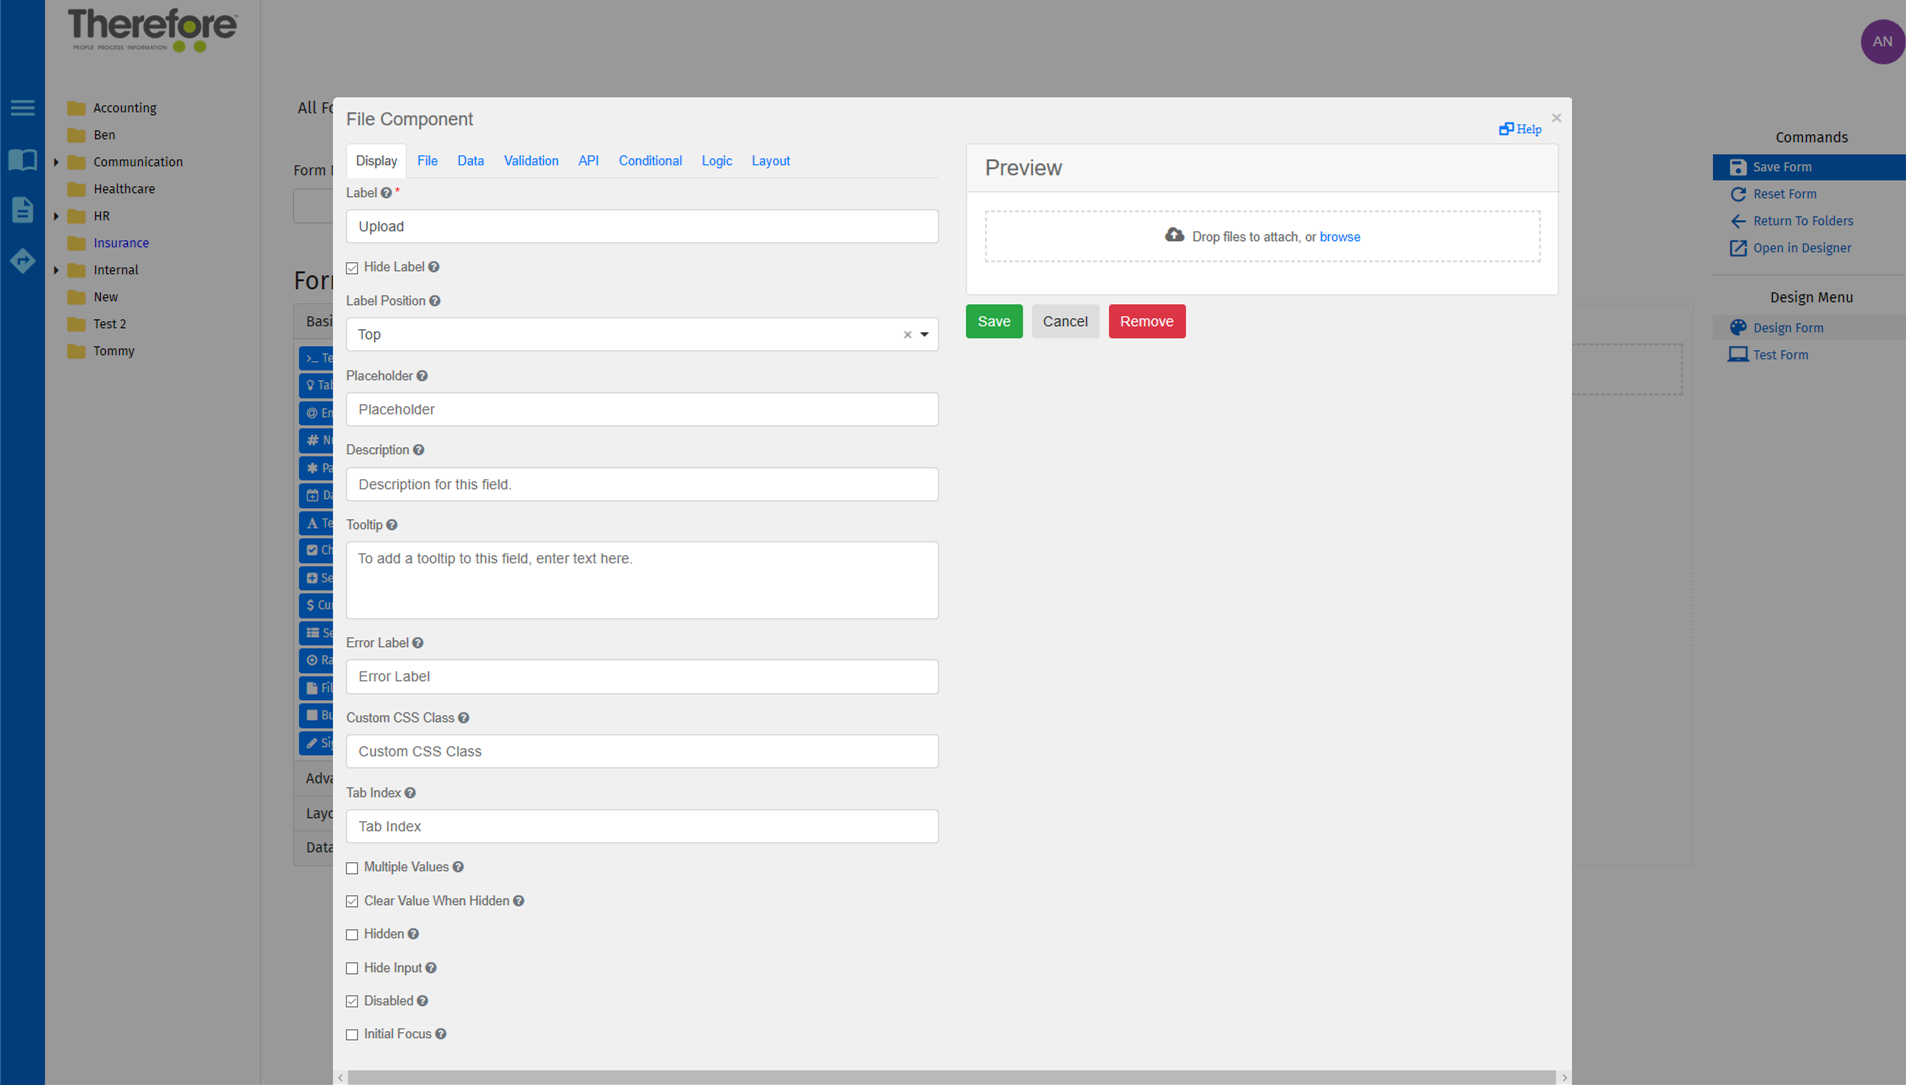
2.Under the Display tab, check the Hide Label and Disabled checkboxes.
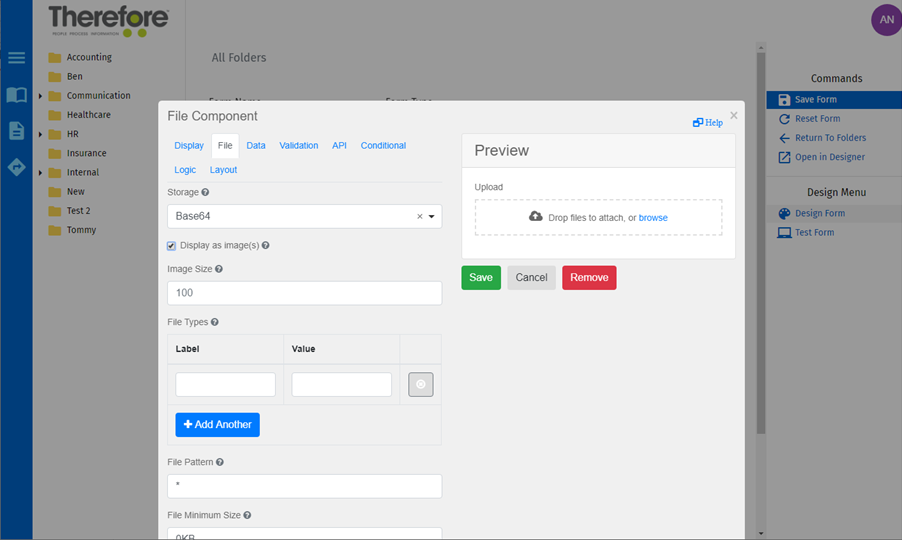
3.Under the File tab, set Storage as Base64 and check the box Display as image(s), then click the Save icon.
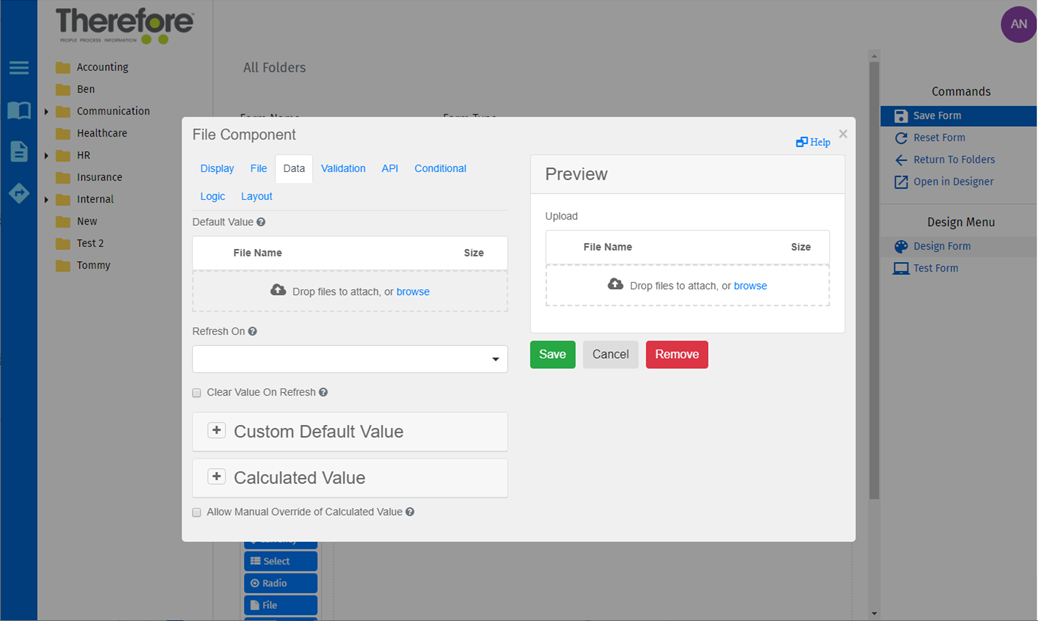
4.Under the Data Tab, drag an image (or browse using the provided link) into the File component. Then click on the Save button. The image will now be visible on the eForm.
Controlling where an image is displayed in the eForm
For full layout control, it is recommended to use a plain HTML element.
Embed the 'src' of an image in plain 'html'. The 'src' should look like:
<img src="data:image/png;base64,<base64 encoded image data>"
Ā alt="Test" style=" display: block; margin-left: auto; margin-right: auto; width: 40%;"/>
This can then be pasted into the Content field of the Display tab.
The 'src' can be generated by uploading the image onto a website such as:
https://www.base64-image.de/
|
Note: |
|
|---|

