
|
Configure Therefore™ Full-Text Search |
Scroll |
The Connector makes it possible to combine Therefore™ full-text search with SharePoint full-text search. To use Therefore™ full-text search you need to first create a new federated search location pointing to Therefore™ and then integrate this location into your existing search site.
|
•Note: Full-text Search for SharePoint 2013 is supported via Web Part. Please see the previous section for adding Web Part to the page. •Microsoft no longer supports the federated search option for SharePoint 2013. |
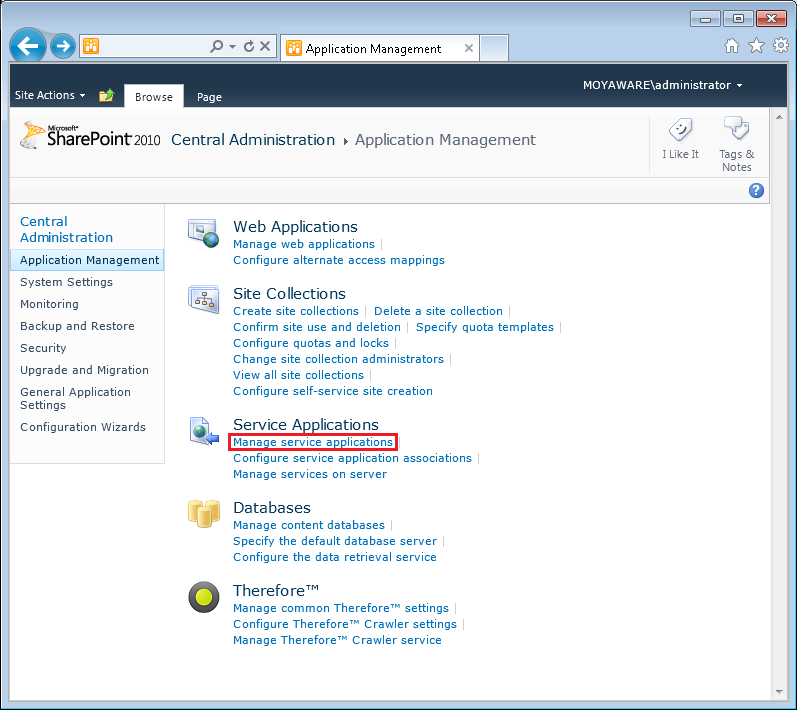
1.The first step is to create a new federated search location. Go to Central Administration then Application Management and then under Service Applications click on Manage service applications.
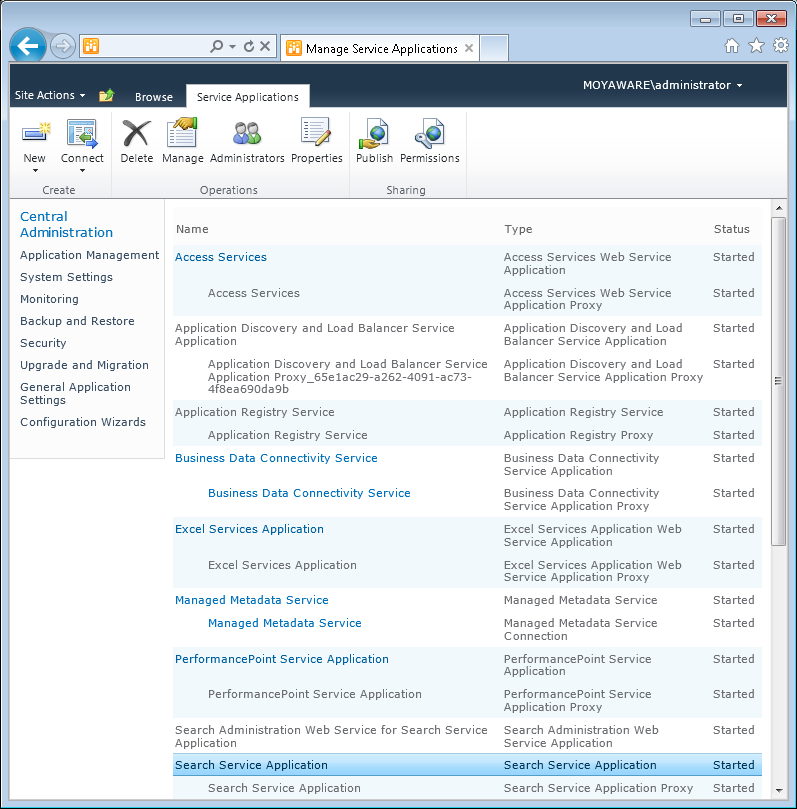
2.Select Search Service Application
 |
|
If FAST is installed instead of Search Service Application configure new location under FAST Query |
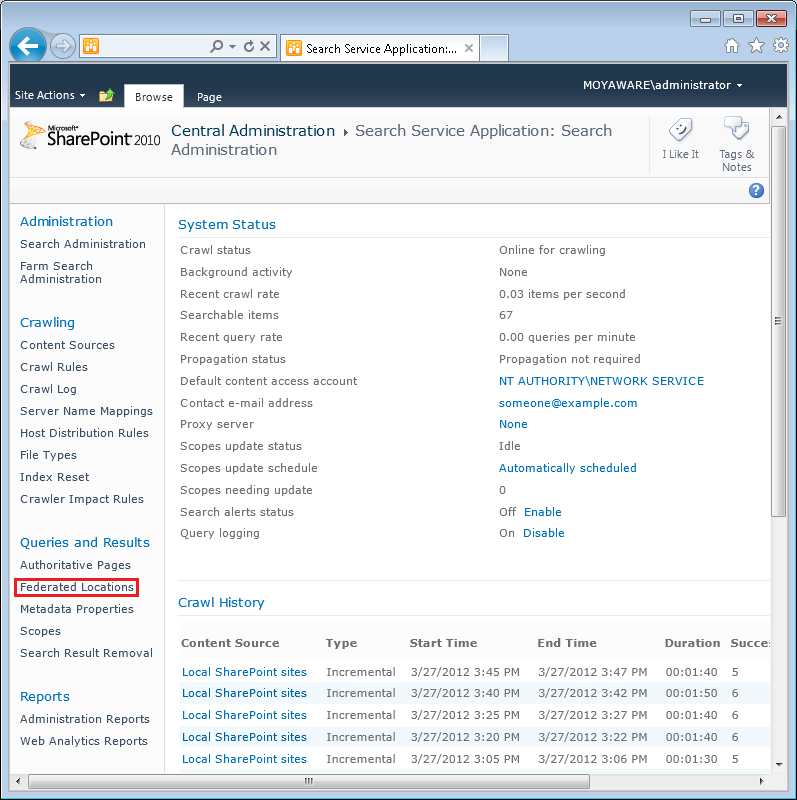
3.From the left pane under Queries and Results choose Federated Locations
 |
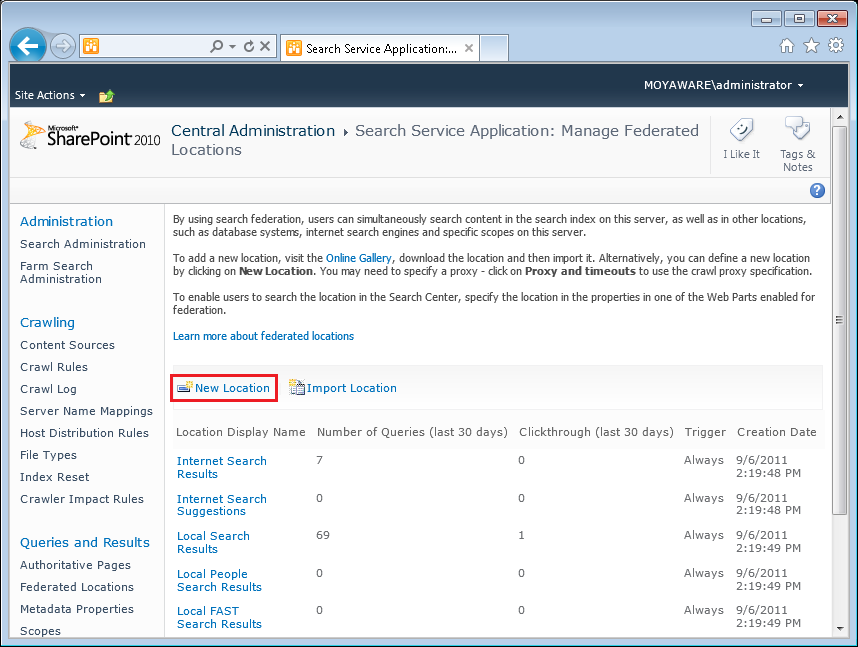
4.Choose New Location
5.Next configure new location settings. Specify the unique name to identify this location within your organization. Once it has been created this name cannot be modified. Display name for this location must be configured e.g. Therefore™. Site administrators have an option to display this name to end-users in federated-enabled Web Parts.
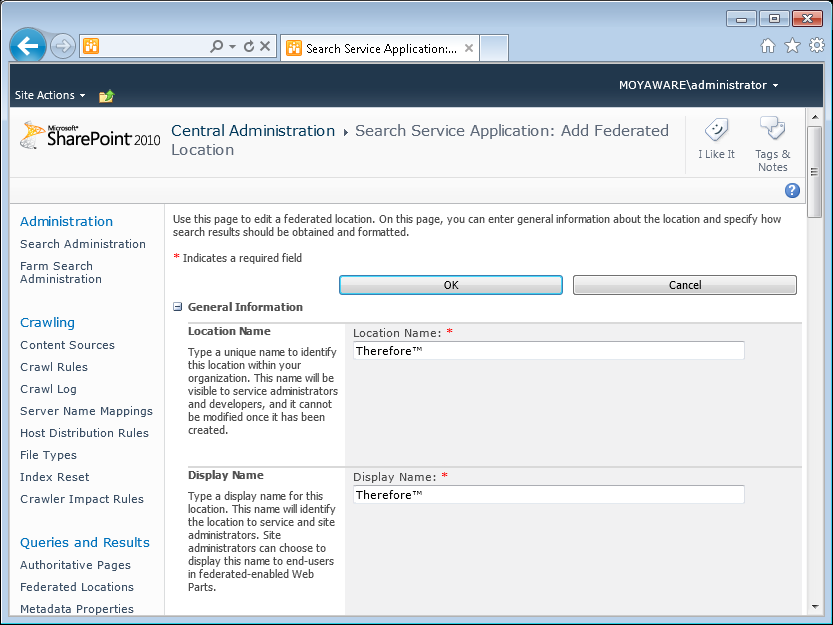
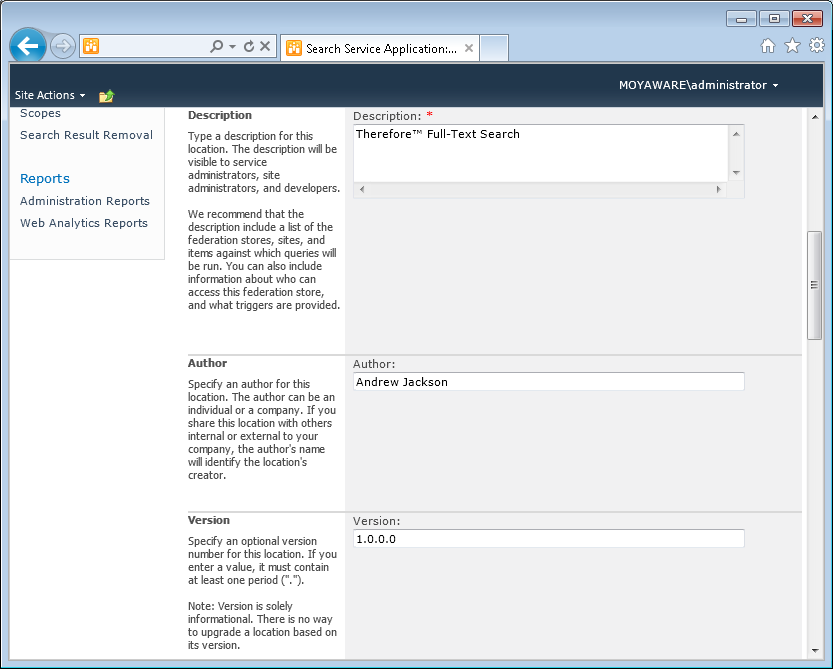
6.Add description for this location e.g. Therefore™ Full-Text Search. Specify an author for this location. An author can be an individual or a company. Specify a version for this location.
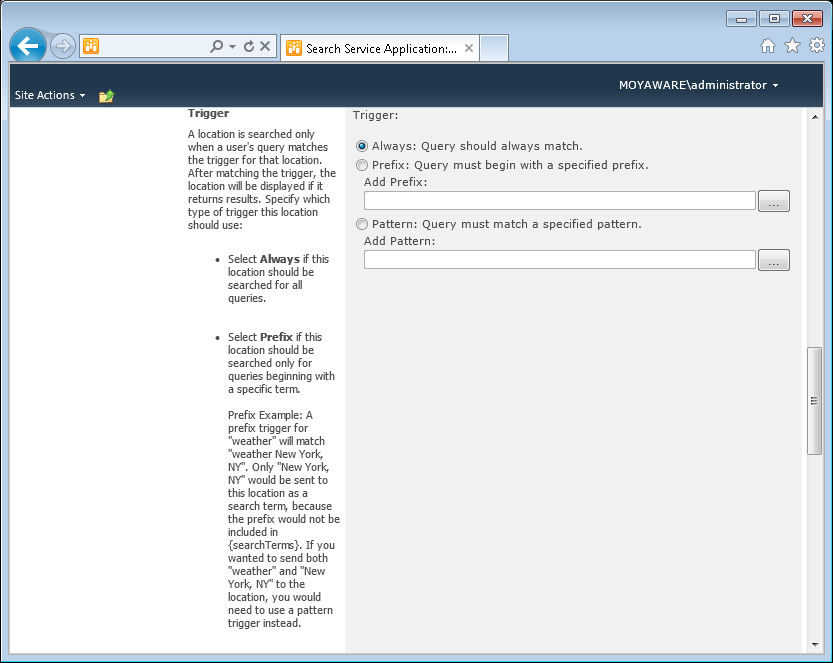
7.Specify a trigger for this location. Only when user's query matches the trigger the location is searched. The recommended option is Always: Query should always match.
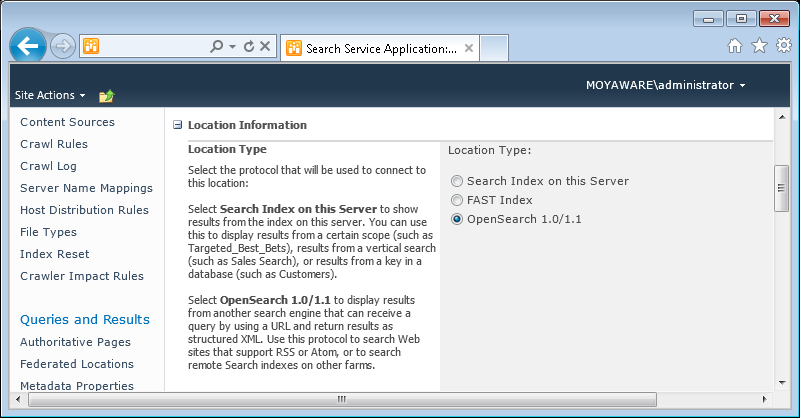
8.Next configure the location information. Specify location type. The protocol that is going to be used to connect to this location needs to be configured. Select OpenSearch 1.0/1.1
9.A Query template should be specified in order to pass queries to the OpenSearch location's URL. Use the following Query Template
/_Layouts/Therefore/fulltextsearch.aspx?query={searchTerms}&format=atom
| Configure "More Results" link template that specifies the URL of the HTML page that displays results for search query. Use the following "More Results" Link Template |
| /_Layouts/Therefore/fulltextsearch.aspx?query={searchTerms}&format=html |
|
Please note: It is sometimes necessary to enter full URL for Query Template and "More Results" Link Template e.g.
http://intranet/_Layouts/Therefore/fulltextsearch.aspx?query={searchTerms}&format=atom
http://intranet/_Layouts/Therefore/fulltextsearch.aspx?query={searchTerms}&format=html
where intranet is the the name of the site collection. |
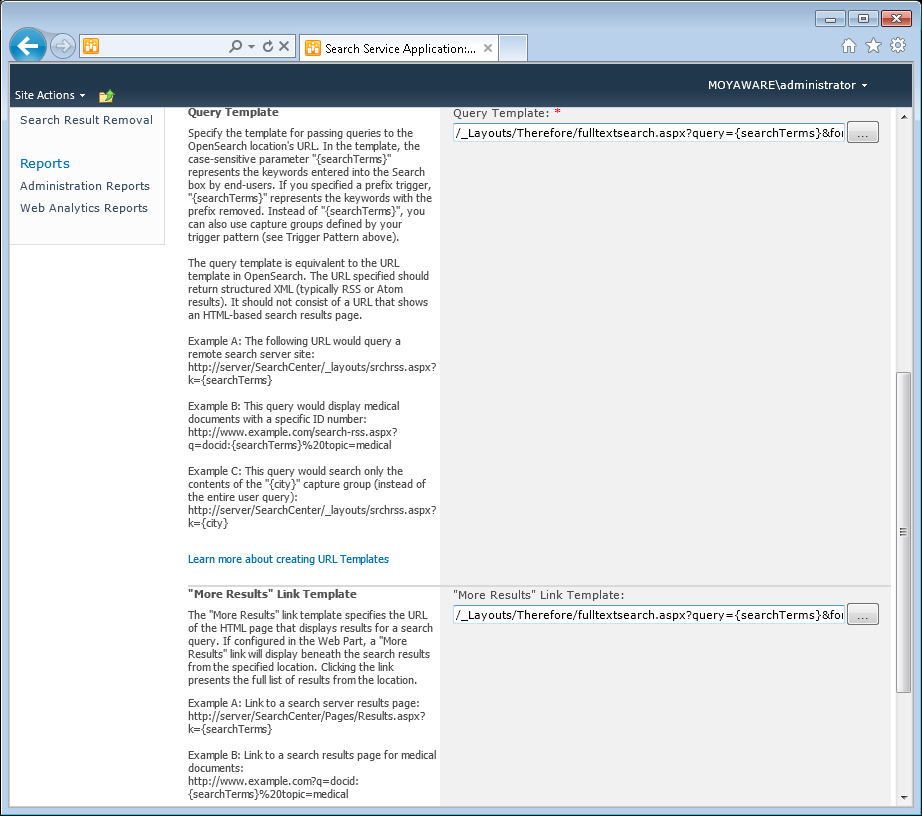
10.Next configure Display Information. For Federated Search Results Display Metadata, Core Search Results Display Metadata and Top Federated results Display Metadata select Use Default Formatting checkbox.
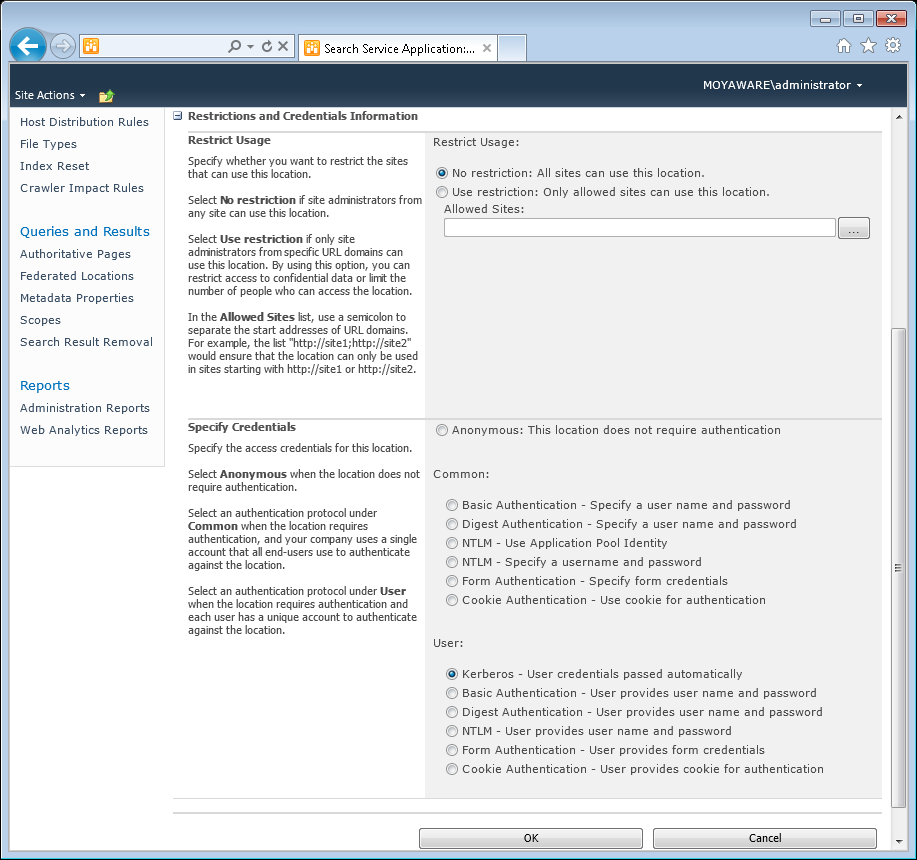
11.Configure Restrictions and Credentials Information
| Specify if there should be any restrictions for the usage of this location. Select No restriction: All sites can use this location. Specify the access credentials for this location. Under the User: select Kerberos - User credentials passed automatically. |
Step 2: Add Therefore™ Federated Search Location to Search Site
1.Go to your Search Site
|
•Please refer to Microsoft SharePoint documentation for detailed information how to create Search Site. •Please note: Therefore™ Federated Search Location can only be added to a Search Site. |
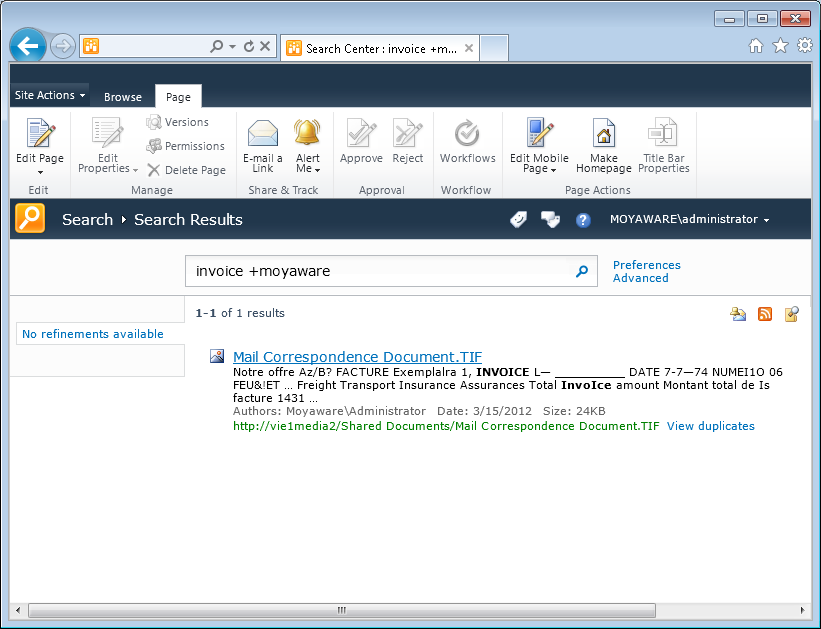
2.Execute a search e.g. invoice +moyaware,to reach Search Results page. On Search Results page select Site Actions and then Edit Page.
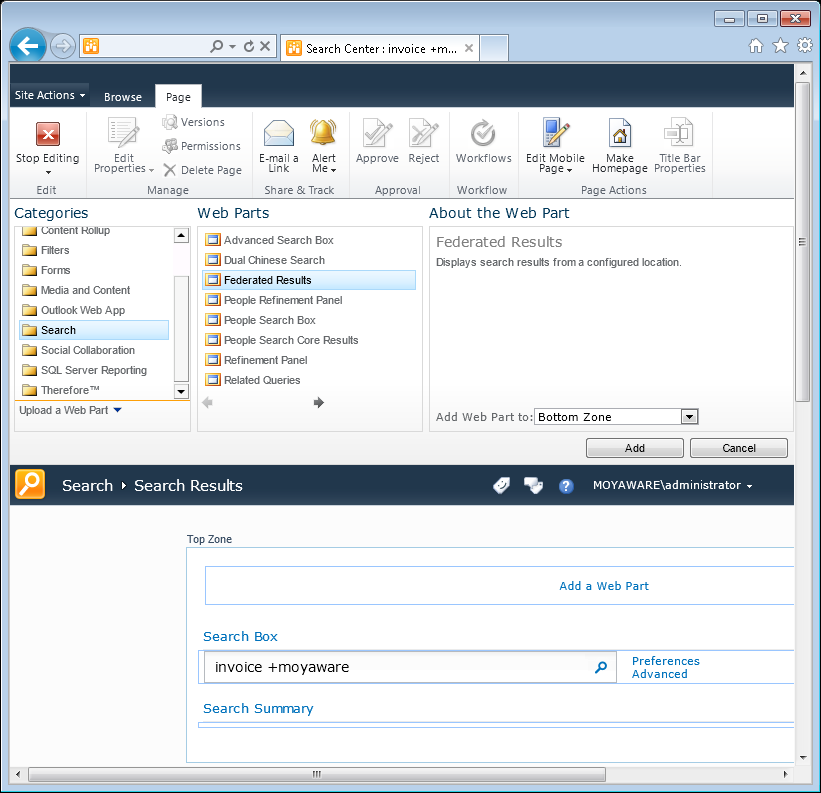
3.Add any federated web part or use an existing one to show Therefore™ full-text search results e.g. Federated Results
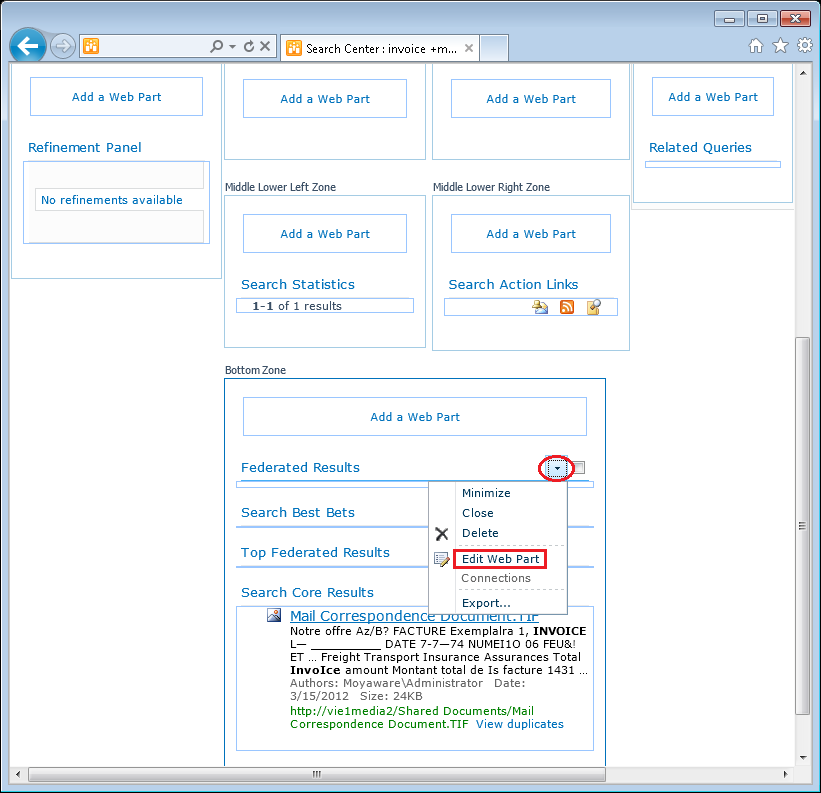
4.Go to Web Part Menu and select Edit Web Part for the chosen federated web part
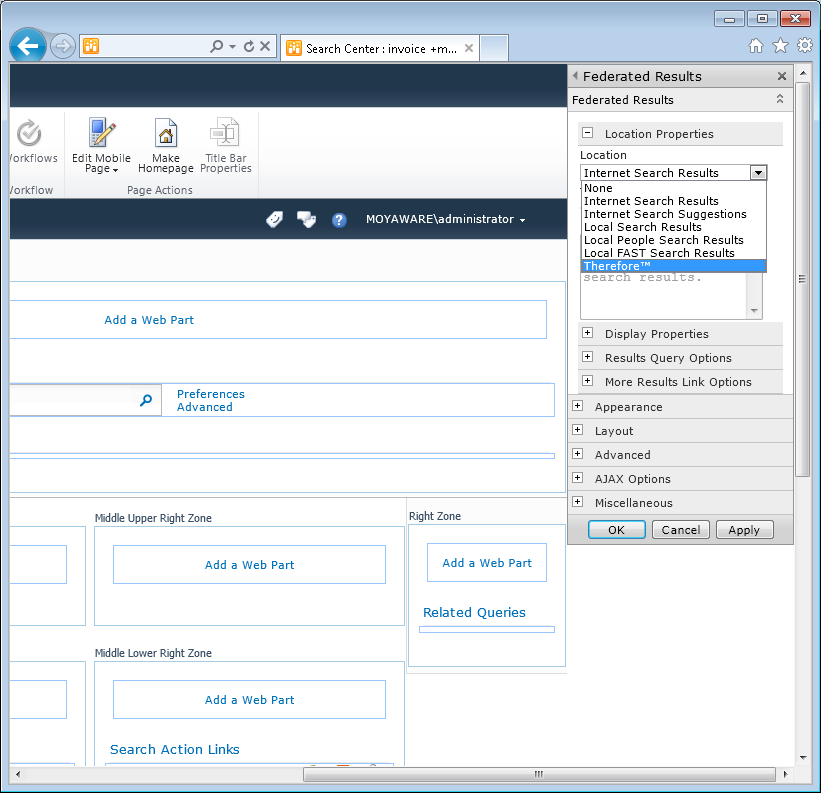
5.Under Location Properties for Location select previously created location e.g. Therefore™. Click Apply and then OK
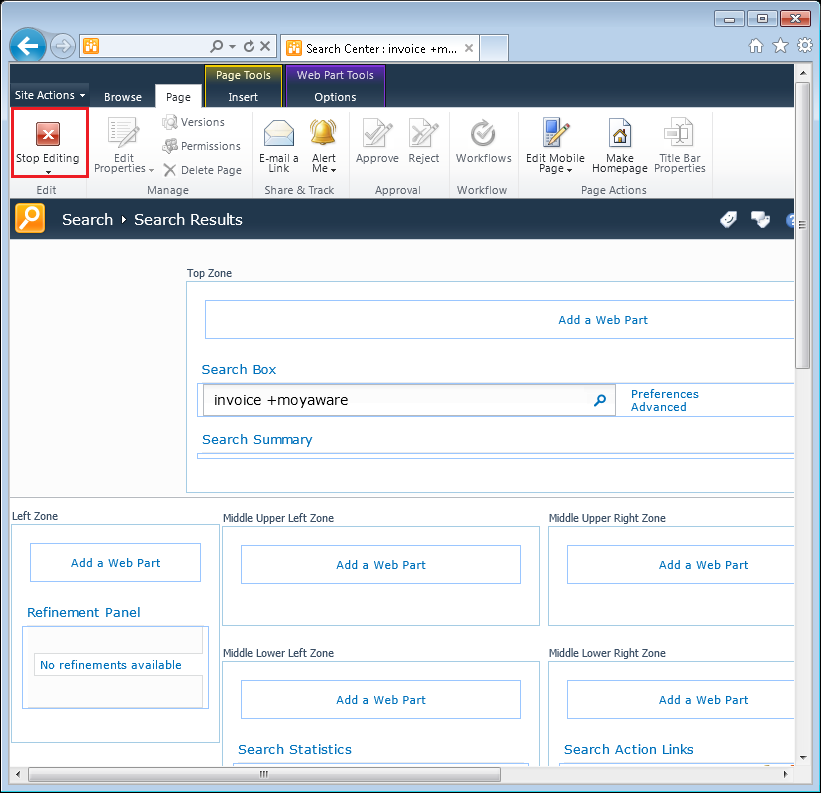
6.Select Stop Editing from the Ribbon bar
 |


