|
Creating a Therefore™ Smart Capture Workflow |
Scroll |
An XML file is available as part of the Therefore™ setup with an input category, an output category, and a workflow. It is recommended to use these default configurations and adjust if needed. However, you may also create your own designated workflow.
How do I create a workflow for Therefore™ Smart Capture?
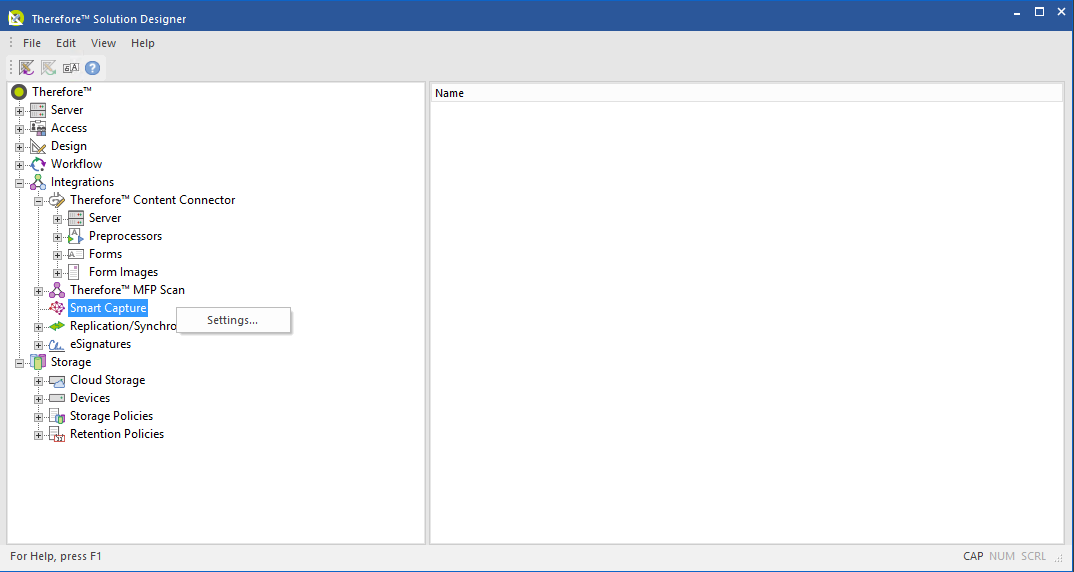
1.Before configuring the workflow tasks related to Smart Capture, you should configure some base settings. In the Therefore™ Solution Designer, go to Integrations, right-click over the Smart Capture node, and then click on the Settings option.
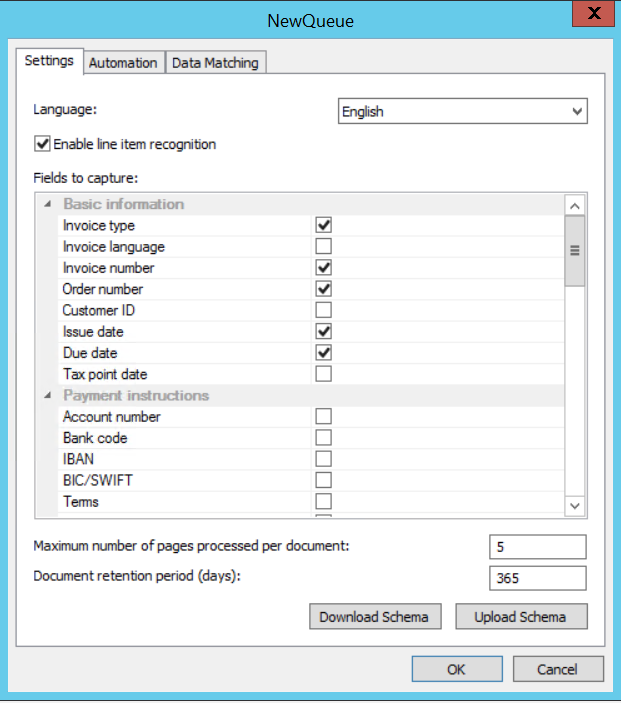
2. Select the language that your invoices will be in. Check the box labeled Enable line item recognition if you want Therefore™ Smart Capture to retrieve line items automatically. Note that line item recognition will increase the number of pages used. Choose from the list of available fields that you want to be retrieved from an invoice. Therefore™ Smart Capture will only look for these fields when analyzing an invoice.
|
Note: Set the maximum number of pages to be processed per document as these will be taken from the available pages. See separate licensing guides for information on how Smart Capture consumption is calculated. |

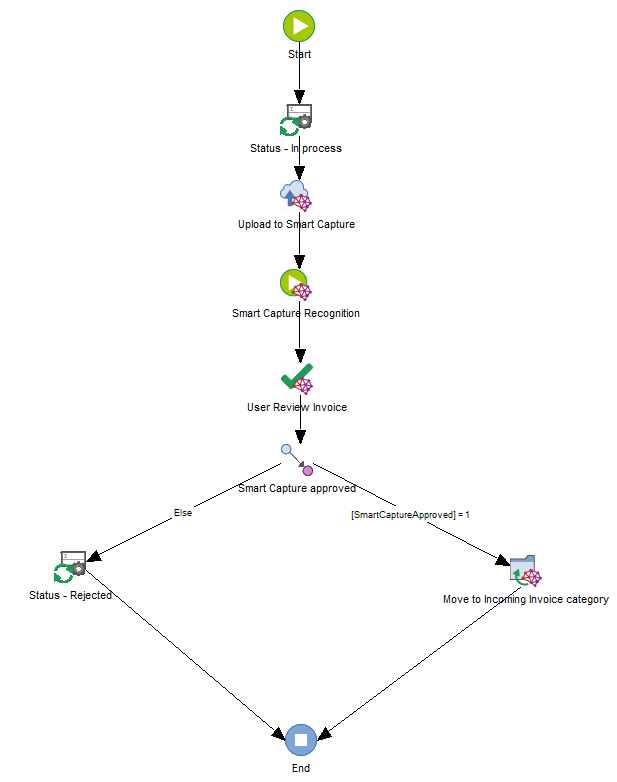
3.Create a Smart Capture workflow in the Therefore™ Solution Designer. A sample of a simple workflow is provided in the screenshot below. In the example below, after the Manual Verification task, a Split task determines how the document is handled after processing.
|
Note: In the above sample workflow, the Smart Capture workflow tasks correspond to the following tasks in the References: |
|
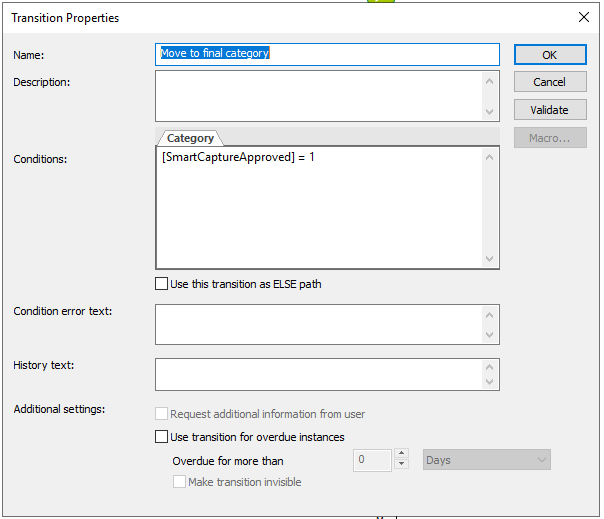
Note: The transition between the Routing and Move to Final Category tasks have a condition of [SmartCaptureApproved=1] that is determined by the outcome of the Manual Verification task. A general tutorial on using transition conditions can be found here.
|
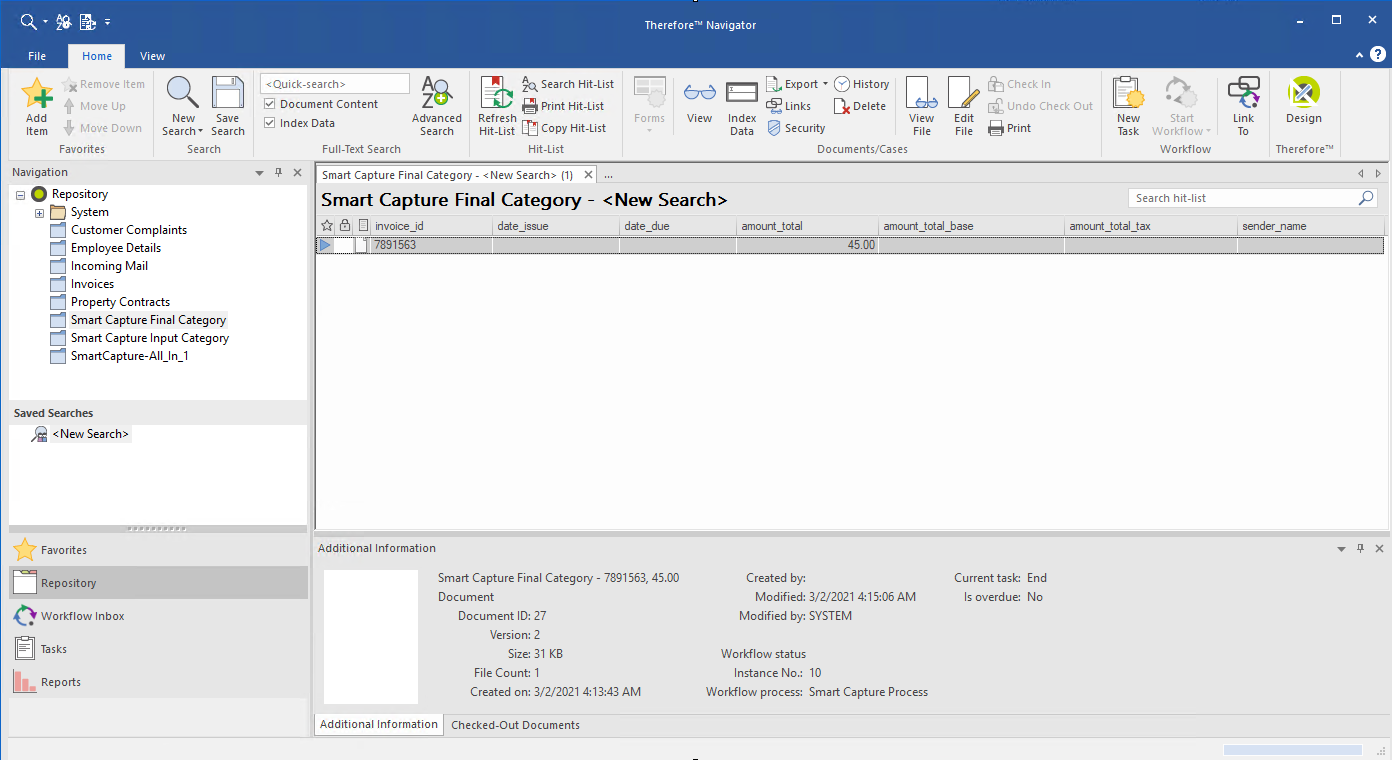
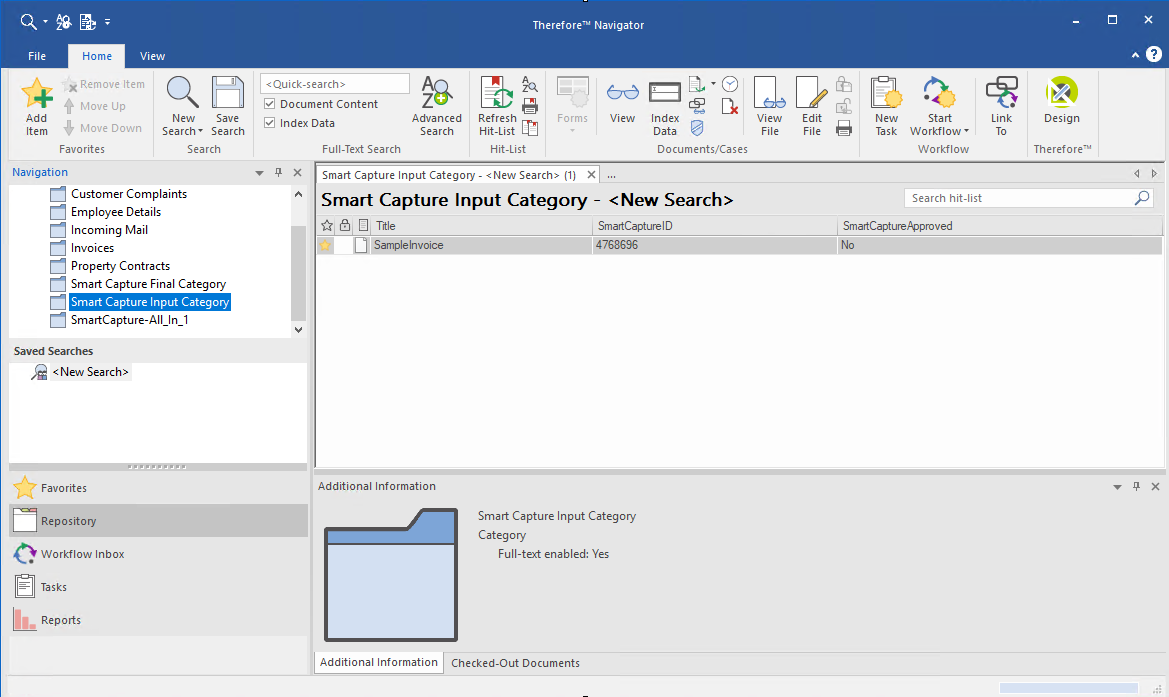
4.To test the workflow, save an invoice to your input category in the Therefore™ Navigator.
5.Go to the Workflow inbox and click on the Smart Capture workflow. Check the status of the workflow instance for the document that you just saved. The tasks Upload to Smart Capture and Smart Capture Processing are automated tasks. When checking the workflow status, these will be visible but with no assigned user. It may take a few minutes for these tasks to complete. Refresh the workflow hit-list to update the status.

|
Note: You can also check the workflow history to get a visual representation of where the document is within the workflow process.
|

6.Once the workflow reaches the Manual Verification task, the assigned user can open the document. A review page will be displayed. In the left pane, the fields chosen earlier in the settings will be displayed, along with the relevant data that was read out from the invoice. The user doing the verification can check each field's contents and either accept by clicking the check mark '✓' or reject by clicking the 'x'. Once all fields have been reviewed, click on Confirm or Reject (by clicking the Trash Can/Bin icon) to proceed.

|
•If a field has been read incorrectly, you can correct it by drawing a box around the correct value. E.g., if an extra character is read, you can make the box smaller to exclude the extra character. •For more information on the usage of the grid as part of the Smart Capture process, please refer to the following page. |
7.The document and approved index data will be saved in the output category configured in the Move to Final Category task.