
|
How to use the Signer Status with Therefore™ eSignatures |
Scroll |
If supported by the provider, Therefore™ eSignature users can configure the Signer Status. This can be used to save a decline reason for a contract. Once the signing process is completed, the status of each signer (accepted or declined) is visible.
Please see our reference page for more information:
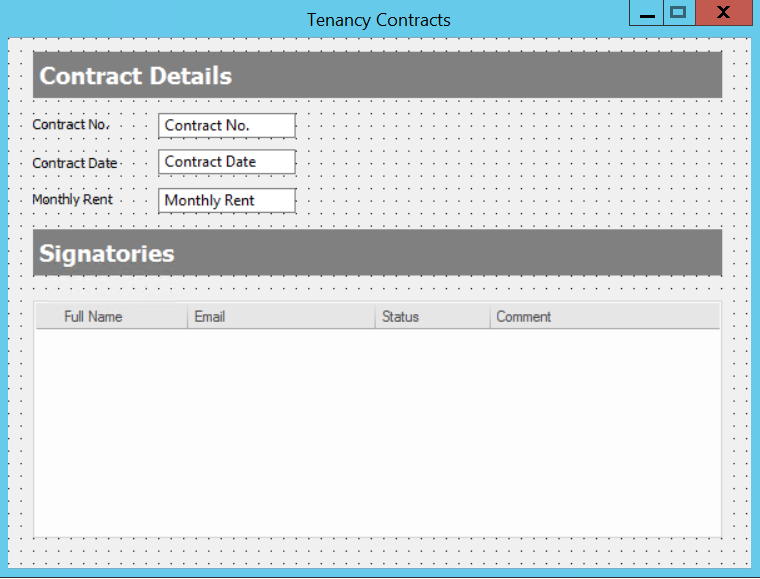
1.In the category configured for the Therefore™ eSignature workflow, add a table index field. In this example, the table index field is labeled 'Signatories'. It is necessary to configure fields for Full Name, Email, Status, and Comment (if the provider supports that option).
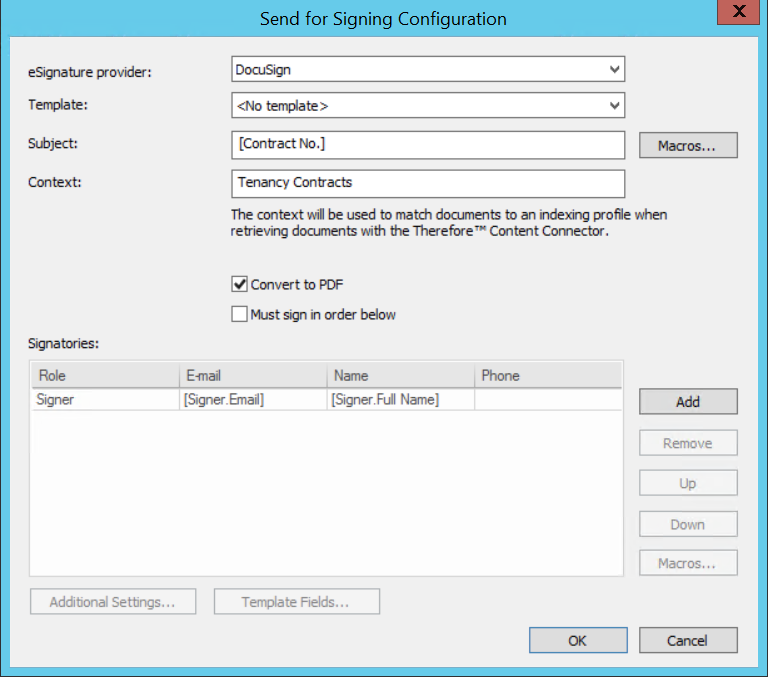
2.Configure the associated workflow. Add the Send for Signing workflow task and double-click on it to open the Send for Signing dialog. Click Edit to open the Send for Signing Configuration dialog. Add macros for the signers full name and email address.
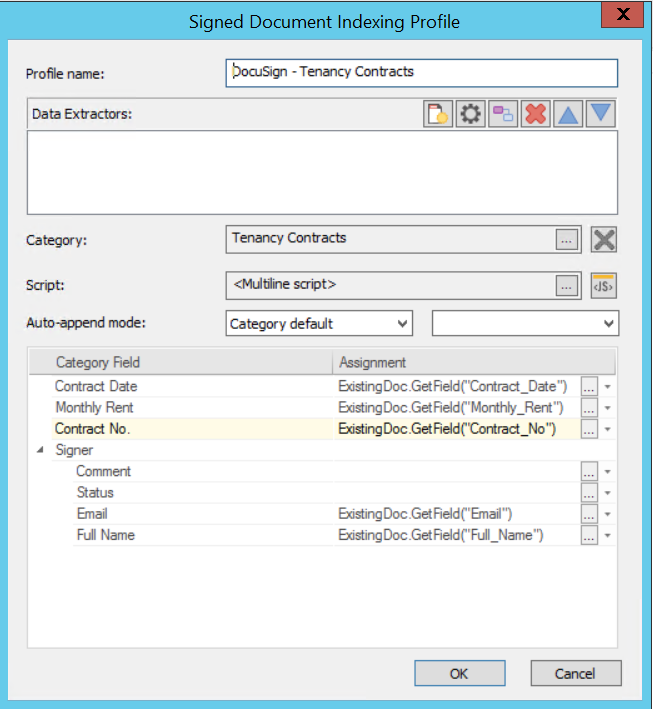
3.Add an indexing profile and map the relevant fields. Under Script, enter the following script.
4.Go to the Therefore™ Content Connector and create a profile unter the node Signature Monitoring.
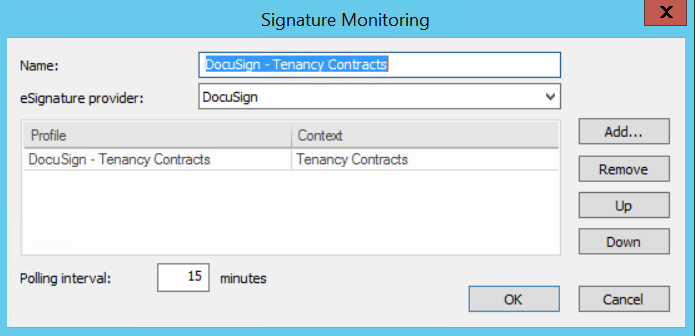
5.Click OK to save the configuration.
