|
Creating Searches |
Scroll |
The first step in configuring the Therefore™ Portal requires creating a search template and making it available to Portal users.
How do I create a search template and make it available in the Therefore™ Portal?
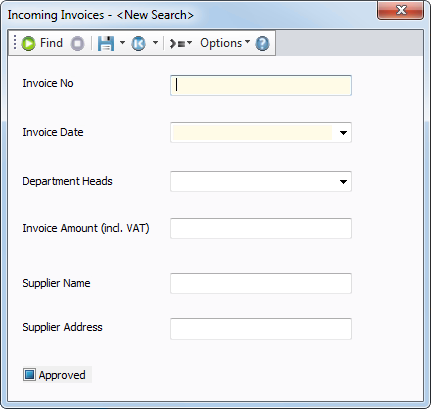
1.In the Therefore™ Navigator Home ribbon, click on New Search and select a category or case definition. If required, set advanced options for the search by clicking on Options.
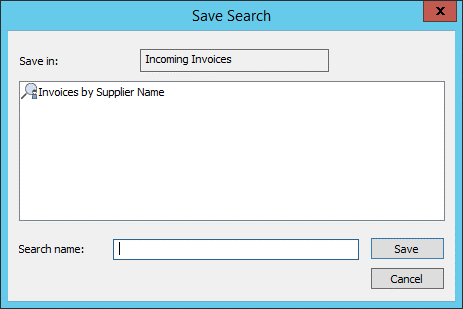
2.Next, save the search template by clicking on the Save icon and selecting Save as global. This will make the search template available to all users in the Therefore™ system, but permissions can be refined in the Security settings.
3.Once the search has been saved, right-click on the Portal object in the Therefore™ Solution Designer and select Manage Portal Categories to open the Portal Configuration dialog.
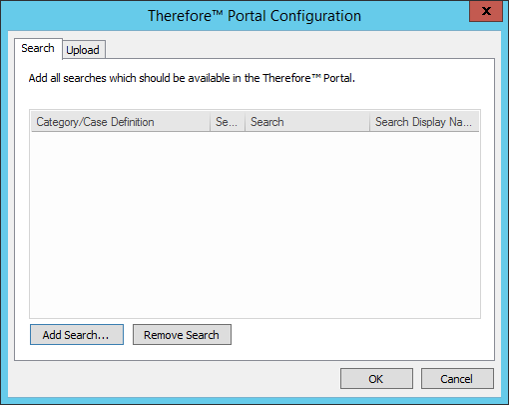
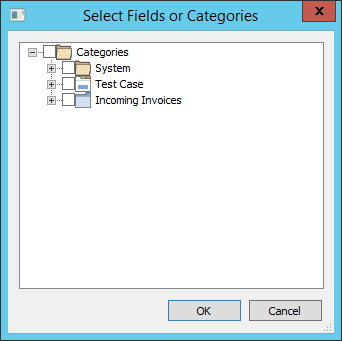
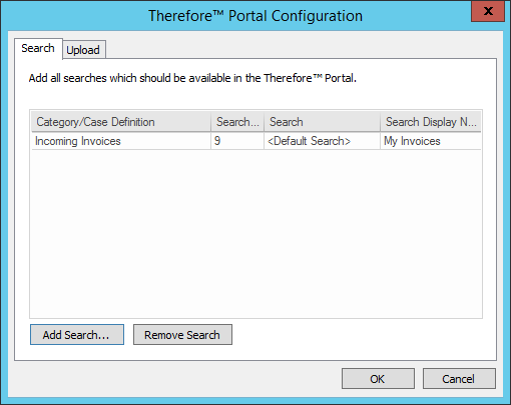
4.Click on Add Search and navigate through the tree view to find the desired searches. Check the box for each search you want to add. Selecting an object will also select all objects below its level. Click OK when done.
5.The category/case name will be listed, along with the Search ID and the Search Display Name. The display name is what the user will see in the Portal (for example, My Invoices).
6.Click OK when done. Assigning searches to users is explained in the section Creating Portal Users.
|
|---|