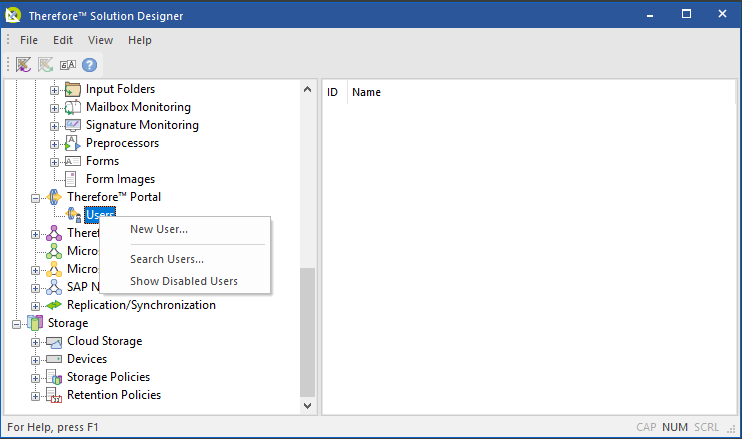
1.Expand the Portal object, right-click on Users, and choose New User...
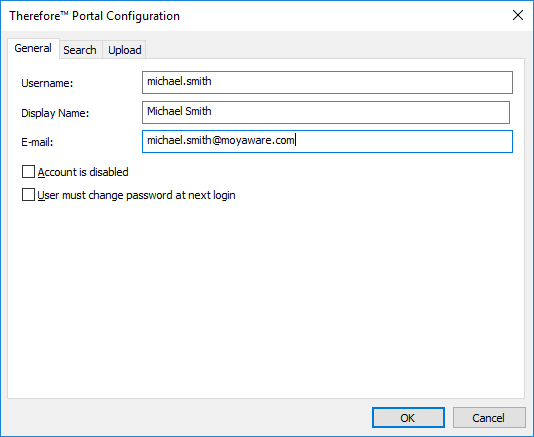
2.Next, the user properties will be shown. In the General tab, enter a user name, display name, and e-mail address for the user. If the account should not be immediately activated, check the box Account is disabled. An administrator can activate the account later by unchecking this box. Check the box User must change password at next login if necessary.
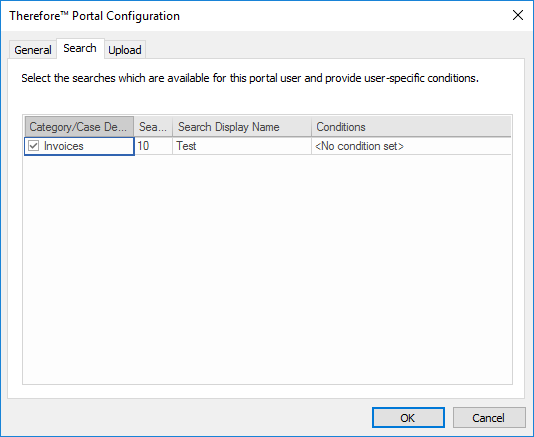
3.The Search tab lists all searches available in the Portal. Select the searches which should be available to this particular user.
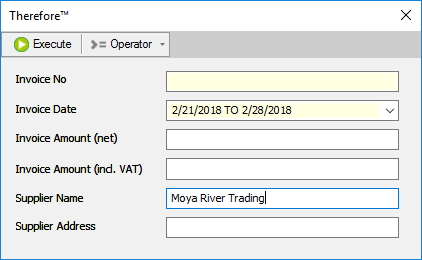
4.Select the search conditions for this user by clicking on the Browse button under Conditions. The index data dialog will appear, allowing you restrict the search conditions for this user. For example, in the screenshot below, we are limiting the user (in this case, a supplier) to view only invoices from their own company (Moya River Trading). Furthermore, only invoices with a date between February 1st and February 28th will be visible. Click Execute when done.

|
It is very important to set these conditions correctly in order to restrict the types of documents each user is allowed to view. If these conditions are not set properly, a user may be able to view other users' documents or unauthorized confidential information.
|
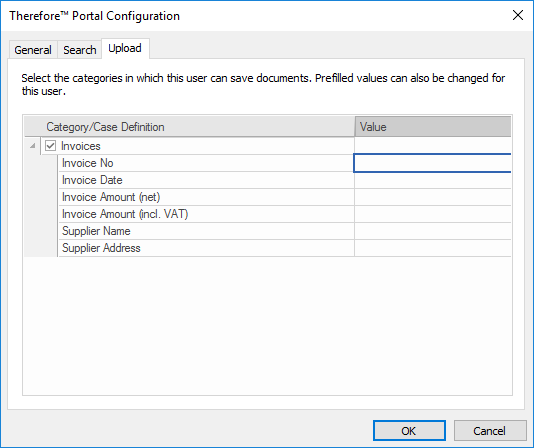
5.If you want this user to upload documents to the Portal, switch to the Upload tab. Select the categories in which this user can upload documents. Prefilled values for certain category fields can also be changed for this user.
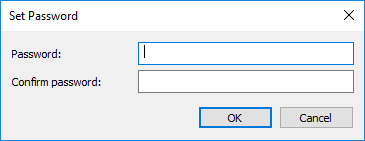
6.Click OK to set the password for the user. If the box User must change password at next login was checked earlier, the user will only use this password the first time when logging in.
7.All Thereforeā¢ Portal users can be listed by clicking on Users under the Portal object. Right-clicking on a user allows further options to be selected. |


