|
Thereforeā¢ Configuration |
Scroll |
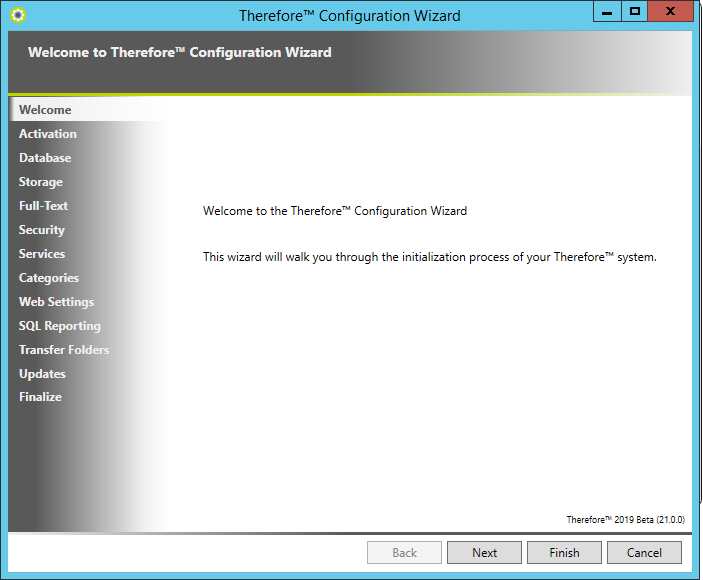
1.The configuration wizard opens with a welcome screen. Click Next to continue.
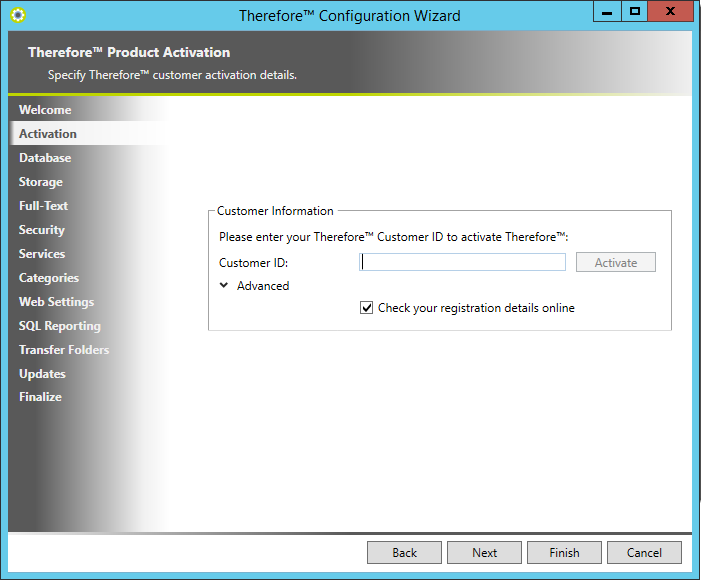
2.The license information needs to be obtained. The standard method requires an internet connection and is to enter the customer ID and then click Activate. There are two other options for activating license under Advanced (see the table below for details). Click Next to continue. If the checkbox Check your registration details online is checked then the setup will check your registration details.
Advanced Method |
When to use |
Description |
Import Thereforeā¢ Activation package from file |
Server has no internet connection. |
Go to http://license.therefore.net/update/ and enter the Customer ID. The System PIN will also be needed to download the activation package. Then copy the activation file to the server and import it.
|
Use existing Thereforeā¢ Activation from database |
1.When you are upgrading to a new version. 2.When you move the Thereforeā¢ Server. 3.When Thereforeā¢ services are installed on different servers. 4.When installing Multiple Thereforeā¢ servers. |
The activation information is stored by the Thereforeā¢ database and upgrades or related servers can source the license information from this database. |
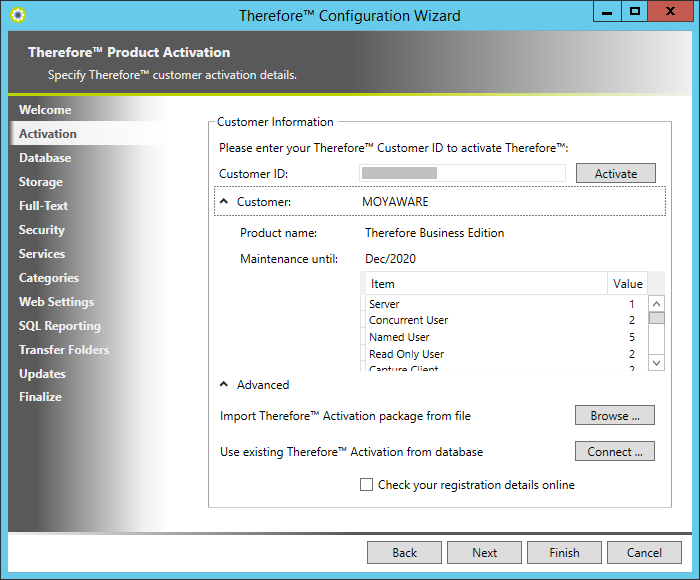
3.Once the activation is successful the customer name will appear. This can be expanded to show the license details.
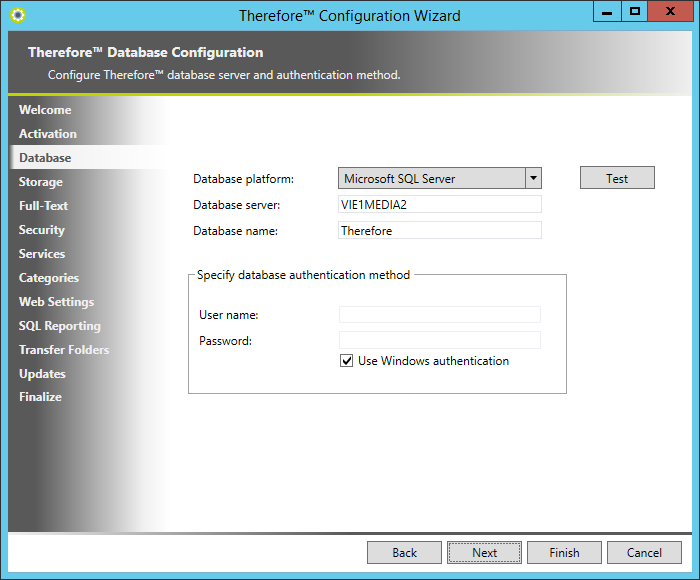
4.Next, the database platform can be chosen, and the database server and name can be specified (for Workgroup and Essentials editions only Microsoft SQL Server is available).
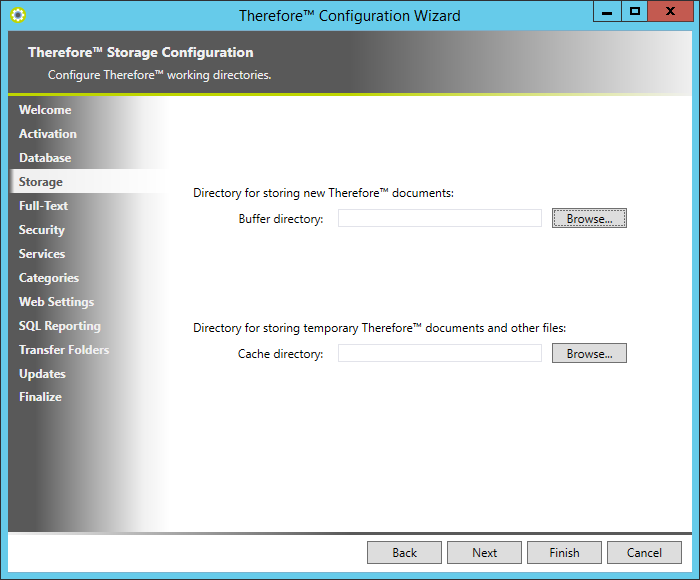
5.Next the setup will prompt for the directory paths for the buffer, cache and preview folders. Since the contents of some of these folders can become very large, we recommend that these directories be placed on a different local drive to the operating system. Click the Browse... button to change the locations. Click Next when done.
Folder |
Description |
Installation recommendation |
Buffer |
Documents saved to Thereforeā¢ are initially saved to the buffer, before being migrated to secure storage. This process needs to be configured when a new Thereforeā¢ system is set up. Learn more about the storage concept here: |
Not on the operating system drive. |
Cache |
Retrieved documents are stored to the cache for faster access. |
Not on the operating system drive. |
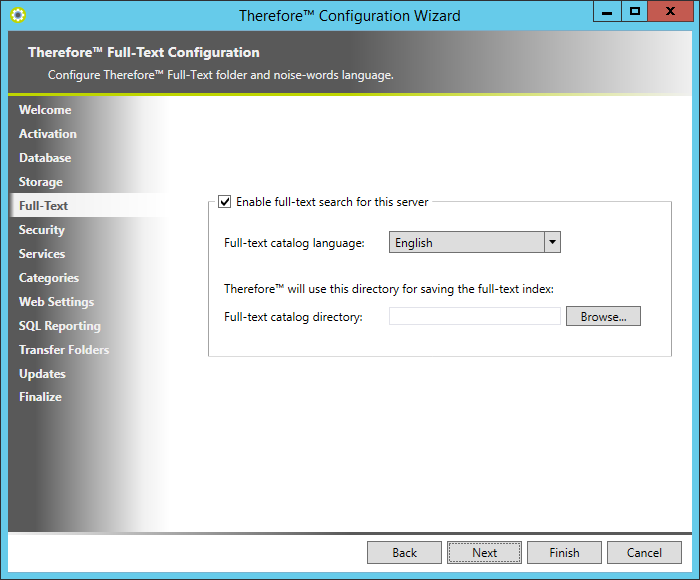
6.The next steps configures the full-text search. It is recommended not to install the full-text catalog directory on the operating system drive.
|
The full-text catalog also requires that an indexing language for Noise Words be specified. This will prevent words like "I", "am" etc. being included in the index. Note there are also some language pairs available which will exclude noise words from both languages. See the Administration Manual from more details on full-text searching. |
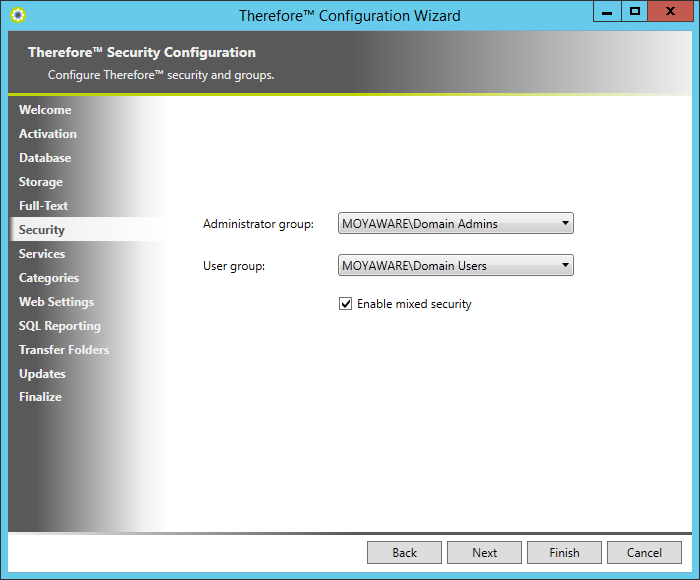
7.In the case of a new database, the Administrator and User groups for Thereforeā¢ security can be selected. Accept the defaults or select different ones (only groups of which the user is a member are displayed). Then select Next.
|
These two groups are then added by default to Thereforeā¢. The Admin group will by default have admin rights on the Thereforeā¢ object and all objects below. The User group has typical read/write permissions on the Thereforeā¢ object and objects below. Note however, that on the Category object, in addition to the Read and Write permission sets this default User group also has one permission from the Delete set: "Delete document pages" and one from the Admin set: "Retention policy" (which allows a user to remove an individual document from a retention policy). See the Administrators manual for more details on Permission sets. |
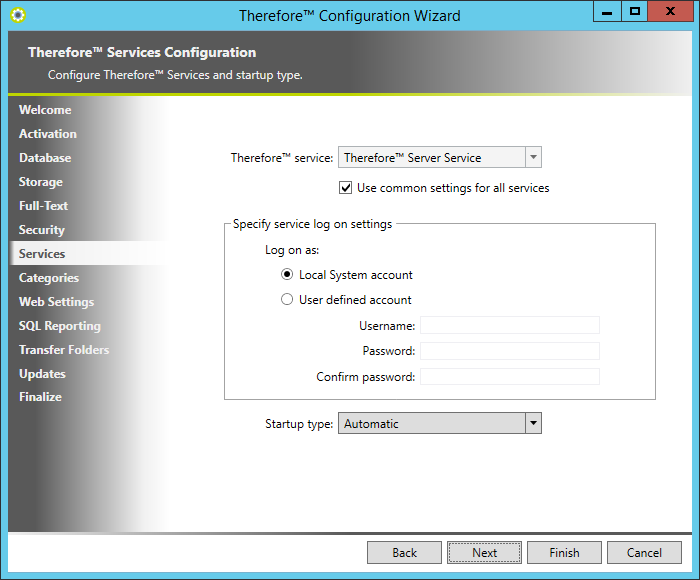
8.Setup will now prompt to configure the Thereforeā¢ services. In the Services Configuration dialog, you can select a service and then under Startup Type you can choose how the service should be started. This can be done individually per service, or by checking the box Use common settings for all services the setting can be transferred to all services. In addition, you can change the service account settings. If Microsoft SQL Server, and is located on the same server as Thereforeā¢, the default system account login credentials can typically be used. If Microsoft SQL Server is installed remotely, you must configure the account username and password settings. If Oracle is being used (both local and remote configurations), you must configure the account username and password settings. Select Next when done.
|
If you choose to run the Thereforeā¢ XML Web Service with a domain account, some extra configuration steps are required. |
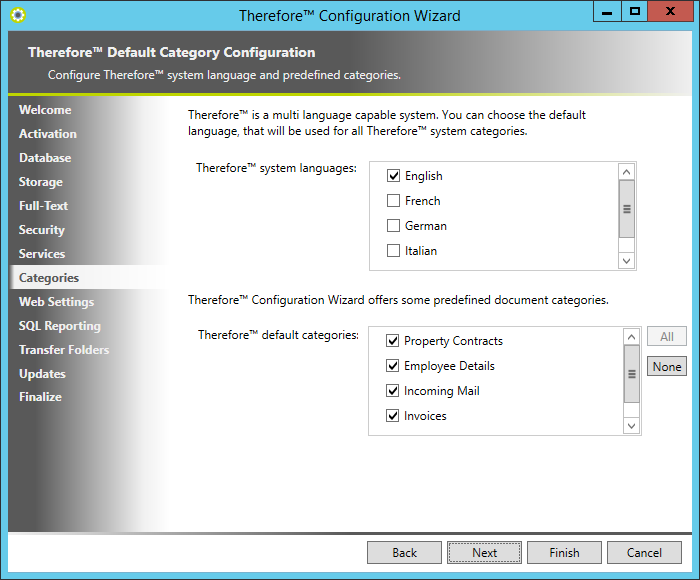
9.By default some sample categories, available in various languages, will be created. You can de-select categories that you do not want to create.
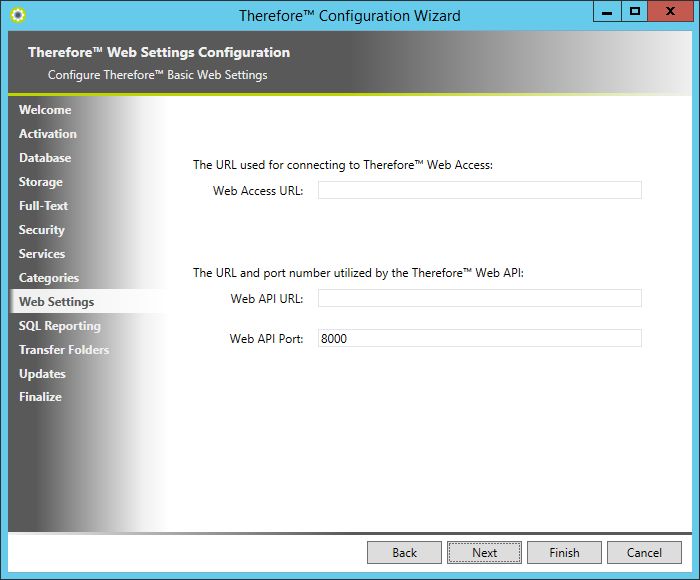
10. Enter the Web Access URL that will be used to connect to the Thereforeā¢ web client and eForms Designer. You can also enter the URL and port number utilized by the Thereforeā¢ Web API if you intend to use functions requiring the Web API. These settings can also be entered or changed at any time in the Advanced Settings of the Thereforeā¢ Solution Designer.
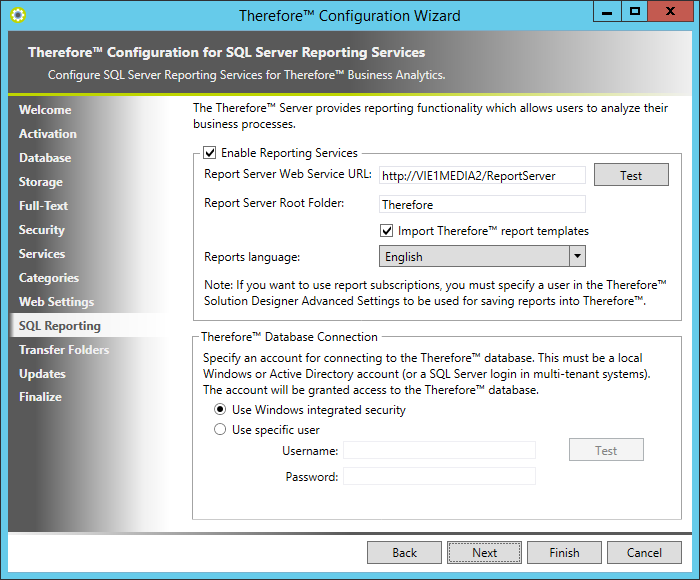
11. Thereforeā¢ supports creating reports with Microsoft SQL Server Reporting Services and Microsoft Power BI. For SQL Server Reporting, check the box Enable reporting. Default values for the Reporting Server URL and the root folder are filled in automatically but can be changed if necessary. To import some standard report templates which can be edited and used to create reports, check the box Import Thereforeā¢ report templates. A Windows user account, that has at least Read permission on the Thereforeā¢ database, must be then specified.
See Also: System requirements.
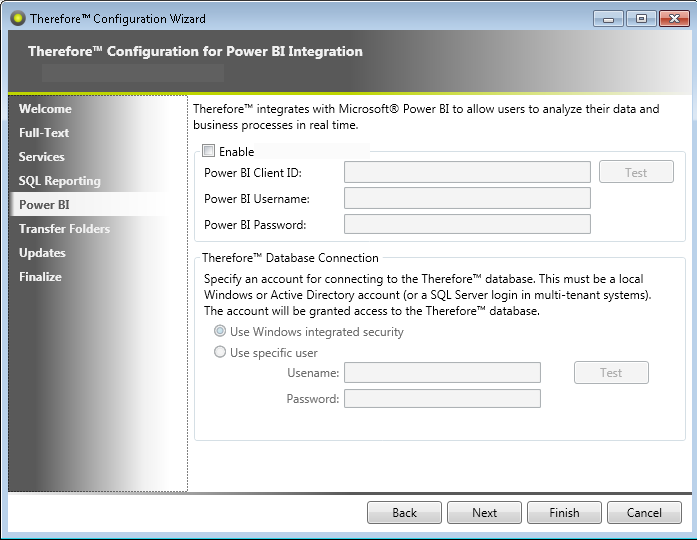
12. Thereforeā¢ supports creating reports with Microsoft SQL Server Reporting Services and Microsoft Power BI. For Power BI reporting, check the box Enable reporting. Enter the Power BI Client ID and account credentials. A Windows user account, that has at least Read permission on the Thereforeā¢ database, must be then specified.
See Also: System requirements.
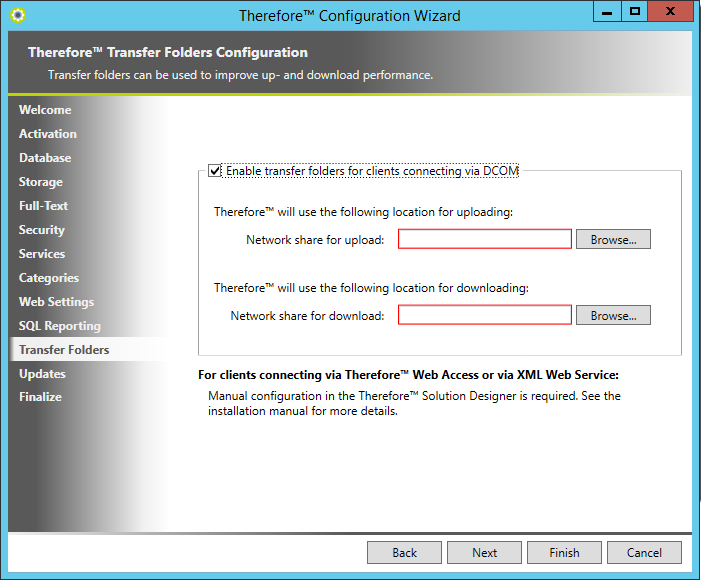
13. Now the UNC paths for the transfer folders can be defined for better upload and download performance when connecting via DCOM. See the Transfer Folders section for details.
|
Transfer folders can also be configured for connecting via XML Web Service and Thereforeā¢ Web Access. See the Transfer Folders section for details. |
14. Next, the options for client updates can be configured. (See the Upgrading Thereforeā¢ Clients).

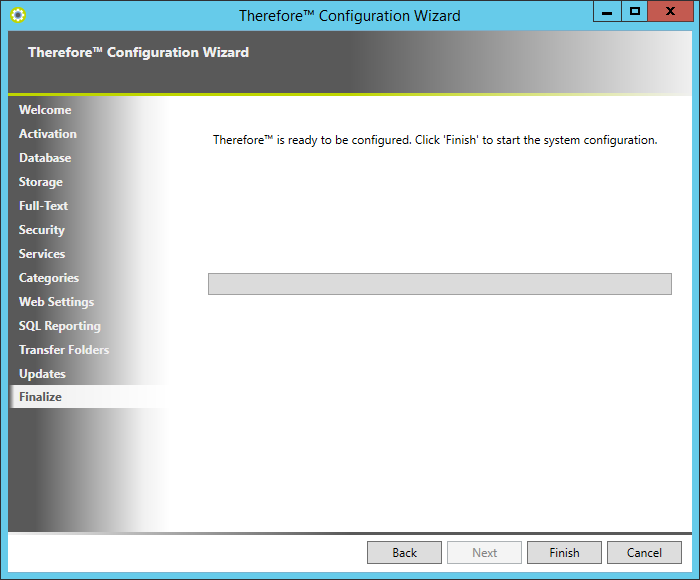
15. The configuration is finished. Click Finish to complete.
