|
OCR Zones |
Scroll |

Show Page
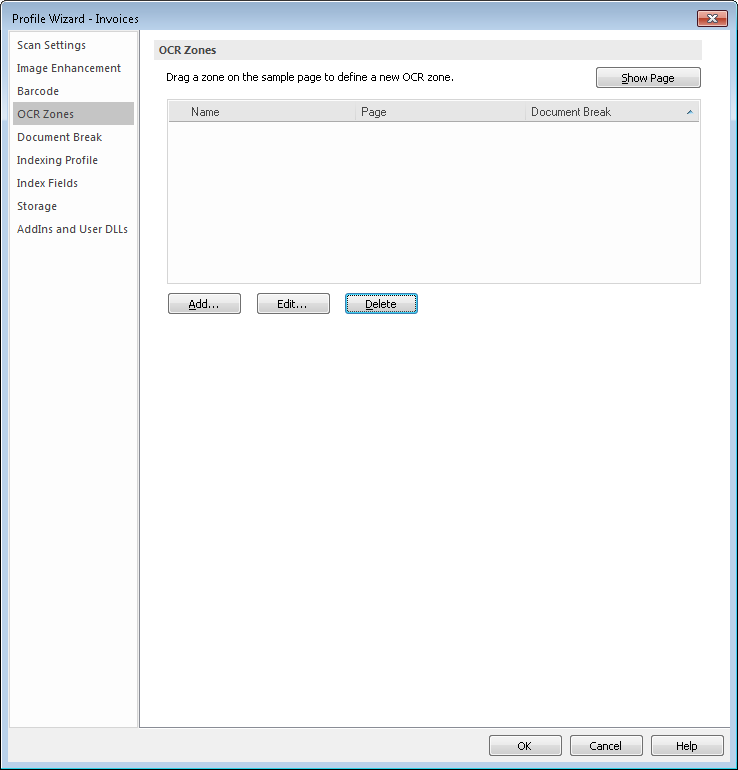
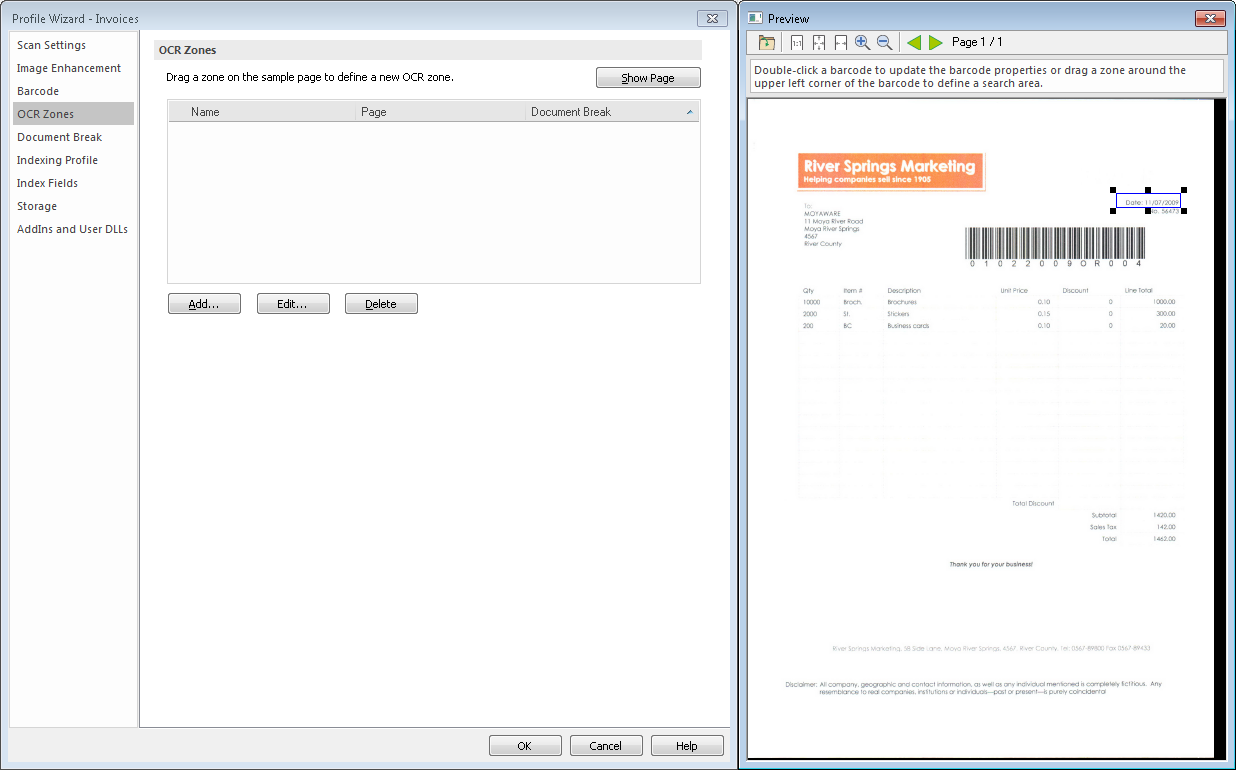
A preview of the currently active document will be displayed. You can use the mouse to draw an area around the required area. Alternatively a saved file can be loaded by clicking the open-file icon on the Preview window menu bar. Once you select an area the OCR Zone dialog opens and the position and size will be automatically filled out. You need to specify a Name, and can also specify the Page as well as Document Break. If On value is chosen as a document break, then a Value should also be specified. In addition an OCR character set can be specified to help with accuracy. For example, if it is known that the value is always a number, then [0-9] can be specified which would prevent "O" being captured instead of zero ("0"). Clicking on the arrow button provides the user with a list of presets. Alternatively OCR zones can be configured by clicking on the Add button first and specifying the OCR Zone. Existing OCR zones can also be edited and deleted. In addition, a number of special banking fonts are supported. The font relevant to the zone being defined can be specified.

